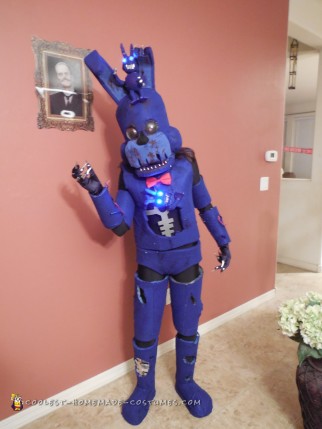
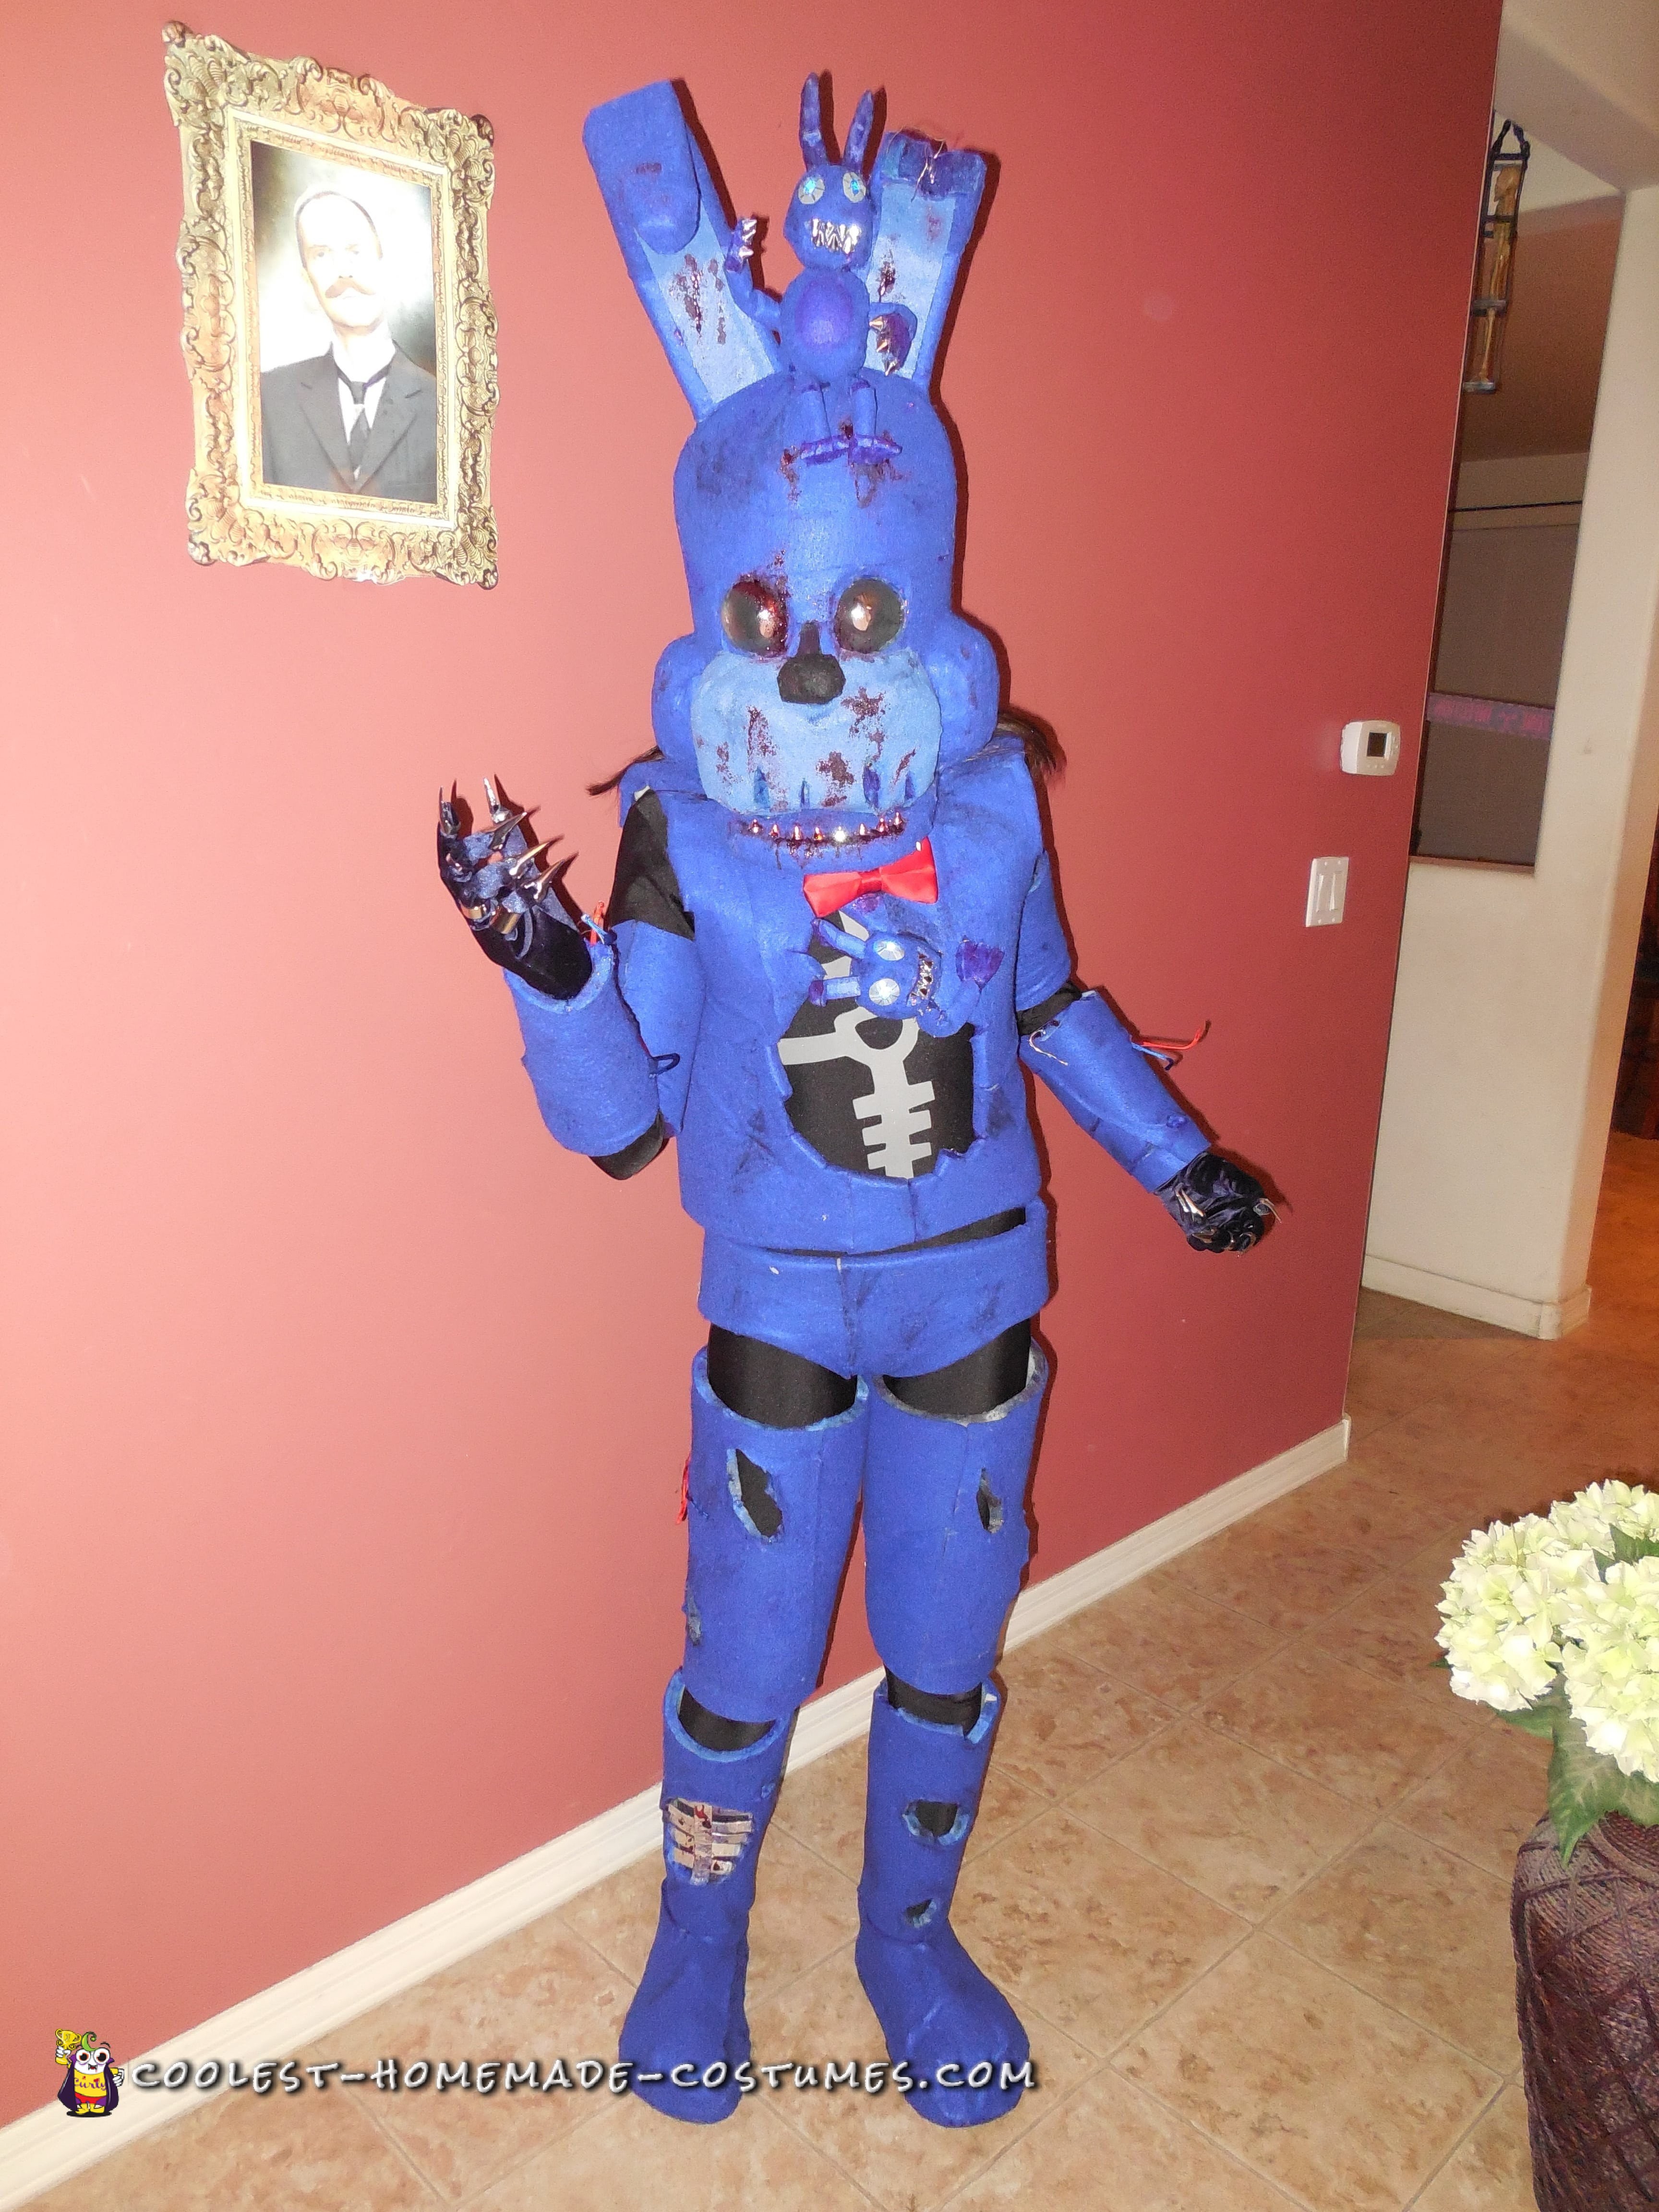
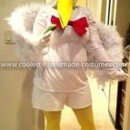
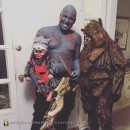
My daughter Maya Mayne is wearing the costume and made it completely by herself. She did everything herself except pay for what she needed. I paid for the materials, which cost about $150. I also want to inform you that she is 13 years old. All the information seen below was written by her (steps, reactions, and experiences).
Steps:
What inspired me to make this costume was a game called Five Nights at Freddy’s 4. In this game, and the other games in the series with the exception of the third one, Bonnie, tries to get the night guard, which is the player, and stuffs them in an animatronic suit. Luckily, the game doesn’t show that part.
There about seven main parts to this costume. The first part to this costume is the feet. To make the feet, I cut out the bottom cushion foam base to step on. After that, I got more foam, wrapped it and glued it around the base, making a cylinder-like shape with one side open. I then got a regular shoe my size, layered it on top of the base, and formed the foam standing up around the shoe. The last foot step I did was hot glue royal blue felt all around the shoe.
The next main part I created, were the legs. To do the legs, I measured my thighs and lower legs separately. When measuring, I categorized my thighs and lower legs with, low, middle, and high, to get exact measures. Once I got the measurements, I cut out foam with an extra 1/2 inch to make sure it wrapped around my leg since the foam is 1/2 inch thick. When I was happy with how it fit, I hot glued the ends together and layered the pieces with the royal blue felt. Adding that withered and destroyed look to it, I cut holes into it, with an Exacto knife and with black and blue Sharpies. I marked it up to look worn away. In one of the larger holes, I created an exposed endoskeleton. To do this I cut out strips of measured cardboard, glued aluminum foil to them, and hot glued them to the hole in the lower right leg. The final details I did to the legs were cut out silver wire and red and blue cord, which was used as exposed wires, and glued them to the legs.
For the bottom, I measured how long it would have to be for my waist and all around. To do that, I wrapped a long vertical piece of foam around my waist and used a marker to out lay the foam cut out. Once I did that, I cut it out and hot glued it together along with the felt. I definitely made sure I could sit down in it. Just as I did to the legs, I marked it with black and blue marker.
What I did for the chest/stomach, was measure myself around my midriff by wrapping foam around myself and cutting the right amount to fit around. After that, I cut strips to wrap on top of my shoulders that will attach to the main chest part. Everything was glued together after the parts were cut out. The strips were glued at an arch to fit my arms in and fit around my shoulders. The giant hole was cut once all the foam was pieced together. As I do to every piece, I glued the felt on. To create the exposed endoskeleton, I sketched the shape on a grey sheet on foam and cut it out. I used Velcro to attach it on and off. Lastly, I glued the “little Bonnie” to the chest piece and a red bow tie.
The arms were very similar to the legs. I did the exact same things accept I used gloves for the hands and I didn’t do an exposed endoskeleton. For the hands, metal claws along with royal blue gloves were bought. I basically slipped them on under the arms.
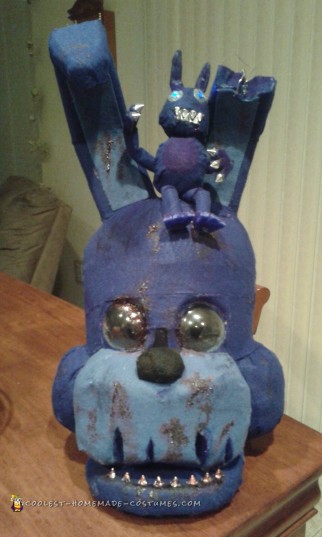
The head was the piece that toke the longest. The first step I did was measure my head and I added on an extra 1 1/2 inch and glue it around like a cylinder. To make the top of the head, I cut an x and glued it to the top. Filling it in, I cut triangles and glued them in the spaces. I then cut out eye holes in the proper place. I then glued in clear, half spheres to see out of. The next small but important part I did was cut out a tall narrow arch through the front of the mouth to expose my whole nose all the way down to my mouth. I then covered that up with Bonnie’s snout. I made this with a wash sponge that looks like 2 identical cells separating while still attached. I then cut the sponge in half, decreasing the thickness. With one of those cut sponges I glued it horizontally across the front of the head so it covers across the cut arch and so it’s even on each side of the eyes.
To make the cheeks, I used the same wash sponge, cut it vertically, and glued them on each side of the face, next to the snout. The ears were pretty simple. All I had to do was get a long section of foam, sketch out the shape, cut the center of the ears at angles, and glued them together making the tops lean down. For one ear, I cut the top part off, making it look broken. Completing the ears, I glued the dark felt all around the ear and hot glued a lighter color blue around the front of the ear so the royal blue felt borders around the light blue. I then glued them on top of the head. One of the last things I did was glue on the felt to the head. I got the royal blue felt and glued it all around the head except the eyes and snout. Instead of gluing the royal blue felt around the snout, I glued the light blue felt to it. When I glued all the felt on, I used the markers to dirty it up.
When I finished, the head I didn’t feel that it was complete so I decided to add a jaw to it. For the jaw, I cut out a crescent shape, glued dark felt to it, and glued it to the bottom of the head. I also added silver spiked studs for the teeth. Making my entire costume complete, I added on some fake blood that I made from corn syrup and red and blue food coloring. I also glued on the full little bonnie to the top of the head.
The little versions of the character, was one of my favorite parts of the costume. To shape the head, I got a styrofoam ball and glued foam around it. In making the eyes, I got store bought LED lights and glued it to ping pong balls I cut to a small circle and painted grey. I cut the center of the ping pong and glued it to the front of the LED light so it shines through. It should then look like a miniature umbrella. To place the eyes in and take them out, I drilled in holes with my Exacto knife. I tested it and made sure they fit.
After that was finished, I covered the head with the felt and cut off the felt that was covering the eye holes and the mouth. To finish off the felt, I glued in the silver spiked studs to replicate teeth. I created the little Bonnies’ ears by cutting out foam, gluing it together, and coloring it with blue Sharpie. I then glued the ears to the head in the placement I was happy with. I did the same steps with the other head since I have a total of two Bonnies. Since I have one head with a body I glued one of the heads to the body.
For the arms, I cut some silver wire so the arms can be positioned in any way and then I wrapped foam around the wire to create an arm base. To make sure the arms would connect with the body and hands, I made the foam shorter than the wire on each side so I could poke it in and it would stay in place. In making the hands I roughly sketched the hands and cut them out. To make the little Bonnies have claws, I toke the silver spiked studs and glued them to the blue-marker-colored-hands. Finishing the arm, I hot glued the blue felt around the foam, glued the hand to the wire, and attached the whole arm to the body. I did the same things to the legs, except I didn’t add the silver studs. I made a total of three arms and two legs since you can see one bonnie fully and the other bonnie can partially be seen in my chest piece.
I only did one bonnie body and did that by sculpting a small, round body with a medium sized Styrofoam ball. When I got the shape and size I wanted, I hot glued the felt all around the body and then I used a blue Sharpie marker to color in the darker, blue shade belly. To complete the little Bonnie, I connected the arms and legs to the body and hot glued it to the top of my Bonnie head piece. For the chest piece I would be wearing, I toke the other head and arm and glued it inside the giant hole in the chest.
To put my entire costume on, I put on a black bodysuit and slipped every costume piece on.
Materials:
- Cushion foam.
- Royal blue felt.
- Light blue felt.
- Red and blue cord.
- Silver wire.
- Styrofoam balls.
- Scissors.
- Exacto knife.
- Hot glue/hot glue gun.
- Clear plastic balls.
- Measuring tape.
- Sharpie markers (blue and black).
- Blue LED lights.
- Ping pong balls.
- Grey paint.
- Silver spiked studs.
- Red bow tie.
- Black body suit (only item I didn’t do anything to).
- Metal claw rings.
- Royal blue gloves.
Reaction:
The adults that saw my costume thought that it was so cool. The adults didn’t really know who my character was but a lot of kids knew who I was. The kids started talking about the game my character was from when they saw me. There were even some of my mom’s co-workers that saw it and said it was awesome and asked, “How old was she again?” My friends thought it was unbelievable that I made that.
Extra info:
- The funniest part was that I got burned many times by the hot glue gun that I’m practically immune to it now.
- The most fun part was actually making the costume.
- The most difficult was the chest and a little bit of the head.
- This costume took me approximately 184 hours.
- This has been my second year making a homemade Halloween costume. I did the first one last year.
- What I learned from this experience is that you can do incredible things no matter how old you are and you can do anything when you put your mind to it.
