I was trying to decide what would be a unique costume for my 2 pugs to enter in our annual Halloween dog parade/costume contest. I always make my own costumes and I wanted them to be something no one has ever seen. I decided to make cupcake costumes, since cupcakes are so popular. I changed the name to Pup cakes, since they were dogs.
Here is my step by step recipe for making Pup Cakes! (Cup Cake Costume for Your Dog). I figured lampshades would make the best base for the cupcakes, as the liners. I spray painted them and I found used Styrofoam blocks online and carved those ( I have carved foam before). That was the hardest part. Getting the foam to fit in the shades. It took awhile till I could get them to fit. I tried to make them not too heavy for my little dogs. I had to hollow them out some. They were still a bit too top heavy, so they did tilt over some of the time, but overall, they turned out great! They were comfortable on the dogs, which is important.
We all dressed up! I made a cupcake hat for myself, along with my apron and as a family were a success at the parade. We placed in the top 10, out of over 700 entries! We even had people asking us if they could buy my cupcakes, ( I made fake cupcakes also) and where our bakery was! ( I said “we don’t have one, it’s just a costume!”)
It was definitely a sweet experience, I would love to share this recipe to everyone.
Find a corrugated lamp shade that will fit your dog.
I found a corrugated type lamp shade at a discount store. It is really pleated fabric on a plastic shade. I took the metal thing out that attaches to the lamp. Then I cut the top narrow end, to make it a bit shorter and wider. I just eye balled it, till it looked more like a cupcake liner. I cut out an area for their body also. Also I didn’t want it to be too top heavy for my dog. Then I used fabric glue to tack down the raw edges of the fabric, after I cut down the shade.
I then made a “coat” out of felt that matched my dog’s fur. I sewed it to size with straps to fit around my dog’s neck/chest, under front legs and stomach area. It needs to very secure. I sewed Velcro to the straps. I also sewed straps on top of the coat to attach to the inside of the lamp shade.
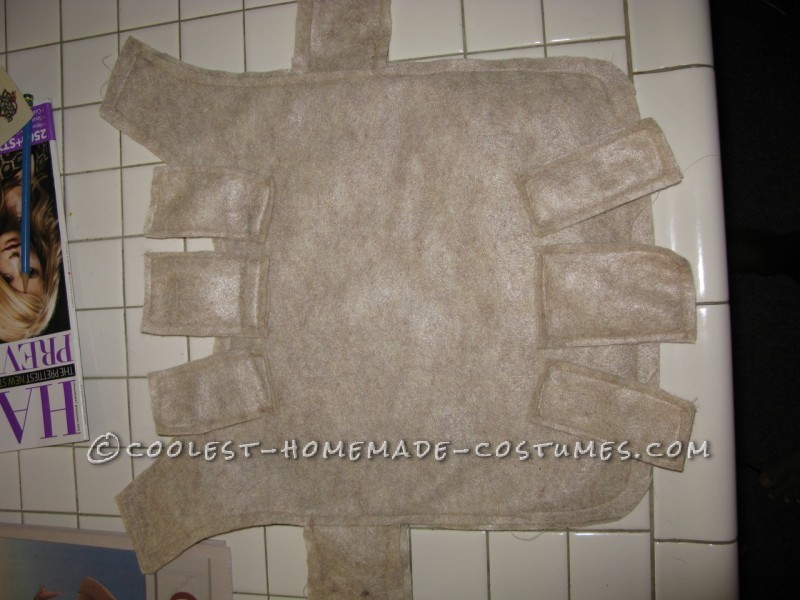
coat to match fur
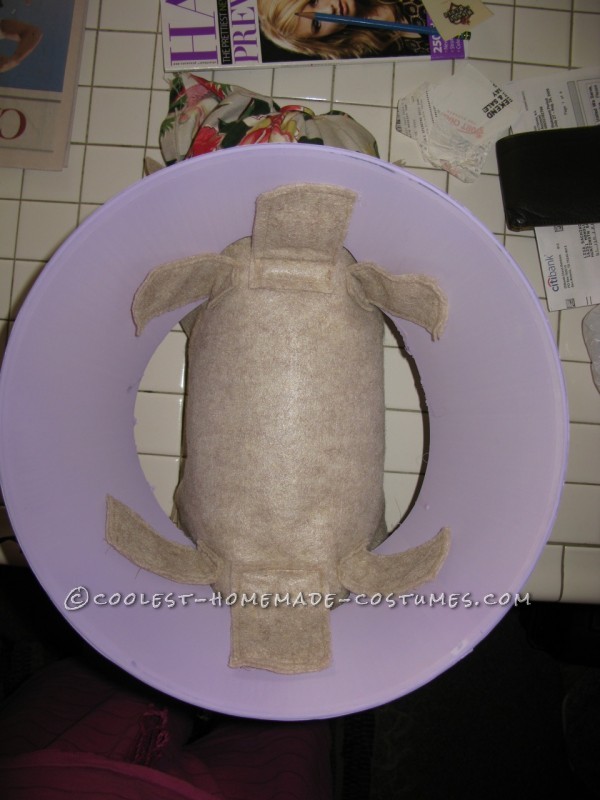
attach to shade with Velcro
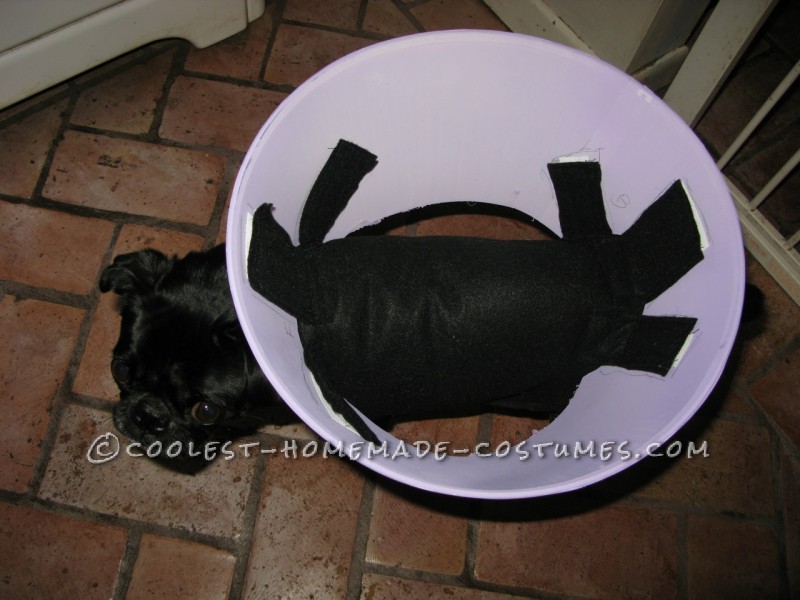
see how it attaches from inside
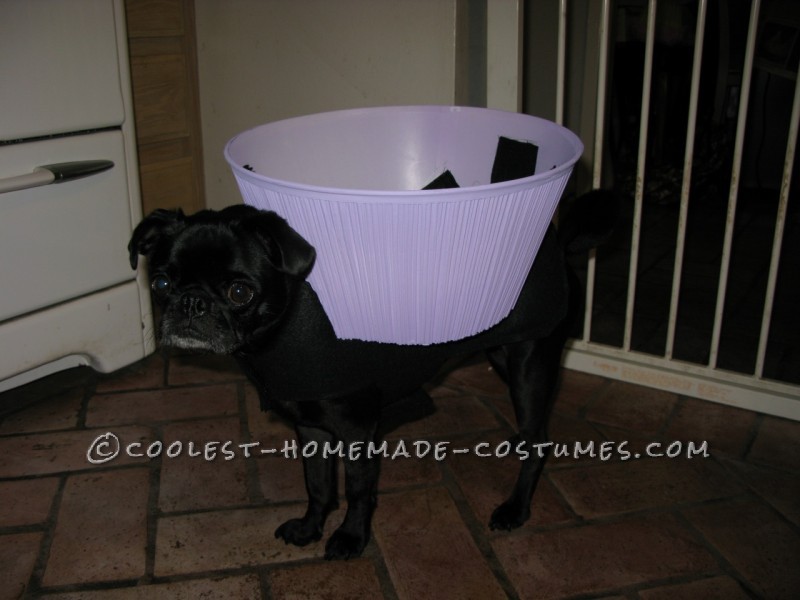
make sure it’s secure on your dog
Frost & decorate your cupcake
You can frost and decorate your cupcake many ways. I chose to use Styrofoam (you can use soft foam, use fabric and stuff it, whatever). I found a big chuck of it online and then got a hot knife foam cutting tool. I carved it till I was happy with the shape. I then hollowed it out as much as possible to try to keep it light weight. I painted it with acrylic paint (spray paint will disintegrate foam). I used foam glue to glue it to the lamp shade. I used spray foam in a can you get in hardware store for insulation to fill in any gaps from underneath (careful, it expands).
I decided to top it off with a cookie. I looked online to try to copy/paint the cookie as close as I could. I carved out a slice in the top of my foam to fit the cookie in. I glued it with glue for Styrofoam. I bought a foam ball and carved it a bit to make a cherry. I flattened the bottom a bit. I painted it and then stuck a wooden skewer in it and then stuck it in the cupcake, along with glue to secure it.
I got sticky back foam sheets and cut “sprinkles” out to decorate my cupcakes. The sticky backs didn’t stay stuck, so I used sticky craft glue. I had to use blue painter’s tape to hold some of them in place until they dried. DO NOT use hot glue. It will melt the Styrofoam.
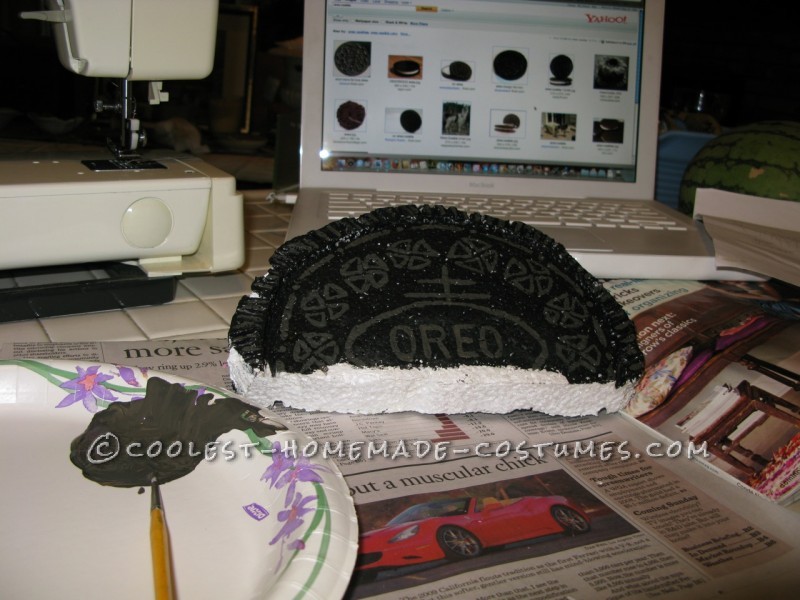
painting cookie
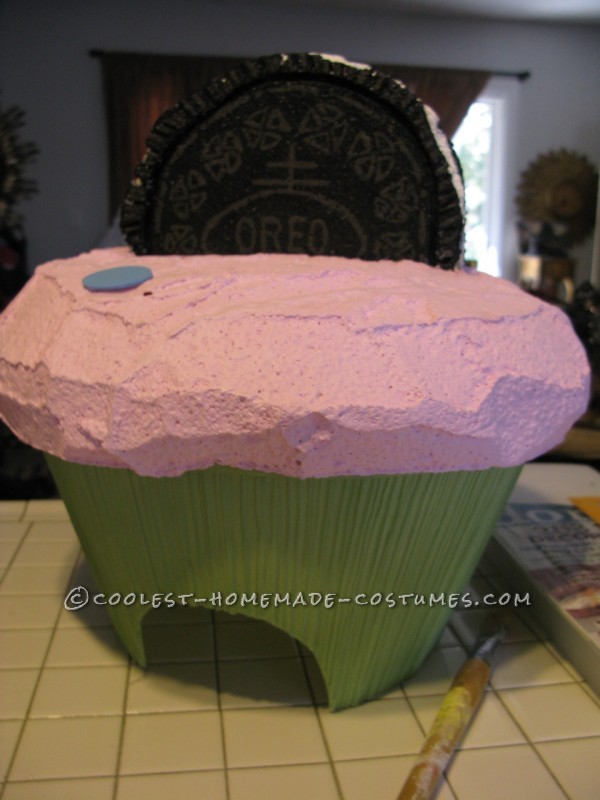
decorating cupcake
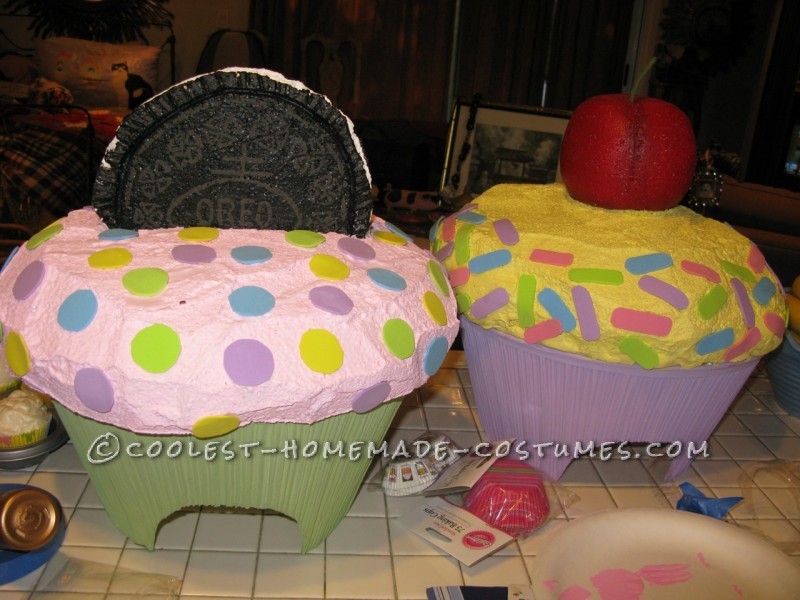
finished decorating
DONE! Ready to love!
Once everything is dried, your cupcakes should be done and good to go. Just make sure, during each step, you make sure your coat fits your dog securely, as the cupcake will be top heavy and topple a bit. The shorter and wider the cupcake, the better. I tested each step on my dogs as I went along. Also make sure your dog is comfortable and nothing is hurting your dog. Make sure your dog is cool while wearing this and any costume. I entered them in a dog parade and we placed in the top 10 out of over 700 dogs. I also made a cart and costumes for myself and my husband.
Enjoy!
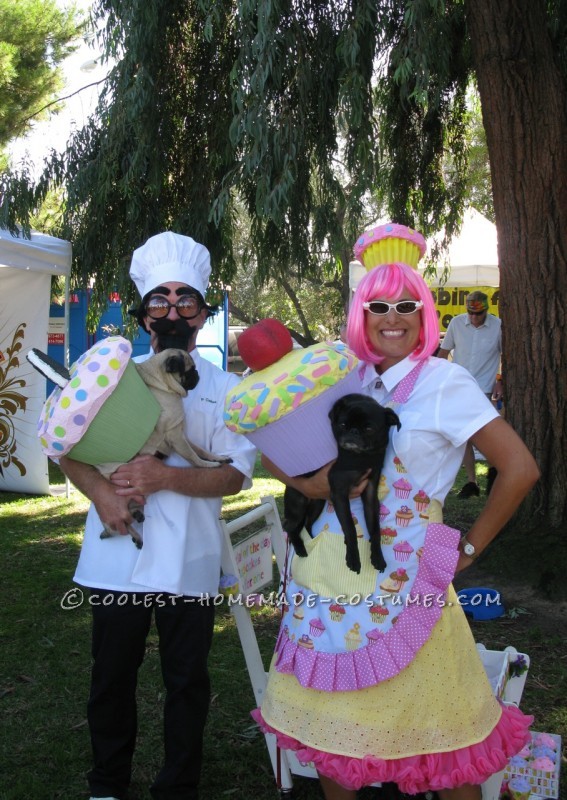
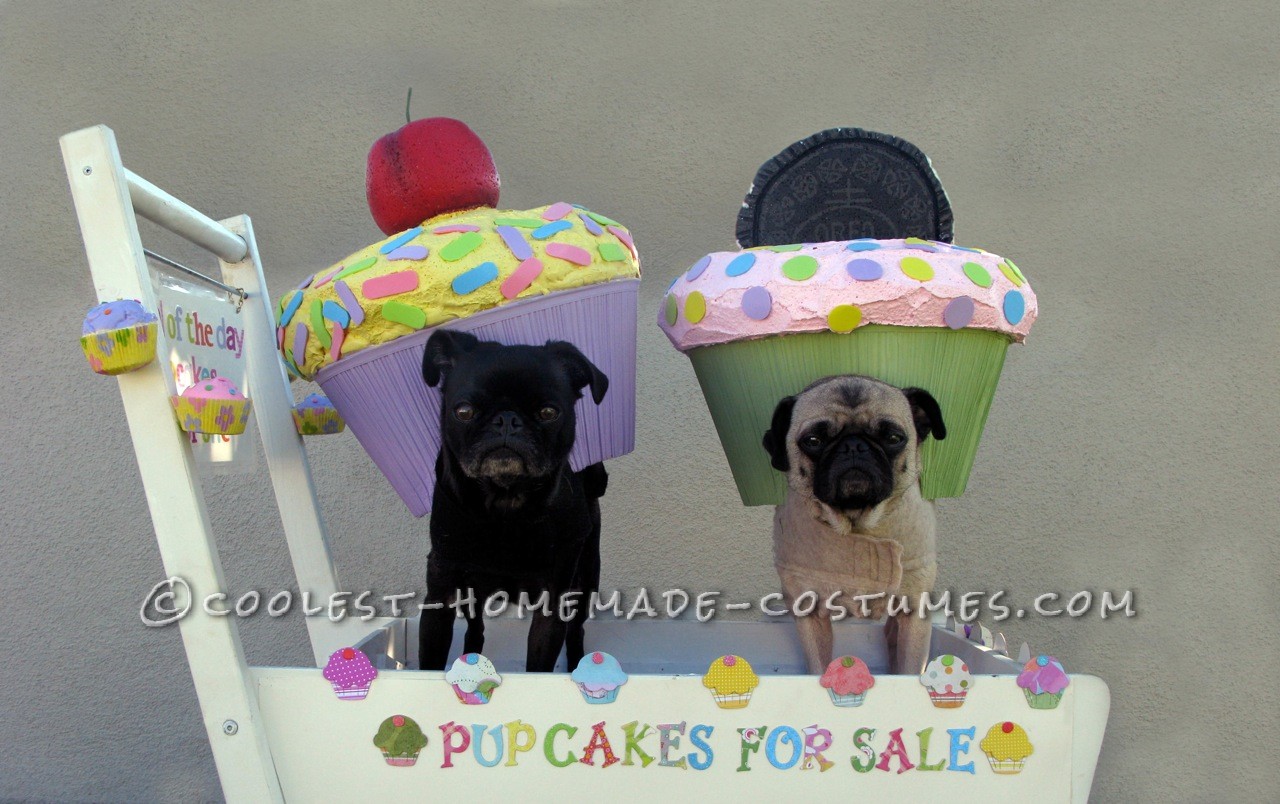
pup cakesfor sale!
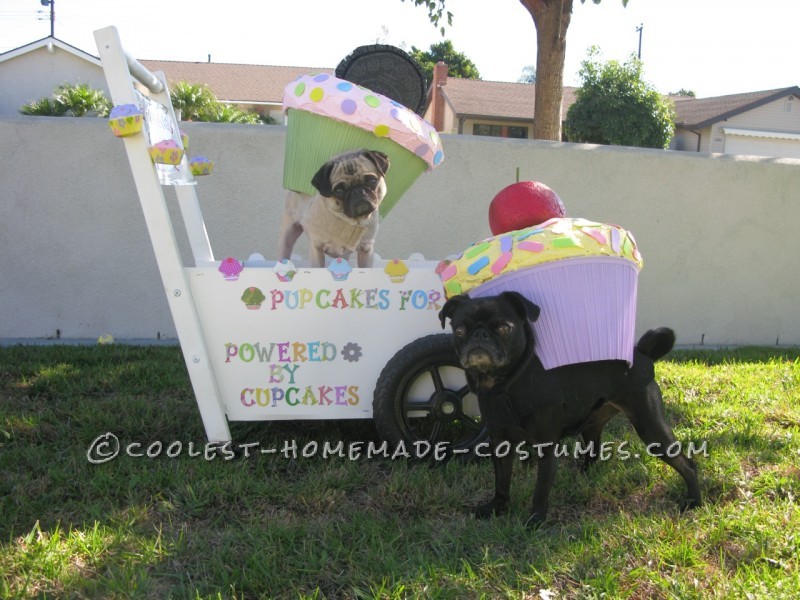
pup cakesanyone?
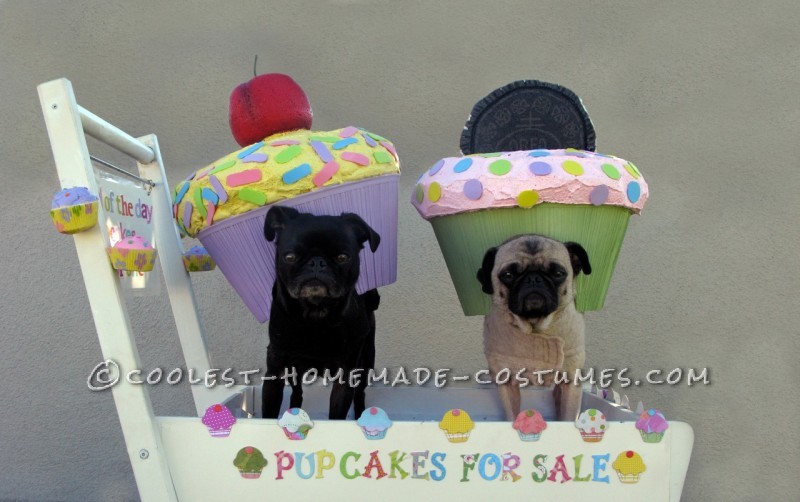
pup cakesfor sale
This is great! Such a cute idea. And cute pugs! :D
This is great! Such a cute idea. And cute pugs! :D