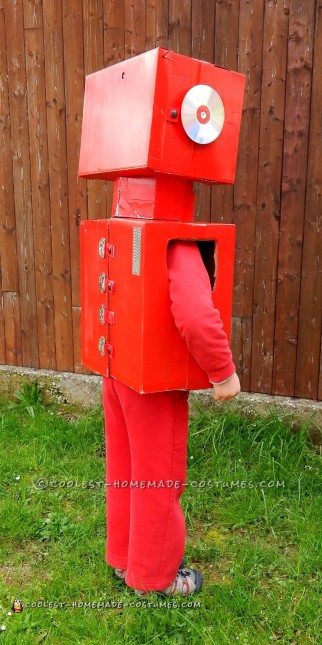
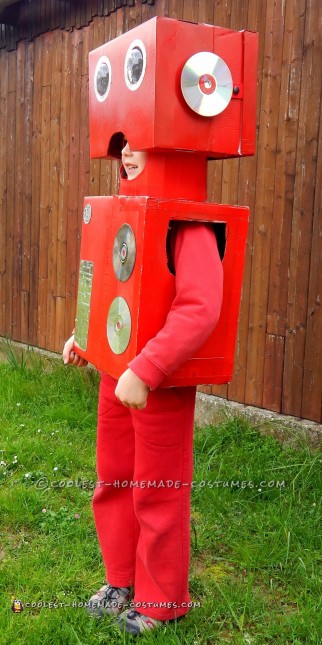
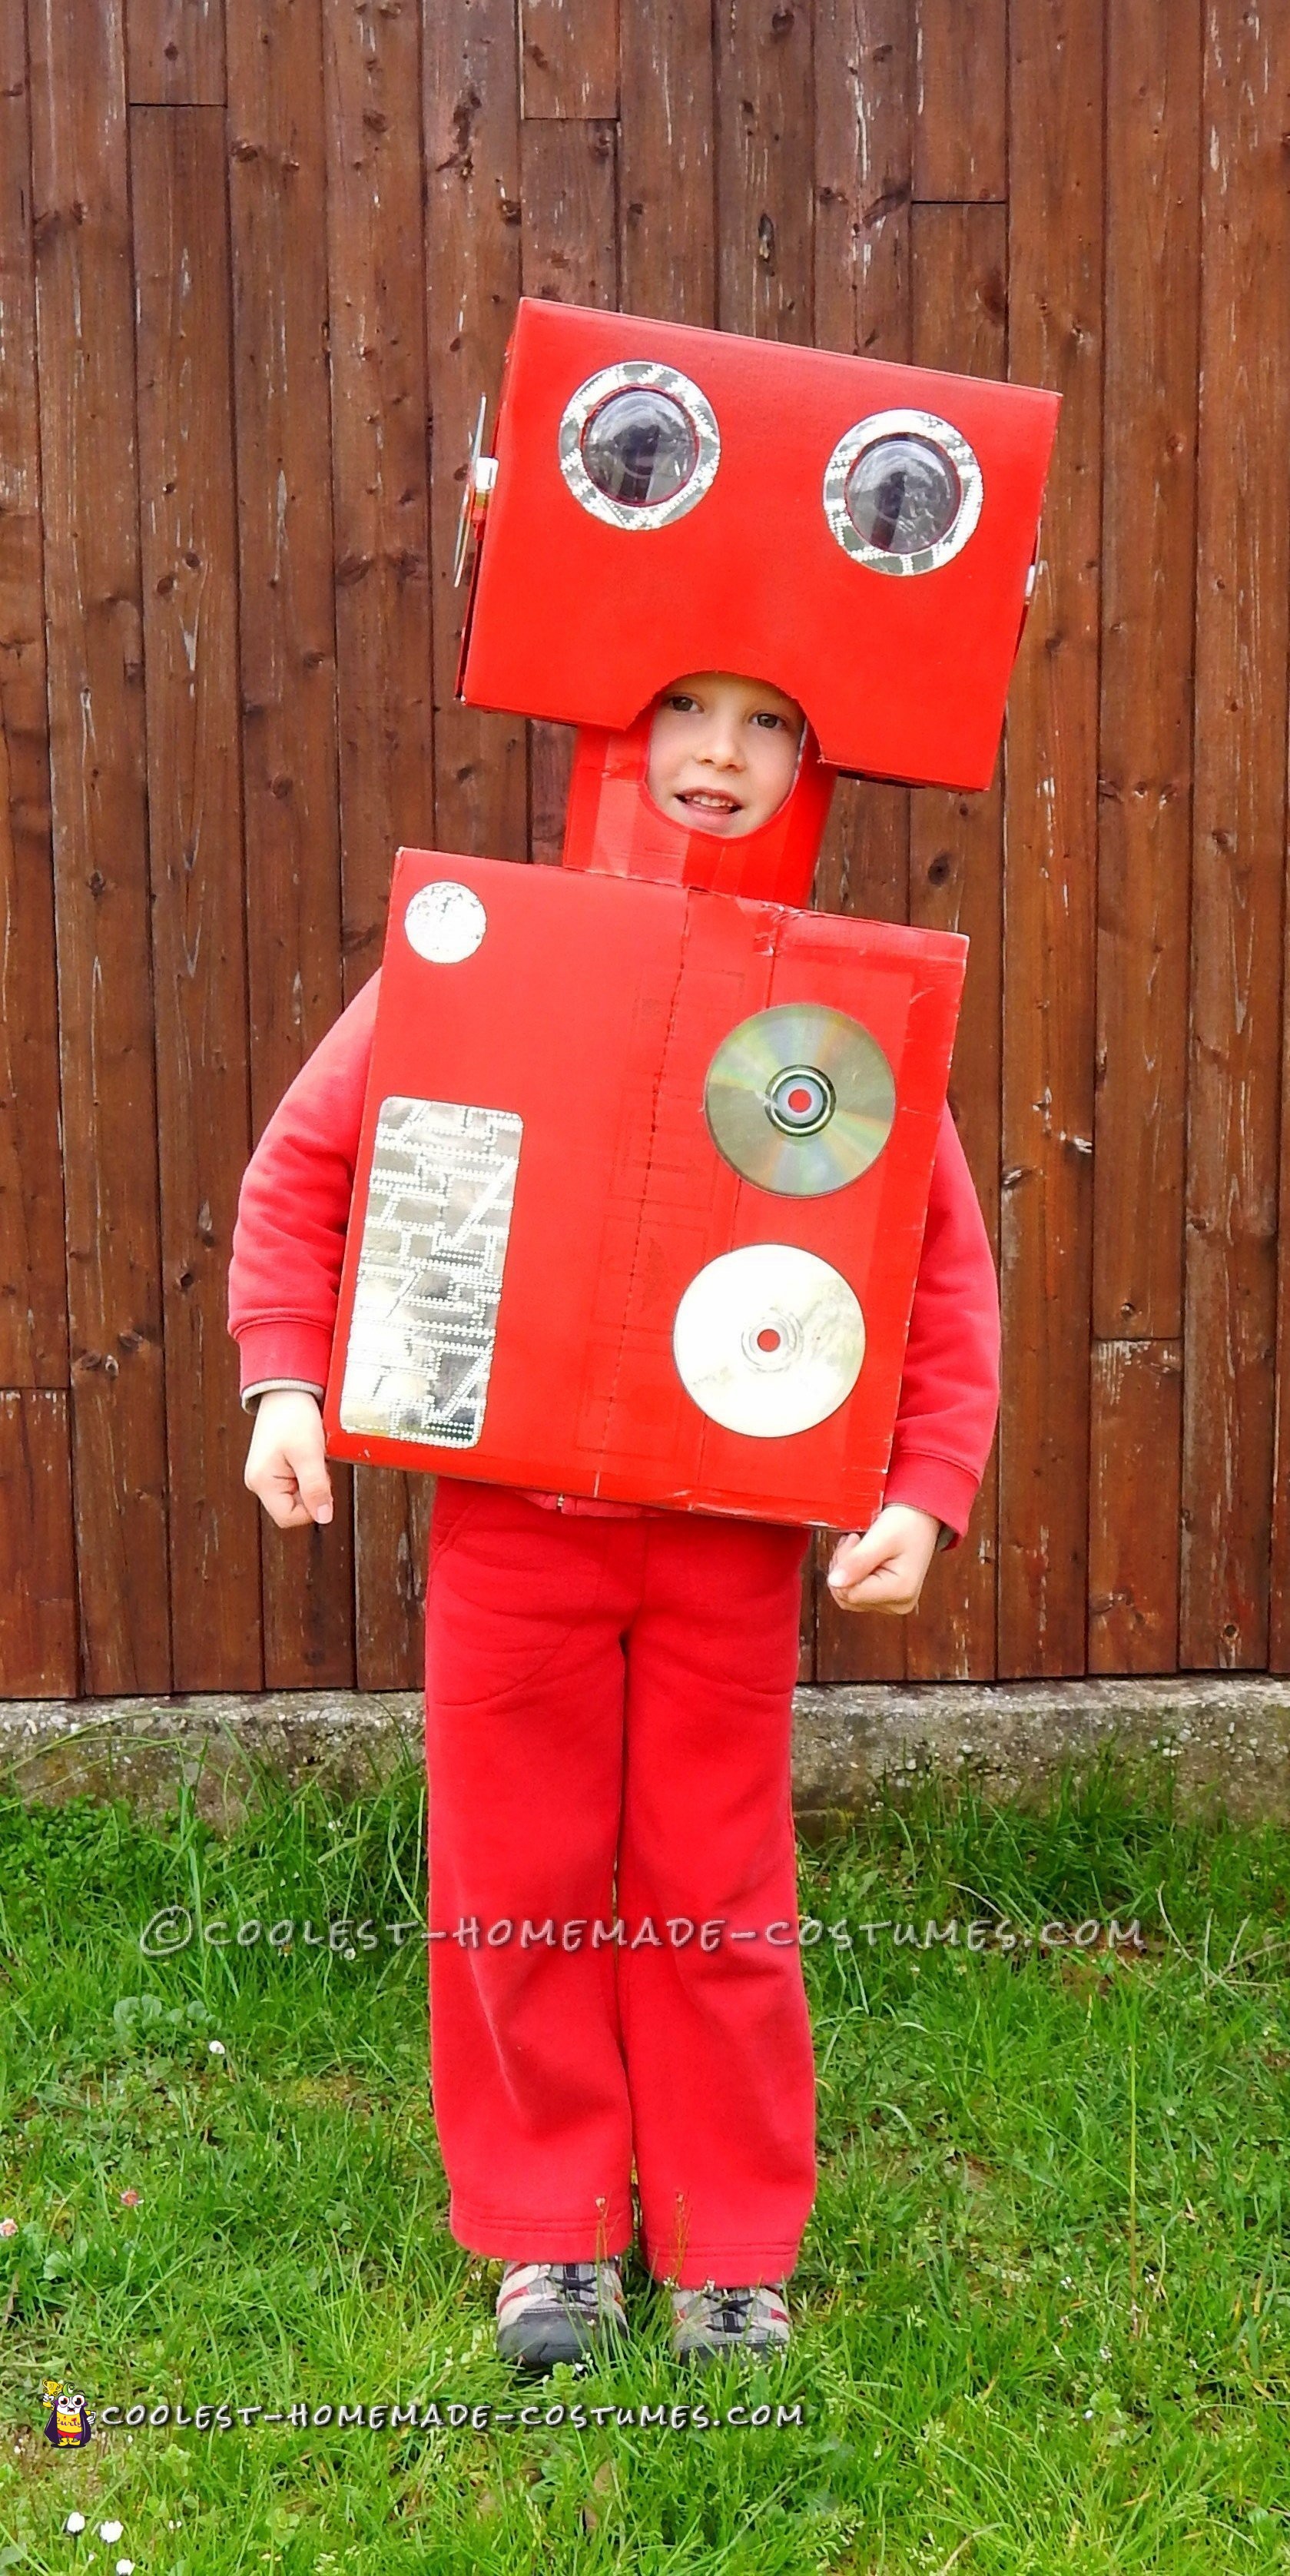
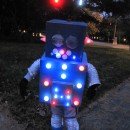
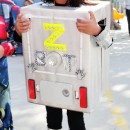
My 5 years old son wanted to be a robot for the Carnival. So, I and my mother started to work on the costume. I love recycling, so the basic idea was to collect old boxes and reassemble them together. I started looking on how to make a robot on internet, but the main problem of the box-costumes was that them were without neck. For this I made my own model of robot.
Step 1 – Preparation
I collect different sizes of boxes. For the head I used a shoe box (my father’s shoes) and for the body an old box I found in my stash, big enough for my son’s body, but not too much that he was able to sit down. I collect also different kinds of buttons, old CD’s and other recycled stash.
Step 2 – Robot’s body
I started working with the body. I cut out the holes for the arms and the head, I also cut a straight line on the back – to dress up the robot having a smaller hole for the neck. I measured the body and made bigger holes for arms and neck.
Step 3 – Robot’s neck
When the body I used a piece of cardstock to make the neck. I made a fold every 3,5 cm to made a circular cone. With the body on I take the measures where to cut out the hole for the face. I did a lot of changes – for this I made a template before using the read peace of cardstock – an old box in my mum’s stash. No errors were allowed.
Step 4 – Robot’s head
When the neck was done I started working on the head. I used a big shoe box. I positioned it with the cover on the back. At first I cut out the circle for the neck (covering a part of the child’s face and head). The neck must be high enough to stay on place on the top of the shoe box.
Step 5 – Gluing parts together
At first I protected all the corners with duct tape. I glue a cardstock circle in the neck – on the top of the head. I used a hot gun glue. I also glue the aluminum foil on the inside part of the shoe box and neck (just the part inside the shoe box).
Step 6 – Decorating
I cut out the circles for the eyes and the mouth on the shoe box. Then I painted the boxes with red color (just neck was colored in red because it was made by red cardstock box, before painting I protected it (mainly the part near the face) and the wholes (of arms, neck, eyes mouth) with newspaper. I left the boxes outside to dry.
When dry I finished decorating it with silver parts (I used my Cuttlebug machine for embossing and cutting circles). For eyes I used the plastic box of inox spirals (for the kitchen). I glue with warm glue some CD’s (for ears, on the body). For ears I glued the CD’s on The last thing was putting the red light inside the head-box (I used the light used on bicycles, old one that I can’t use anymore on the bike). I carved a little hole to switch on/of the light by the outside.
I attached the cover of the shoes-box on the back side just with 2 pieces of Velcro tape (I’m able to change the batteries or anything else very simply). I used Velcro tape also for the back.
COST: I used recycled stash (cardstock and plastic boxes, CD’s, plastic bottles covers, silver paper, bike light) and some home materials (duct tape, warm glue, aluminum foil, Velcro tape) – the only cost I had was for the paint (I bought 2 spray bottles – I used 1 and half).



Your comment has been sent successfully.