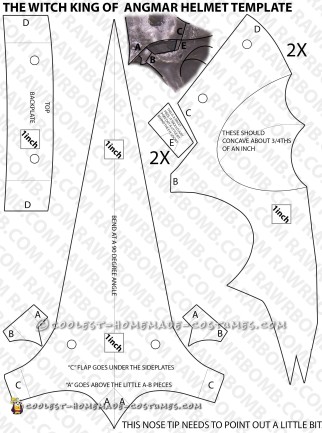
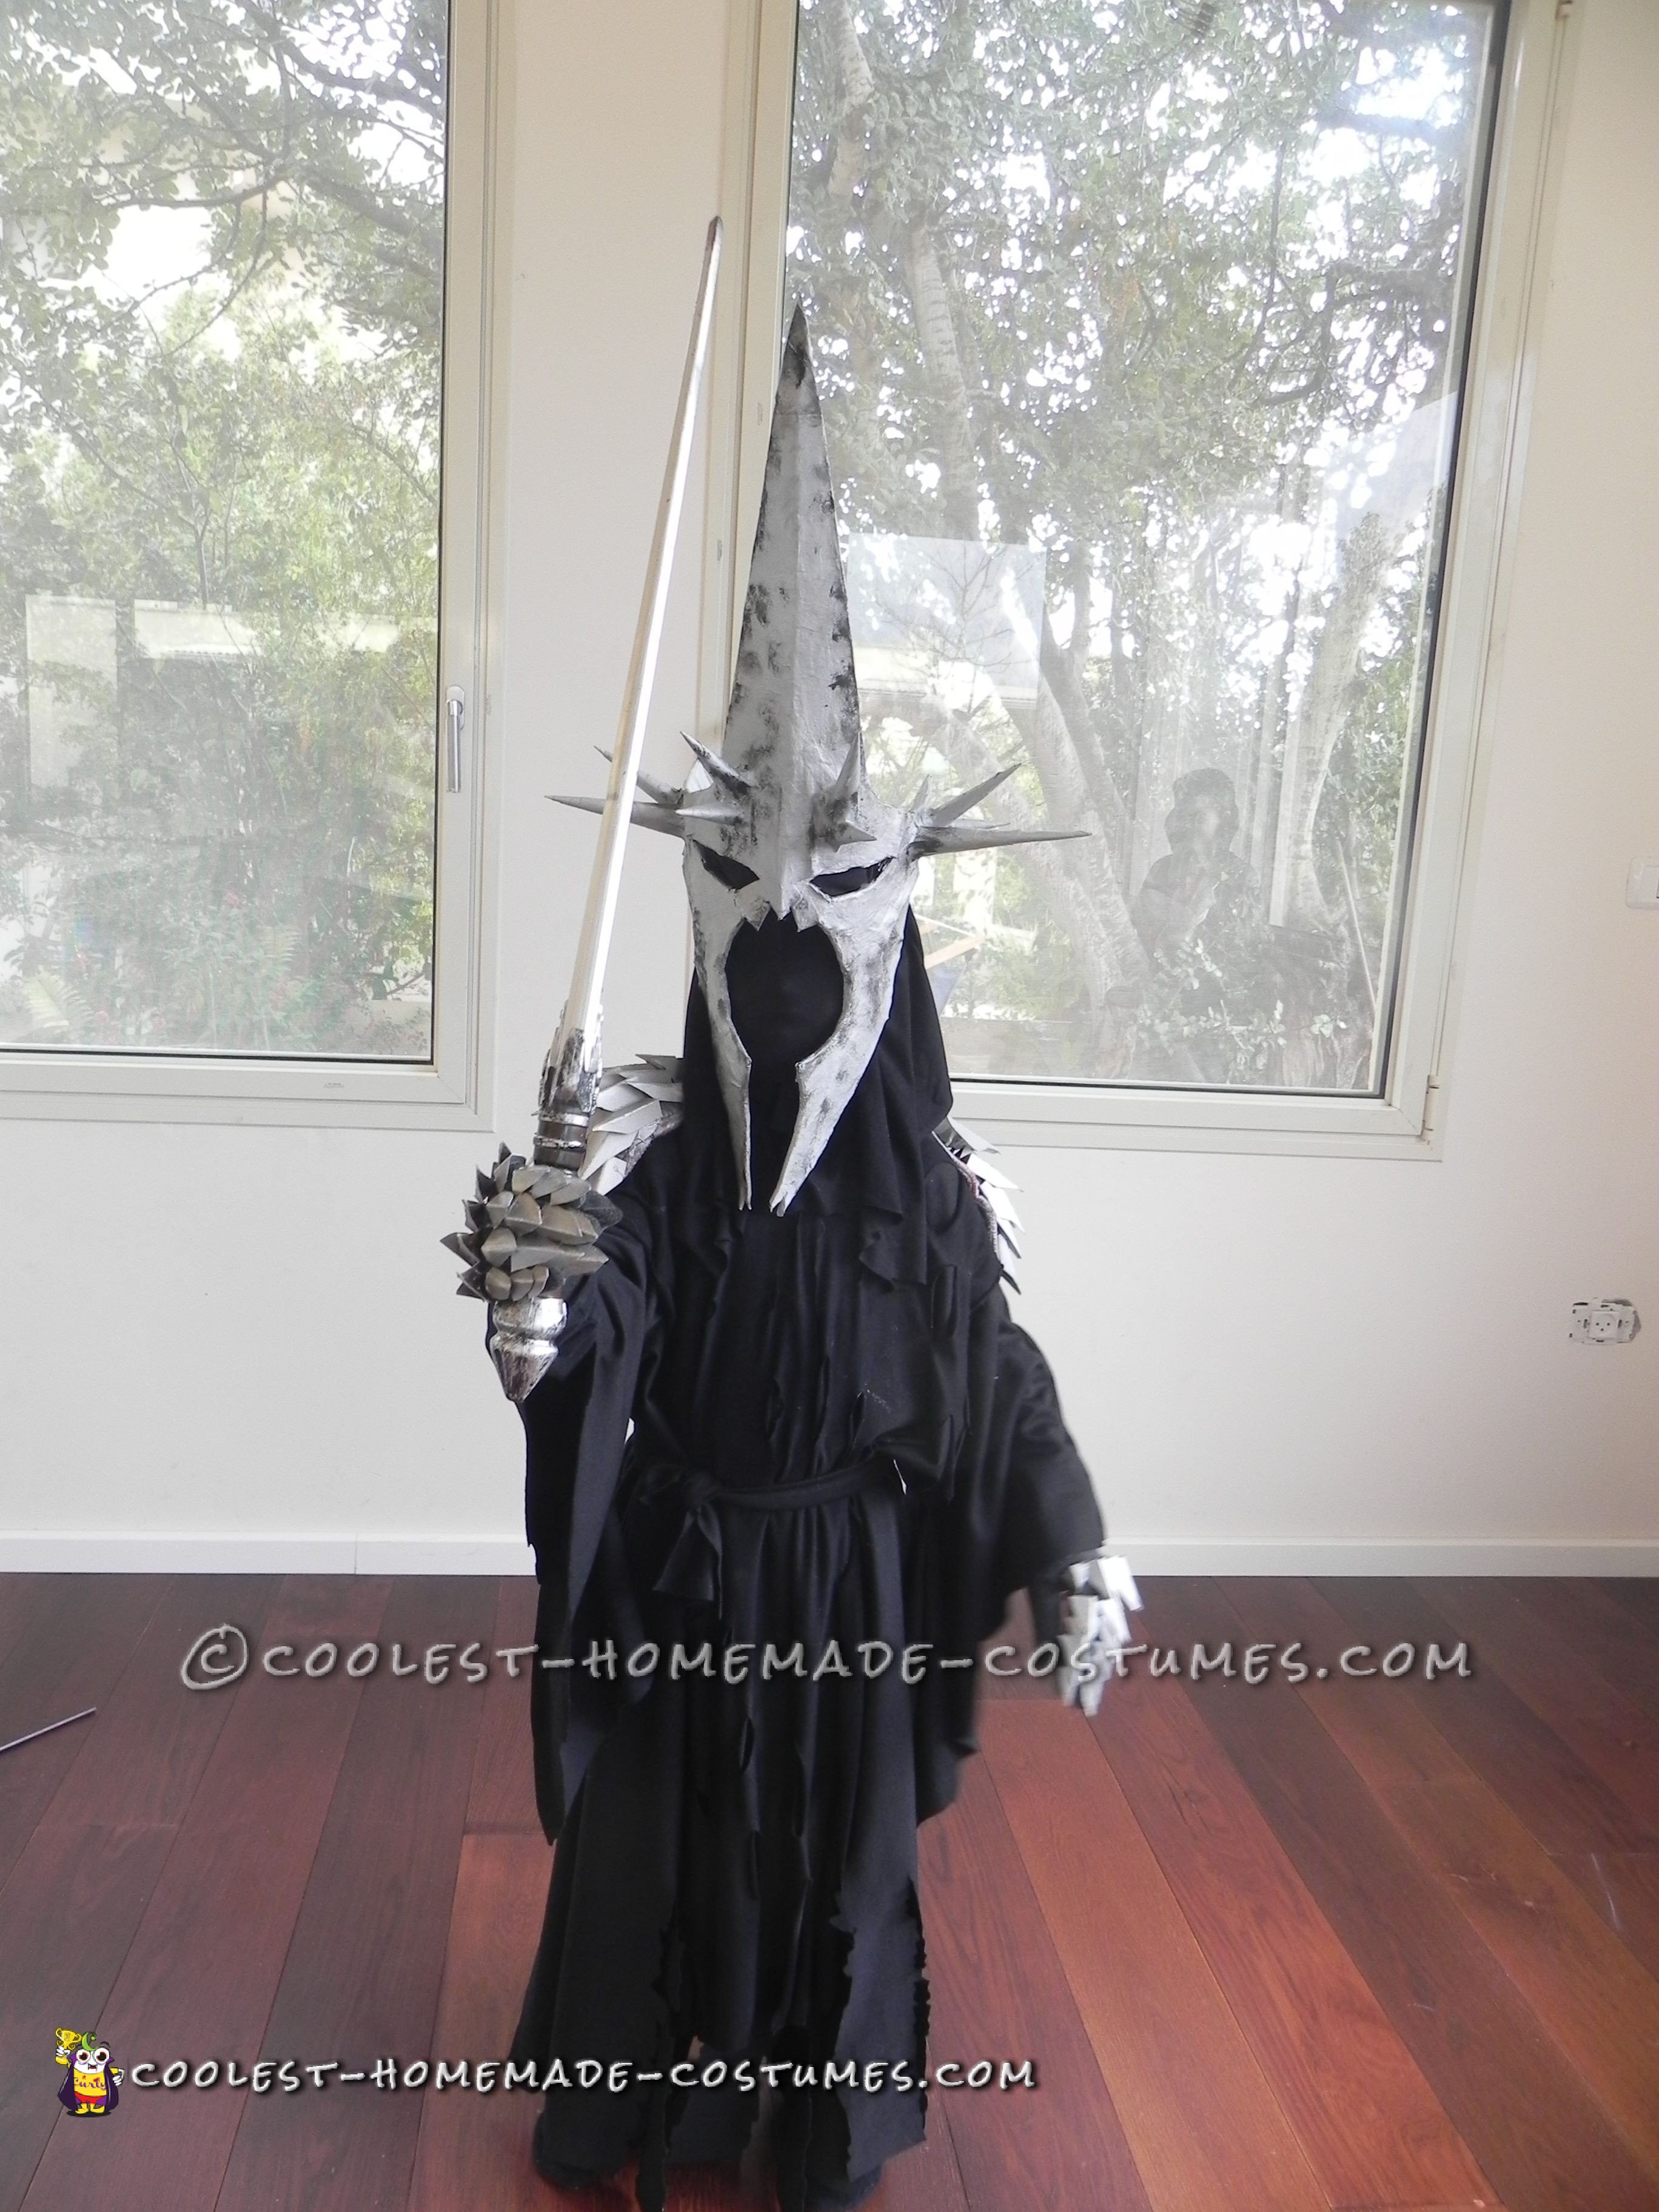
My boy wanted a Witch King costume from The Lord of the Rings so I did some research and found on the web a mask basic drawing and some videos for the cloak.
The Mask
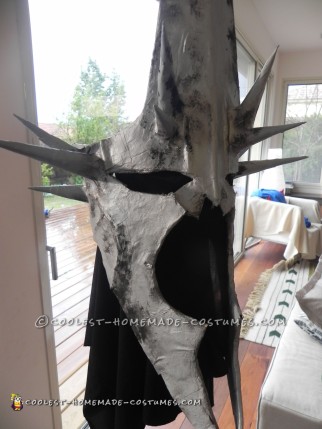
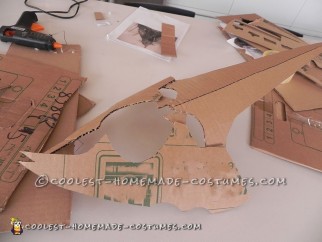
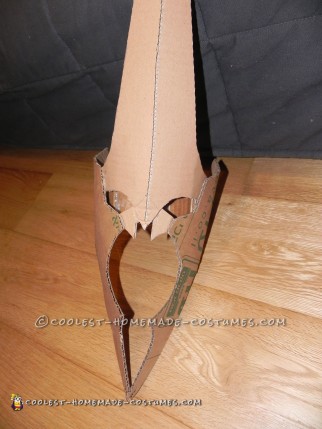
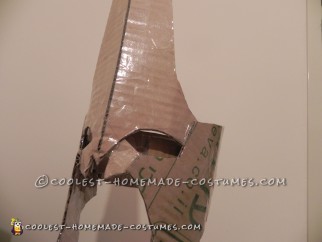
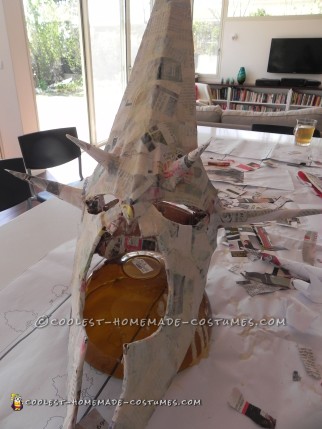
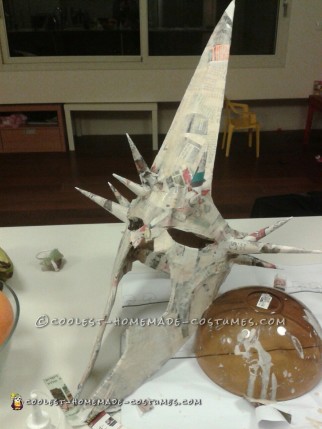
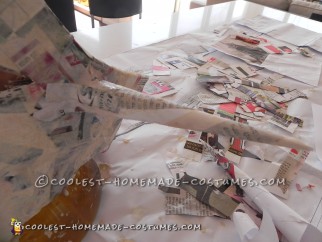
I started the mask with a basic cardboard outline which I attached to a cardboard ring fitted to the boy’s head circumference. I covered the cardboard very thoroughly with sellotape to avoid distorton from the wet glue I used for the papier-mache coating. After the sellotape I coated the mask with papier mache : newspaper strips glued with glue:1 part flour 1 part water and some white regular glue (the stuff should have honey-like viscosity). Papier mache is easy, environmentaly friendly and light after drying. You can create volume where needed by glueing a lot of paper or less. Drying takes up to one day so you can work for only a few minutes for a few days, or speed things up with a hair dryer.
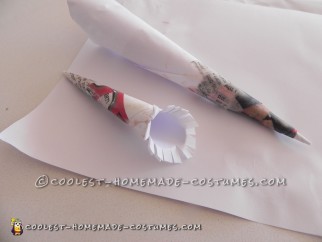
The spikes are simple paper cones attached with the same method. I sprayed the mask silver and added some black gouache with a little sponge. After painting I attached to the mask some black pantyhose fabric with hot glue so the child can see and breathe (the eyes of the mask were at forehead level, above the child’s eyes and he looked from the big gap under the mask’s eyes) , and hotglued black fabric all around the mask – just a big square of fabric.
The Robe
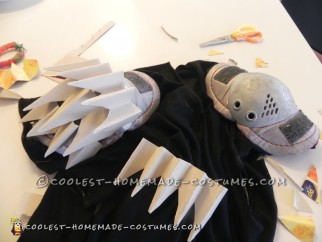
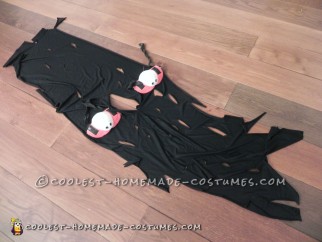
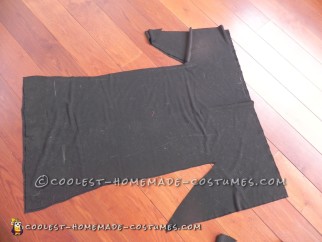
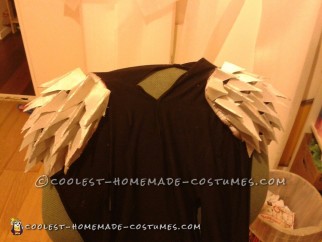
The robe is a very basic lie-your-child-on-the-fabric-and-trace-his-measures kind of thing, as seen in the photo. Three seams and that’s that. There is another piece of seamless fabric cut full of holes which comes over the robe as a second layer. To the second piece I attached two old knee protectors and hot glued zigzag cardboard spikes. I used a left over strip of fabric as a belt.
The Gloves
The gloves are regular black gloves with cardboard spikes hot glued to them.




Your comment has been sent successfully.