This is by far the biggest Halloween project I’ve ever undertaken. I gave myself over six weeks to finish it, and didn’t put the final touches on until the day of Halloween. I always try to make my own costume, but it’s usually pretty simple. This year, my son wanted to go as Rocket Raccoon and told me it would be cool if I could go as Groot (from the Guardians of the Galaxy movie, for those not familiar). Of course I didn’t want to disappoint my son, but I also wasn’t sure if I was capable of making this costume. We had never done matching costumes, so I wanted to go all out for this.
I discussed some ideas with my wife and after a couple days of planning, I got to work. I wanted to keep it as lightweight and cheap as possible, so I went with pipe insulation and foam puzzle mats. The two most expensive parts ended up being the paint and the glue sticks for the hot glue gun (This thing took a LOT of glue). The whole process was definitely a learning experience. I ended up wasting a lot of time and having to go back and fix things I hadn’t planned for. All the work was definitely worth it. The reactions I got were amazing. Everyone was stopping me to take pictures and ask me questions about the costume. Most people couldn’t believe I made it myself (I could barely believe it). My son was so excited he answered most people’s questions for me. Even the people who didn’t recognize the character were excited to see it. The one’s who did know who Groot was, were super excited. I wish I had more time to tweak a few things, mostly for my comfort, but I couldn’t be happier with how it turned out.
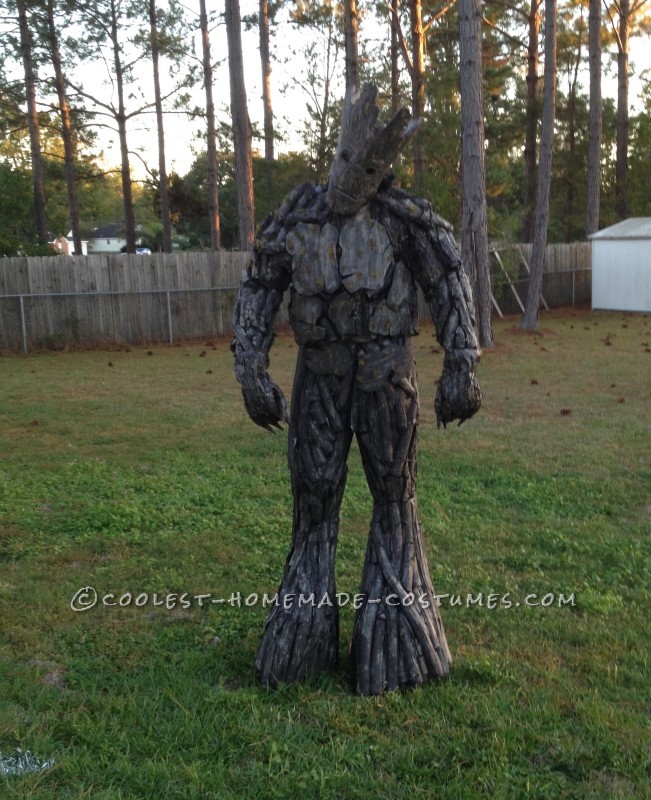
I am Groot
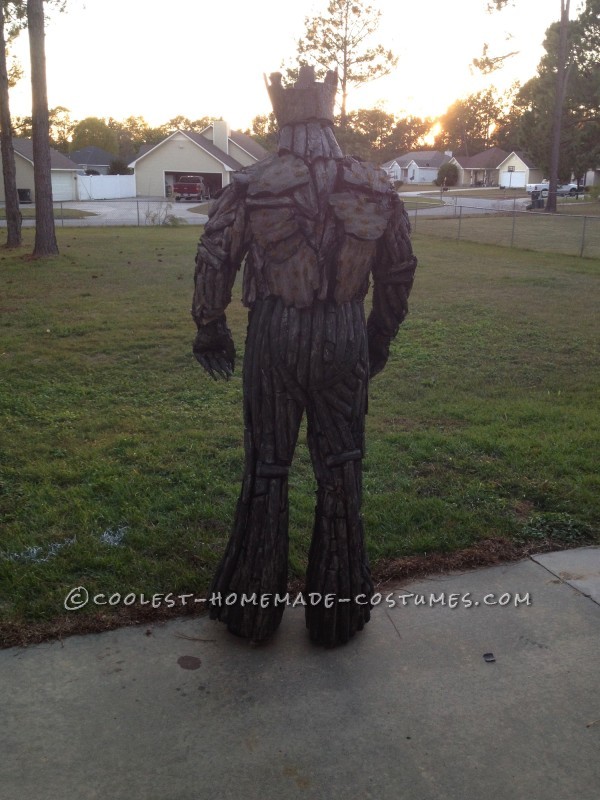
Back view
The mask makes or breaks the costume.
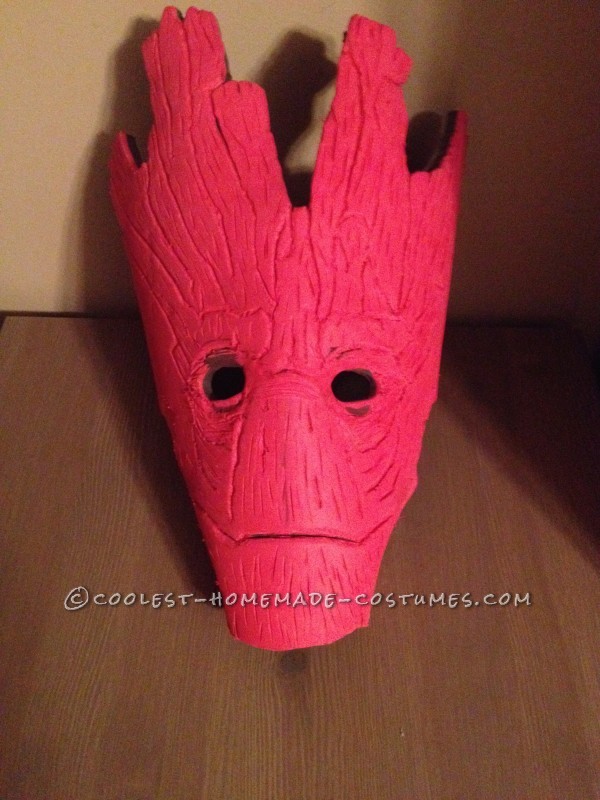
The mask was definitely going to be the most important part, so I knew if I couldn’t pull off the mask, the rest of the costume wouldn’t work. I started with a piece of foam puzzle mat. I wrapped it around a Styrofoam mannequin head and drew the pattern. Once I cut the shape, I used a power sander to remove the texture and smooth it out. I messed up on the first attempt and had to start over. Once that was done, I used a heat gun to make the foam retain a rounded shape and hot glued the back together. I free handed the “wood” pattern and eyes onto the foam with pencil and went over it with a rotary tool. The lenses were challenging. I shaped the lenses from some old sun glasses with the rotary tool and tried hot gluing them in place, but they wouldn’t stay. I tried super glue, but again, they fell right out. I finally cut out a couple pieces of foam and hot glued them over the lenses from the back. The foam was a little too thick, so I went over it with the heat gun. That ended up working out perfect because it melted the foam pieces around the lenses and into foam of the mask, making it super secure. After a couple coats of paint, I added small patches of dried sheet moss for effect and I was done.
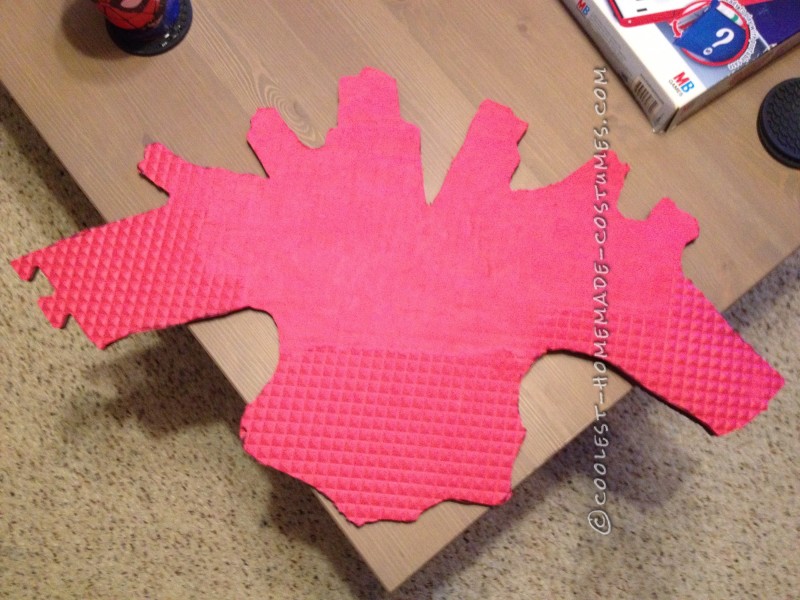
Shaped and carved, lenses about to go in
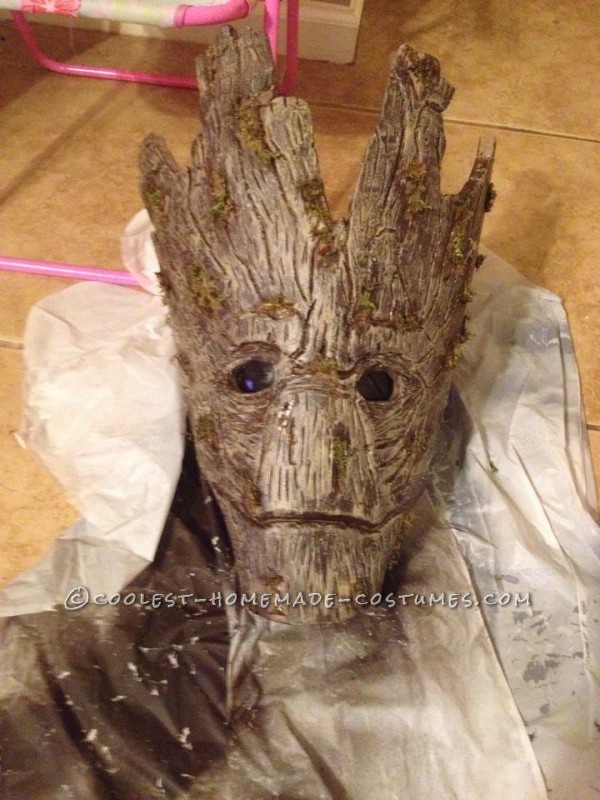
Finally done
Stilts are a Must
I’m only 5’10” normally and knew that to get the full effect, I was going to need some help with my height. I searched online for cheap options, but unfortunately everything was pretty expensive and I wanted to keep costs low. I finally settled for some old paint cans. I wrapped the handles in pipe insulation and duct taped it down. After walking around on them for a minute, I realized they were starting to slip off. I took some bungee cords and wrapped them around the back of the heels to stop the slipping. I wanted to bolt a piece of 2X4 to the back to better support underneath my heel, but I didn’t have time. With the stilts and mask, I measured just a hair over 7′ tall.
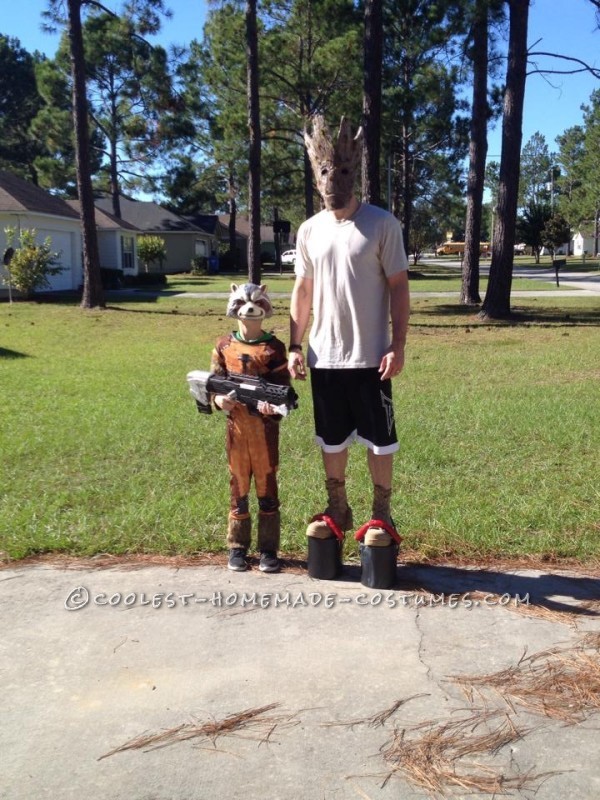
Testing stilts with mask
Upper Body
I thought this was going to be the easiest part; turns out, it was the hardest. I used 3/4″ pipe insulation, cut it in half, and hot glued it to an old long sleeve thermal undershirt. The chest and back pieces were cut from foam and covered with a textured packaging paper used at my job. For the texture, I tried using my rotary tool to carve detail like I did with the mask. While it was pretty quick, it didn’t look as good as I would have liked. I settled on using tissue paper left over from both my kid’s birthday parties. I covered it in a light coat of Modge Podge and put it over the pipe insulation while slightly wrinkling it. It wasn’t until I had almost finished that I realized it was impossible to put on and take off. I ended up cutting the shirt open in the front around the pipe I had already glued down to make it easier to slip on and off. I figured Velcro would make it quick and easy to open and close, but I couldn’t get the Velcro to stay attached. I tried hot glue, super glue, and two ton epoxy. Nothing worked very well. I ended up stapling it and going over the ends of the staples in hot glue to prevent poking. After all that was done, I hot glued the chest and back pieces on and painted it.
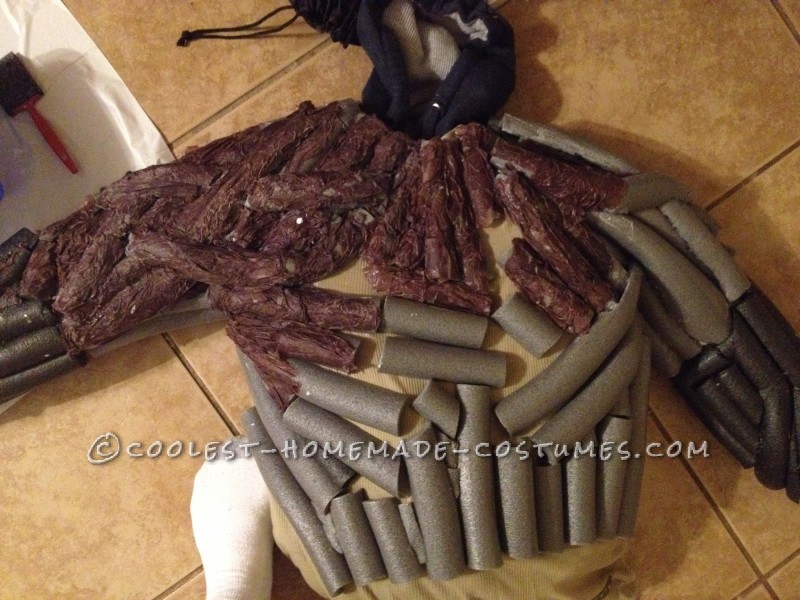
Upper body, texture starting to go on.
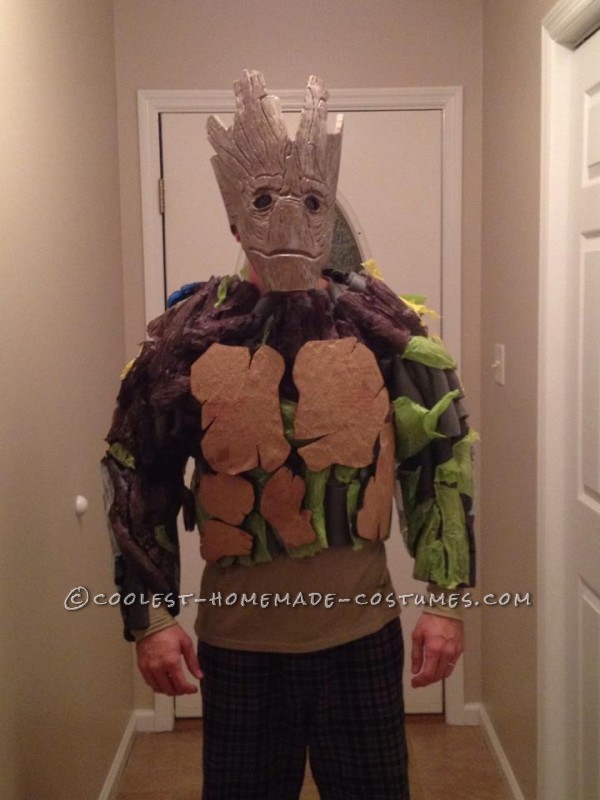
Mask with upper body
The (bell) Bottoms
The first step was to add some length to the pants and flare them out so they would fit around the boots and stilts. I took an extra thermal undershirt and cut it into strips that I then glued to the pants. I learned my lesson from the top half about ease of putting the costume on. Before I started putting the pipe on, I cut the pants open all the way down both sides and attached Velcro with staples and hot glue. After that, all that was left was putting the pipe on, texturing it, and painting it.
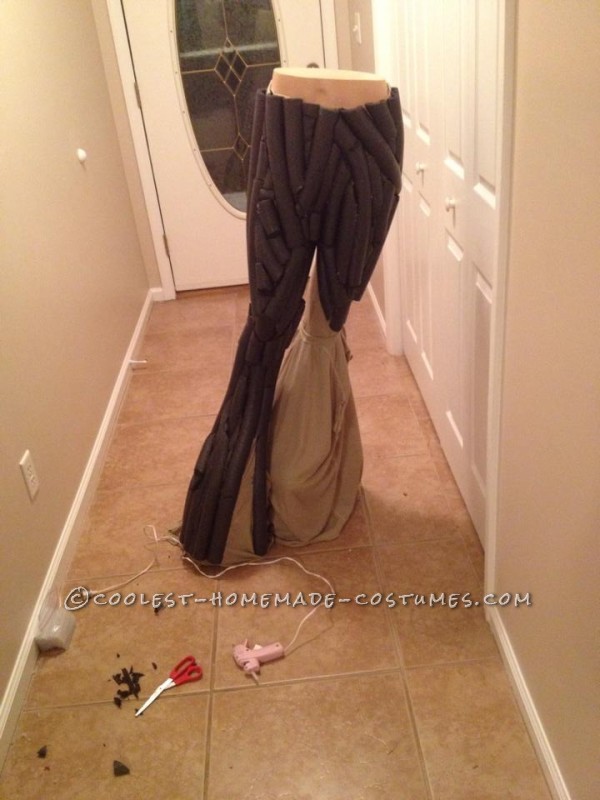
Legs in progress
Accessories
Of course, no costume is complete without accessories. I needed gloves and a way to cover my neck. The neck was simple. I painted a balaclava and put a couple pieces of pipe insulation on the back. I used tissue paper for the texture on the neck, but looking back, I should have carved it with my rotary tool. The high amount of movement in the neck made it hard for the tissue paper to stay on. For the gloves, I cut some old rubber gloves to size and poked plastic tips of caulk tubes through the fingers. I then wrapped them in dark green duct tape and painted them. To add a little more detail, I glued small piece of rope all over the costume and gloves to look like vines. The last step was glueing patches of dried sheet moss all over the costume for effect.
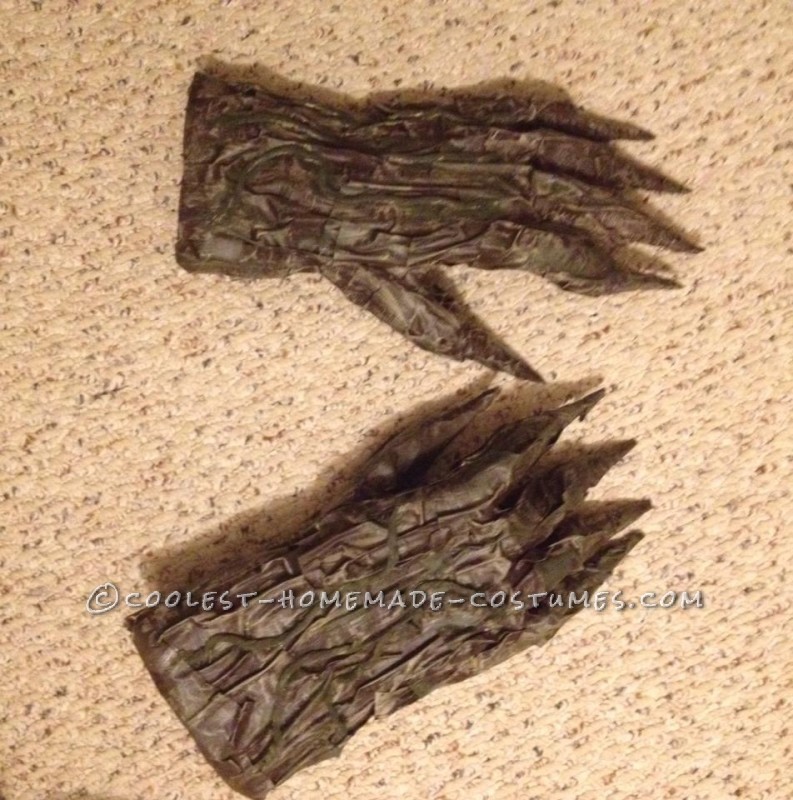
Finished gloves
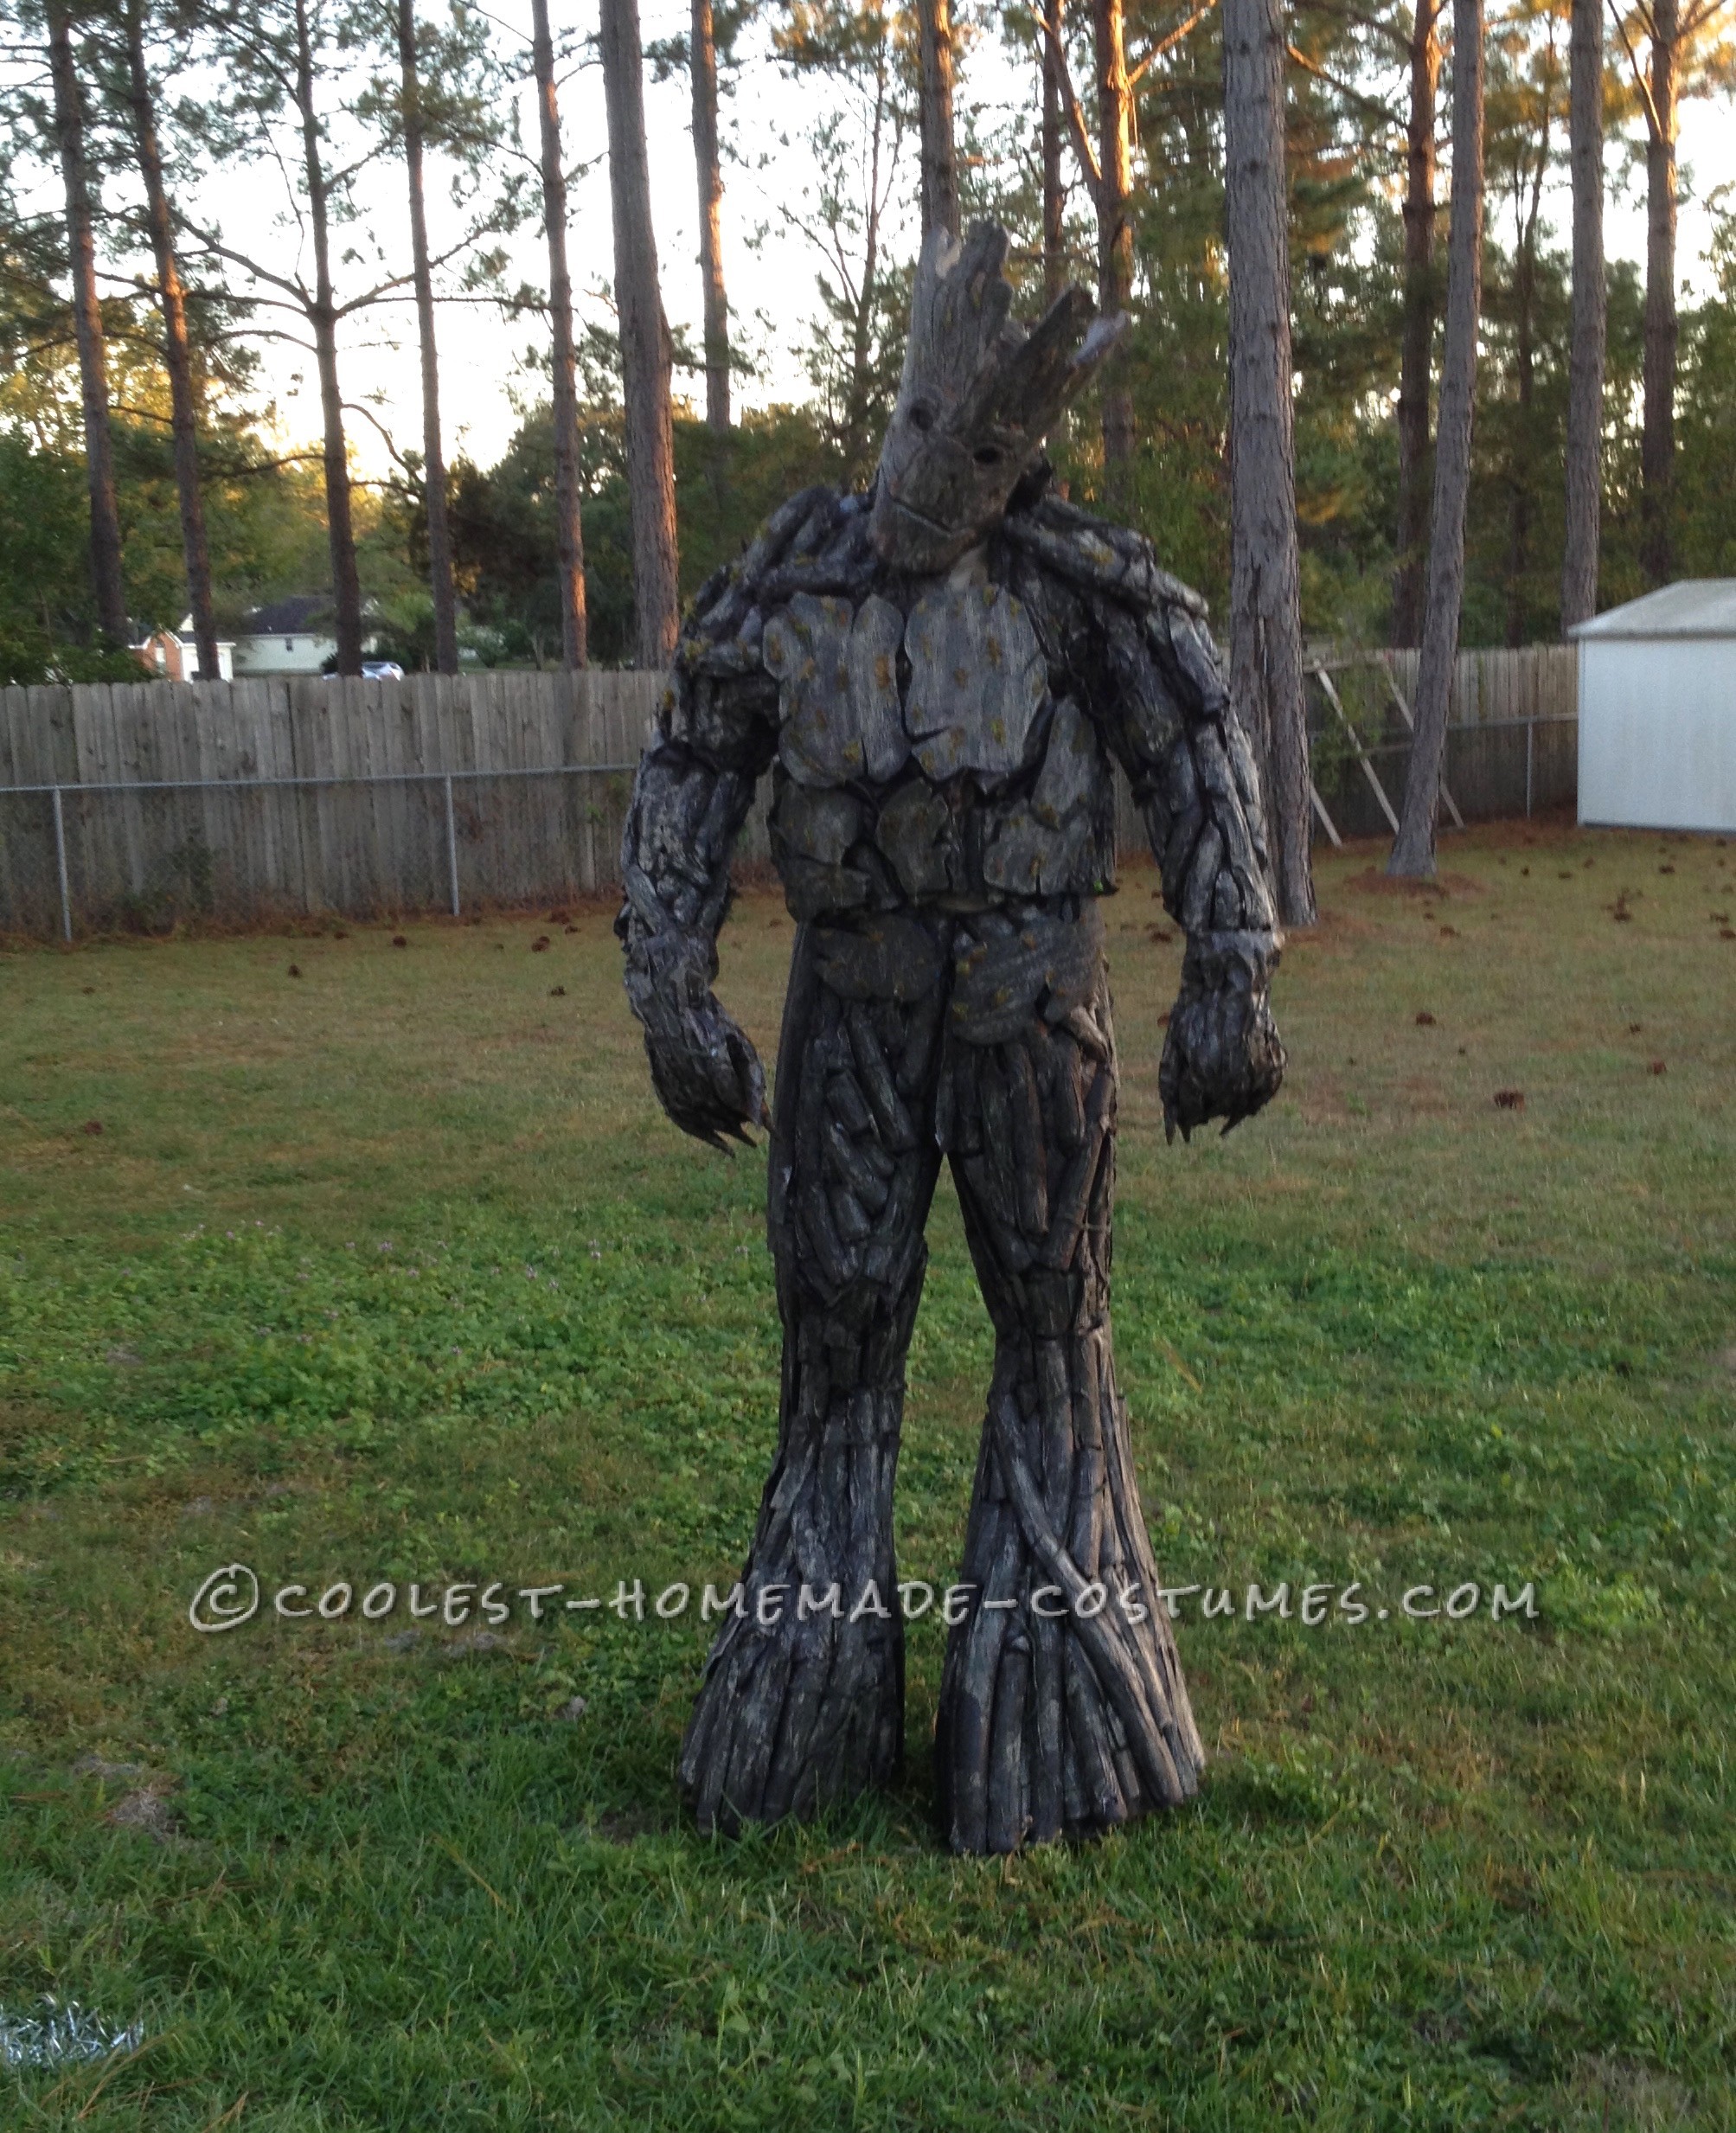
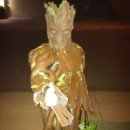
Definitely a lot of work. But the thing looks amazing.
Definitely a lot of work. But the thing looks amazing.
Wow, looks great!
Wow, looks great!
Very impressive!!!! It will be wonderful memories for your son for the rest of his life. Of that I’m sure! ☺
Very impressive!!!! It will be wonderful memories for your son for the rest of his life. Of that I’m sure! ☺
AMAZING!!! You WIN Halloween!
AMAZING!!!!! YOU WIN HALLOWEEN!!!!!!!
Would you consider making one to sell? My husband wants to be Groot this Halloween. We will definitely pay you for your services. Please let me know. Thank you. Your costume look wonderful!!
Would you consider making one to sell? My husband wants to be Groot this Halloween. We will definitely pay you for your services. Please let me know. Thank you. Your costume look wonderful!!
I’ve just found out my daughter has to dress as Groot ( never heard of it) for a dance competition. I am terrified of having to try and make something. Your pictures are fab, just need to see if I can adapt and make something that bends. She will be in it all day and also walking for miles in a parade. You ideas are great if you have any thoughts on how it could be adapted to allow freedom of movement I’d love to hear!