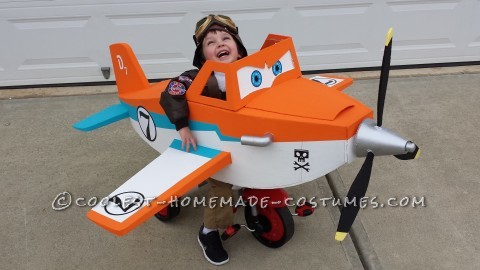
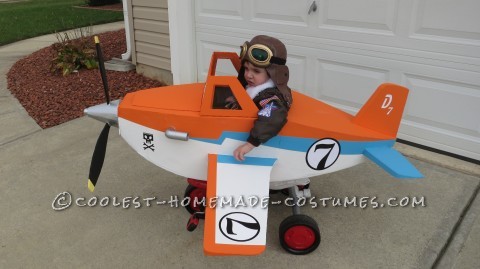
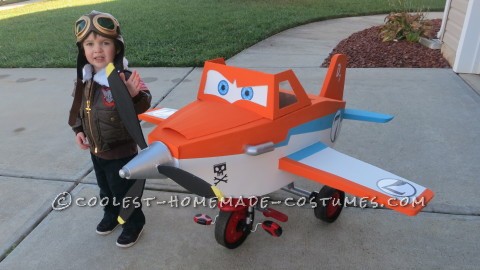
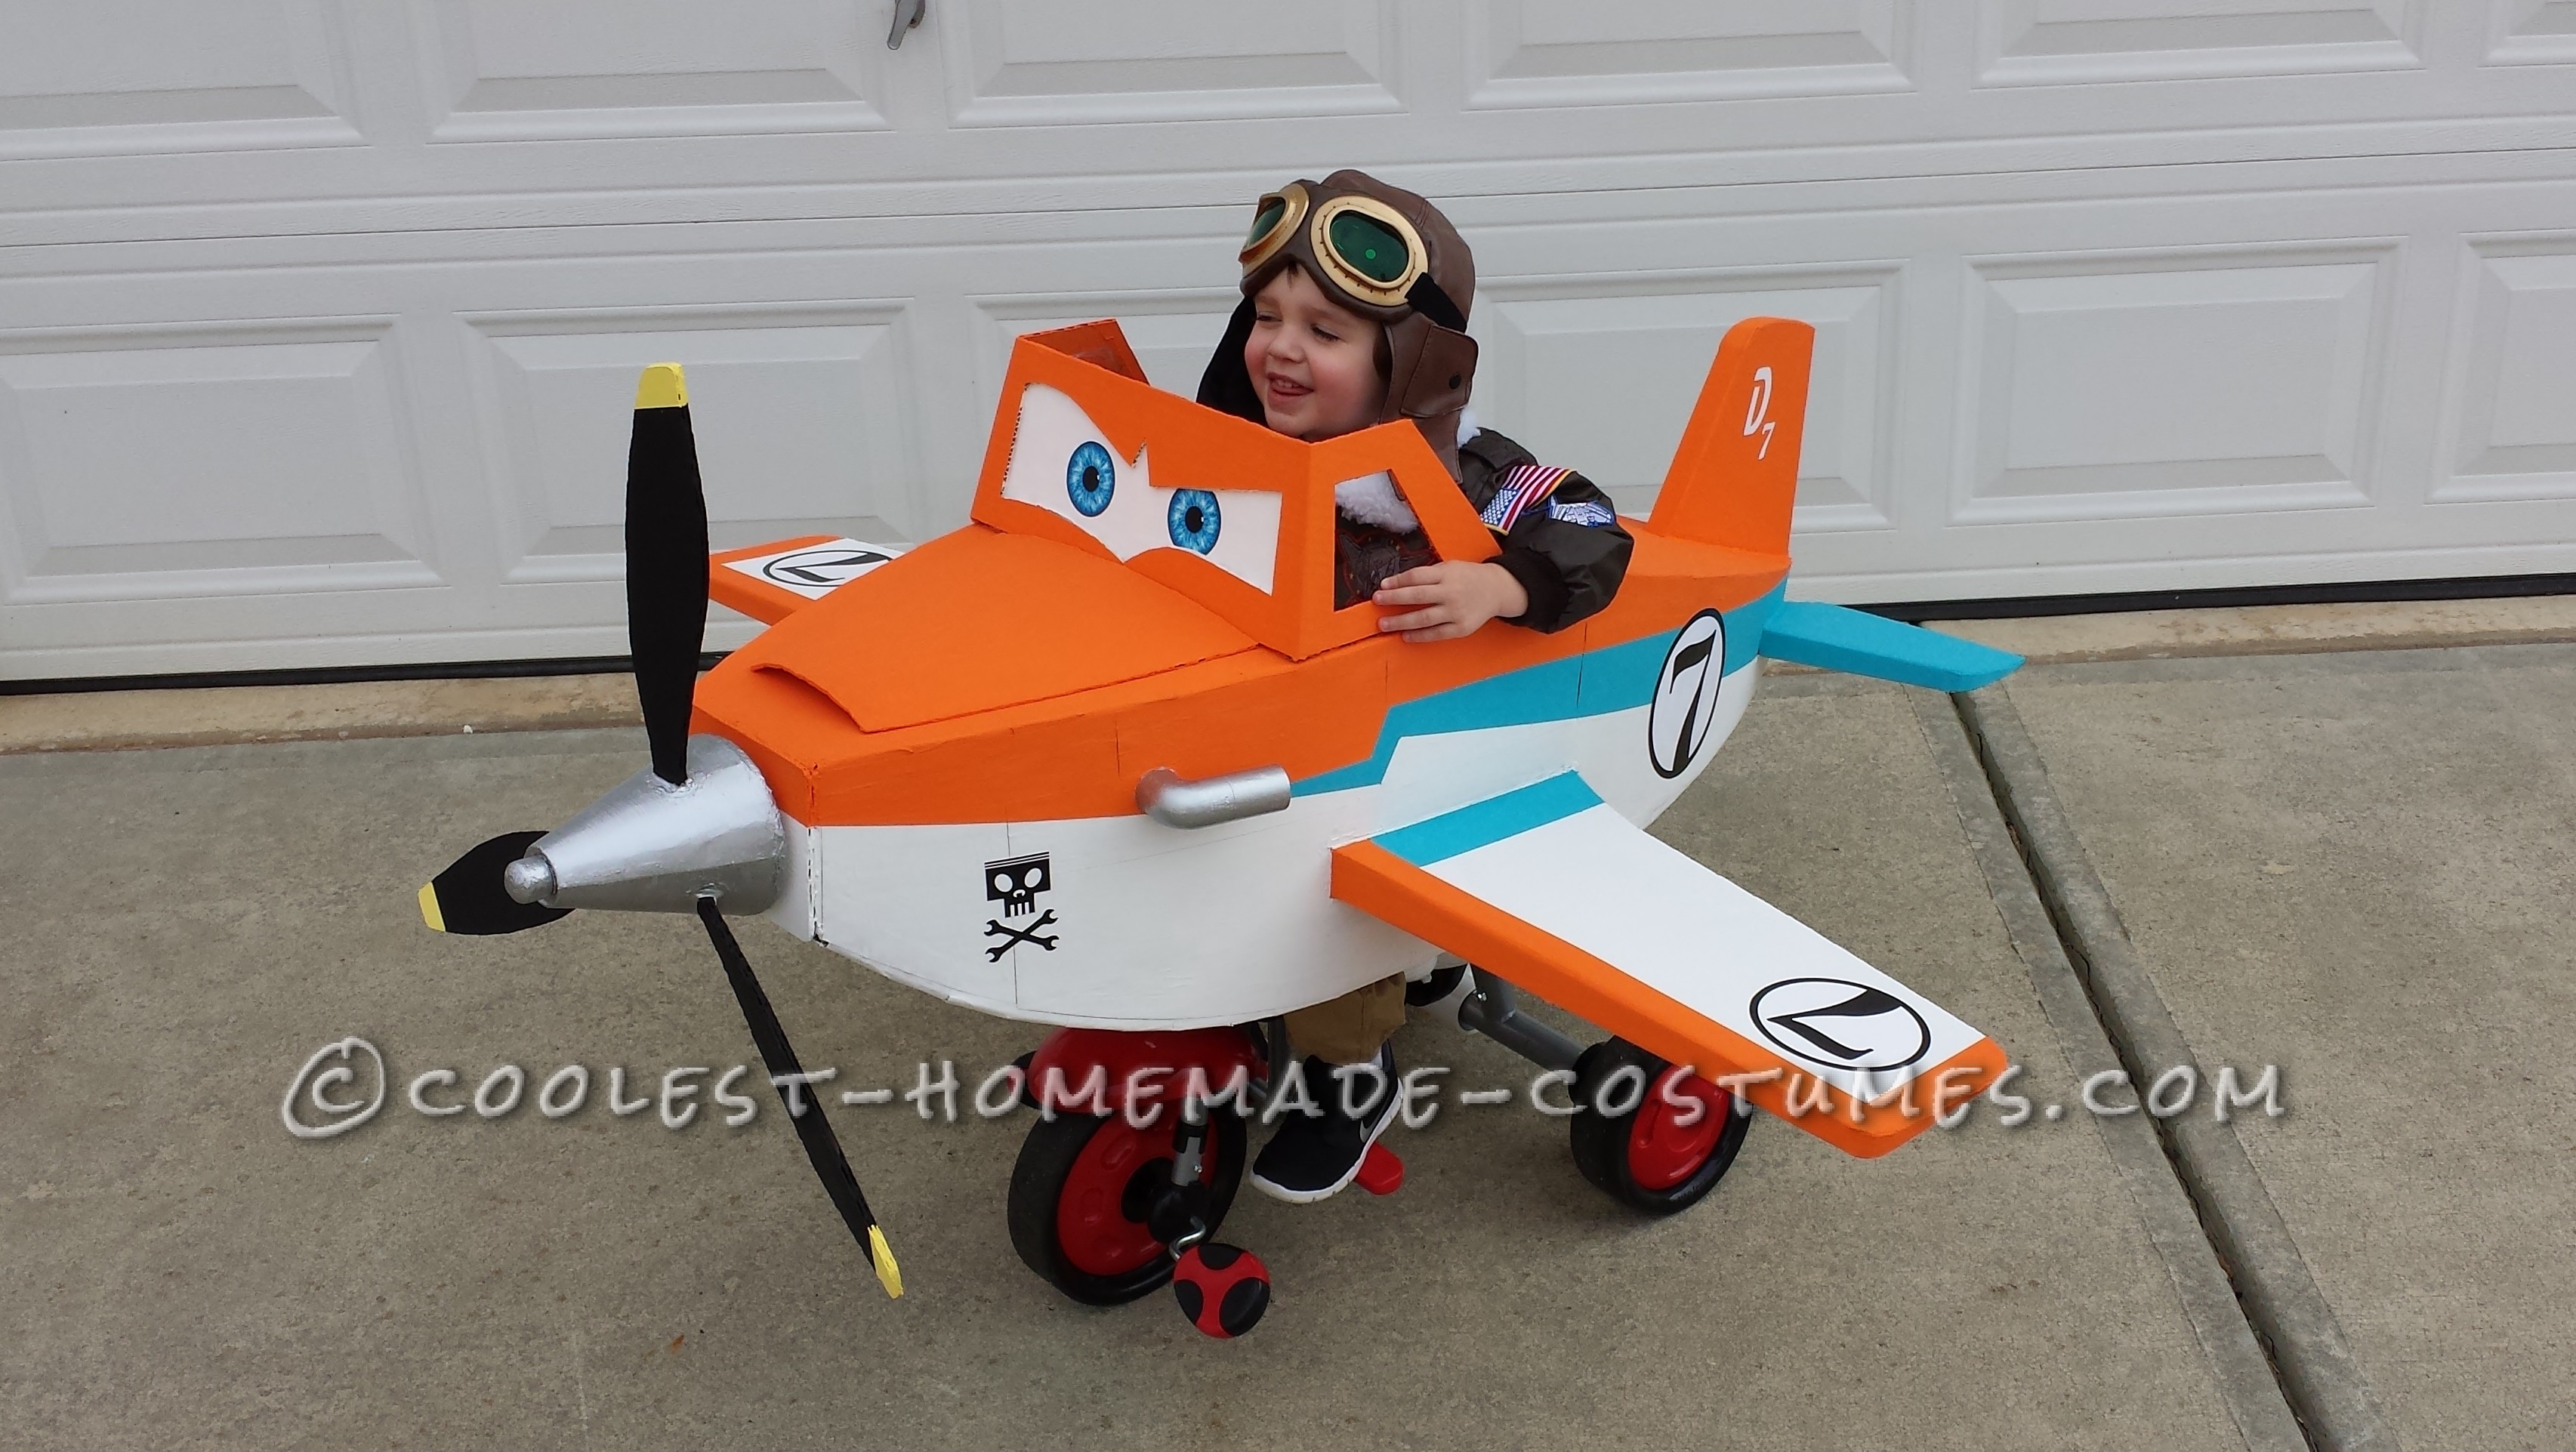
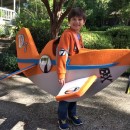
Since the first Disney Planes movie came out, my son, Talen, has been obsessing over all airplanes, especially Dusty Crophopper’s character in the movie. So, I decided to build him a Dusty airplane to accompany his pilot costume for Halloween this year (2014).
After determining the size of airplane based on my son’s size, I proceeded to design the airplane using drafting software to facilitate the layout and scaling of the airplane. After the design, I printed the drawings and used them to cut the airplane parts out of cardboard. After all the parts were cut, I began assembling the fuselage, then the cockpit and vertical/horizontal stabilizers. The cockpit and vertical/horizontal stabilizers were surface mounted to the fuselage using hot glue. Next, I created the two exhaust pipes using two short 3/4” PVC pipes (approximately 2-3” long), a 3/4” PVC 90 degree elbow, and a 3/4” PVC cap and then mounted them into pre-cut holes in the fuselage.
Next, I assembled the propeller assembly, which is made up of cardboard for the propeller blades, 3/4” PVC pipe, and a cardboard witch’s hat that I picked up at a craft store for the spinner. The tip and base of the witch’s hat were cut off and a 3/4” PVC pipe was installed inside of it. I cut holes into the spinner and installed the propeller blades into these holes using hot glue. I installed 1/2” PVC pipe from approximately 6” in front of the fuselage to approximately 12” behind the front of the fuselage. Using hot glue, the 1/2” PVC pipe was mounted inside a hole in the front of the fuselage and also inside a hole in a piece of cardboard that was mounted inside the fuselage. The propeller assembly was then installed onto the 1/2” PVC pipe. Using PVC cement or Krazy glue, installed a 1/2” PVC cap to prevent the propeller assembly from being removed. This ensured the propeller assembly would spin easily without coming off.
Next, I assembled the cardboard wings. I cut out the approximate shape of the wings in the fuselage and installed one wing inside the fuselage and hot glued it to the interior surface of the fuselage. Using hot glue, I installed a piece of 3/4” PVC pipe inside the wings to provide rigidity. For my son’s airplane, which is approximately 55” wide wingtip-to-wingtip, I used a 36” long piece of PVC.
Next, I installed the other wing using the same method as above; ensuring the PVC pipe fit inside the cardboard wing. Next, I applied several light coats of white acrylic Gesso primer to provide a good base for my paint. The use of primer is a good idea since paint tends to warp cardboard. I then painted over the primer with standard acrylics. I used silver metallic acrylic paint for the propeller spinner and exhaust pipes to give them a metallic/chrome look. Also, I printed all the decals on glossy paper and attached them to the airplane with Krazy glue. Since my child was small compared to the size of the airplane, I had to attach the airplane to his tricycle using tie wraps.
The funny thing is after all the time and work that I put into this project, my son decided that he did not want to wear it on Halloween. I actually designed a handle to allow me to push it around our neighborhood in case my son got tired enough of walking that he would want to ride in it, but no luck. I did have a lot of complements while pushing it along the neighborhood; I even had several people offer to buy if from me. Although I was slightly upset that my son did not ride it on Halloween, I actually had fun designing and building it for my him. I plan to keep it for at least a few more years in case he wants to wear it in the future.

Your comment has been sent successfully.