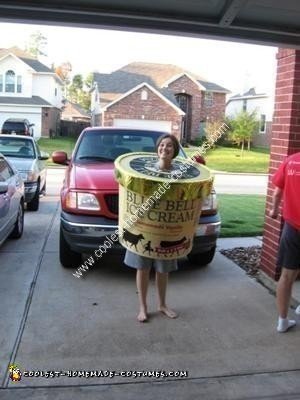
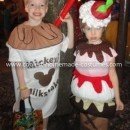
My husband and I were trying to come up with costumes for a costume party and were debating between a Rubik’s cube or Blue Bell Ice Cream. The more we thought about it, we ended up deciding to go with a homemade Blue Bell Ice Cream costume because it was unique and we were coming up with ideas about how to make it. Once we had the idea, we just needed to assemble it.
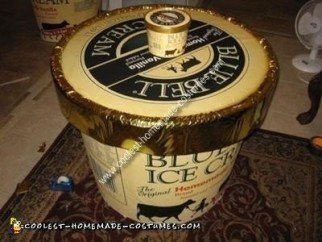
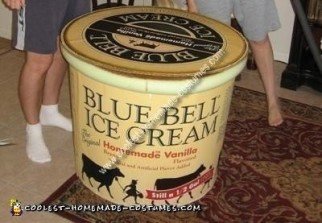
To build the homemade Blue Bell Ice Cream costume, we started with an empty ½ gallon of Vanilla Blue Bell Ice Cream. Aw, shucks! I had to finish the carton of ice cream before I could use it. We rinsed out the carton and lid, and took it to my husband’s work. Once there, we cut the carton along the seam and scanned it to his computer. We scaled it so that it would print out proportionally. We did the same for the lid.
We laminated poster board to help make a sturdier frame. Back at home, we cut out the print out of the carton. We laid out the poster board into the same shape as the print out and stapled the edges of the board together so the whole thing would be connected. Then we used Elmer’s rubber glue and glued down the print out to the laminated poster board. We cut off the excess poster board after the glue had dried.
Once we had the main piece, we needed to build our frame. We used pool noodles to make the frame. We cut the noodles in half (vertically) to create a flat side. We positioned the flat side of the noodles on the front side of the printed carton at the top (and the inside for the bottom) and used epoxy and clamps to hold it in place. We eventually did the same thing at the bottom of the carton. We used plastic ties to join the noodles to the printed carton, just for reinforcement. We poked the ties through the noodles and the printed carton (it was covered later on by the lid so this could not be seen in the final product).
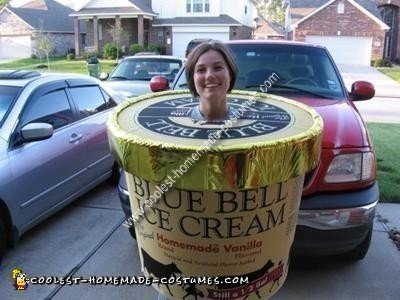
While we let the frame set, we worked on the lid. First we cut out the printed lid, and then we traced the circumference on a sturdy piece of cardboard. We cut the cardboard to fit and glued it to the print out. Once dry, we measured and cut a circle for my head to pop through. We purchased foam tubing with a sticky strip and used it as the lip of the lid. The sticky strip made it easy to adhere to the lid and was the perfect size for the lip of the lid.
Next, we joined the lid and the frame and held it together with plastic ties poked through the edge of the cardboard from the lid, and through the noodles. Once assembled, we used gold foil “tissue” paper and long strips of cut out poster board to create the rest of the lid. We attached the poster board to the foam tubing, and used the foil paper to cover the tubing and poster board. We were able to tuck the foil under the tubing and we taped the foil to the backside of the poster. Doing this gave the rim of the lid a smooth appearance, and the process created the gold rim of the lid.
One of the last things we did was create more reinforcement to the frame by building a circle (for the bottom of the carton to be set upon the noodle) using plastic pipe/tubes (it kind of looks similar to a hula-hoop). The last thing done was to duct tape foam shoulder pads (cut out from old egg crate pad) for my comfort when wearing.


What a cool idea!!!!
Wow…we need an yogurt cup costume for our business and we want to hire you!!!
GENIUS!!!