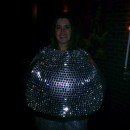
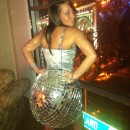
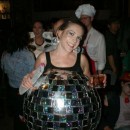
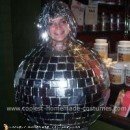
Nutty Nostalgia for my wild and carefree ’70’s disco dancing days gave me the inspiration for making a disco ball costume. I also needed a “Theme” for two people, as my friend’s daughter wanted to go to the costume party with me. So I came up with the idea of the Disco Ball and it’s Disco Dancer, or as I referred to my friend’s daughter, The Disco Belle of the Ball (Disco Ball, that is) . . . who doesn’t appreciate a good double entendre, right?!
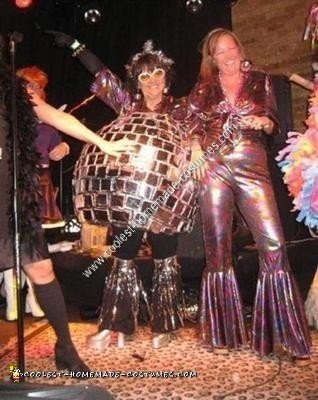
Anyway, little did I know what I was getting myself into . . . Hours of time, Design Dilemmas, Expensive Supplies, and too many “Hot-Glue Burns” to count, nearly had me sit out this Halloween Dance, but just when I was about to give up, I pulled out the 8-tracks, and yes, Gloria Gaynor to the rescue with her song, “I Will Survive!”, THE ANTHEM for empowerment and overcoming seemingly insurmountable obstacles like the making of this Disco Ball Costume – Hahaha! In the end, it was all worth it. People loved our homemade disco ball and disco dancer couple costume and we even took center stage when it came time to vote for the Best Costume.
Instructions:
I took photos and documented the main stages of making the Disco Ball. It was not easy, and supplies and construction dangers (hot glue) can be an issue if you don’t have a lot of time, as was the case for me. But, with my instructions and tips and time to shop thrift stores / garage sales for supplies and accessories, this may be fun for you too.
First, I started with 100cm Fitness Ball and applied First layer of “Rigid Wrap” (Paper Maché – Pre-Plastered Gauze – Wet & Apply strips). Before applying the 2nd layer of “Rigid Wrap” Paper Maché I prepped the ball with black lines of spray paint so I could see when a 2nd layer had been completely applied evenly. Without the black lines, it would have been too difficult to know due to the “white on white” factor.
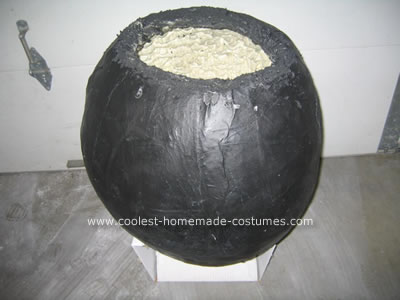
Even with 2 layers of “Rigid Wrap” applied, the ball was too flimsy and would not hold its shape and caved-in on impact (not good for the “Disco Bump Dance”). So, I cut the ball in half as well as openings for head and legs, and used 8-9 cans of Great Stuff Spray Foam “Big Gap Filler” insulation to the inside of each half.
For the first layer of Great Stuff, I tried to smear it with a spatula. Big Mess, and not worth the effort. I found it was better to just keep spraying layers of it and let it expand to create the thickness needed to hold shape. Then I drilled holes and laced the sides together thinking I may want to get in/out from the side, but it shifted too much so I glued the halves back together and filled the holes, going with the “over the head” entry option instead.
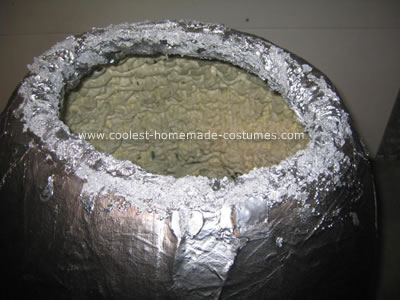
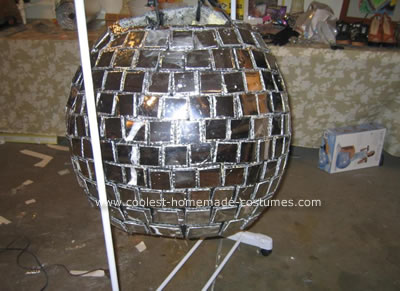
Next, I painted the ball black to give the depth perception and contrast for the mirror squares I later assembled and hot-glued to the ball. Warning, I did get stuck in the ball during one of the fittings, so I sawed a bigger opening and spray painted the top silver, as I didn’t have time for the black paint to be applied and dry.
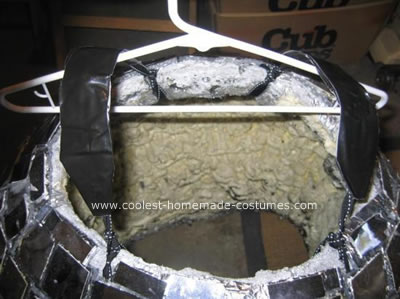
After that, I drilled holes at the top in the front and back in order to lace through ribbon straps that I wrapped in wide/flat Black Gorilla Tape so the ribbon would not dig into my shoulders.
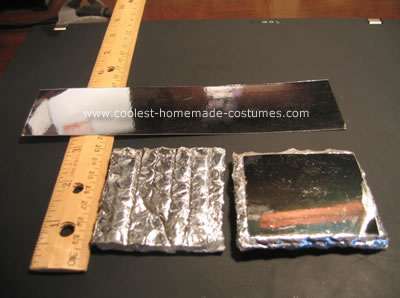
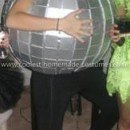
The last step was making and applying the mirror squares. Because the ball surface was bumpy from the Plaster Wrap, I needed “give” between the surface and the mirror paper so I went with a 2-part system. I found a Foil Insulation roll at Menards used for wrapping pipes, which is essentially silver bubble wrap, and was perfect in that it provided the flexible surface needed to affix to the ball with Hot Glue, and the face of it was flat enough on to which I glued squares cut from silver poster paper. So, lots of cutting the poster paper and foil insulation, and then hot gluing the 2-part squares together and Hot-Gluing those to the black ball in a brick layer pattern.
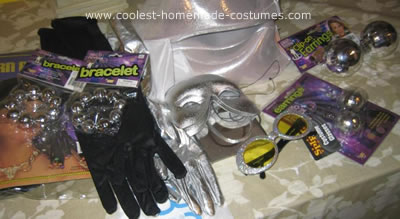
Finally, I dressed up my friend’s daughter as the “Disco Belle of the Ball”, and Accessorized, Accessorized, Accessorized…
I would purchase this costume from you I have no time to make one but can buy the accessories. Can you email me? thank you.
Gloria K.
editorialglo@yahoo.com