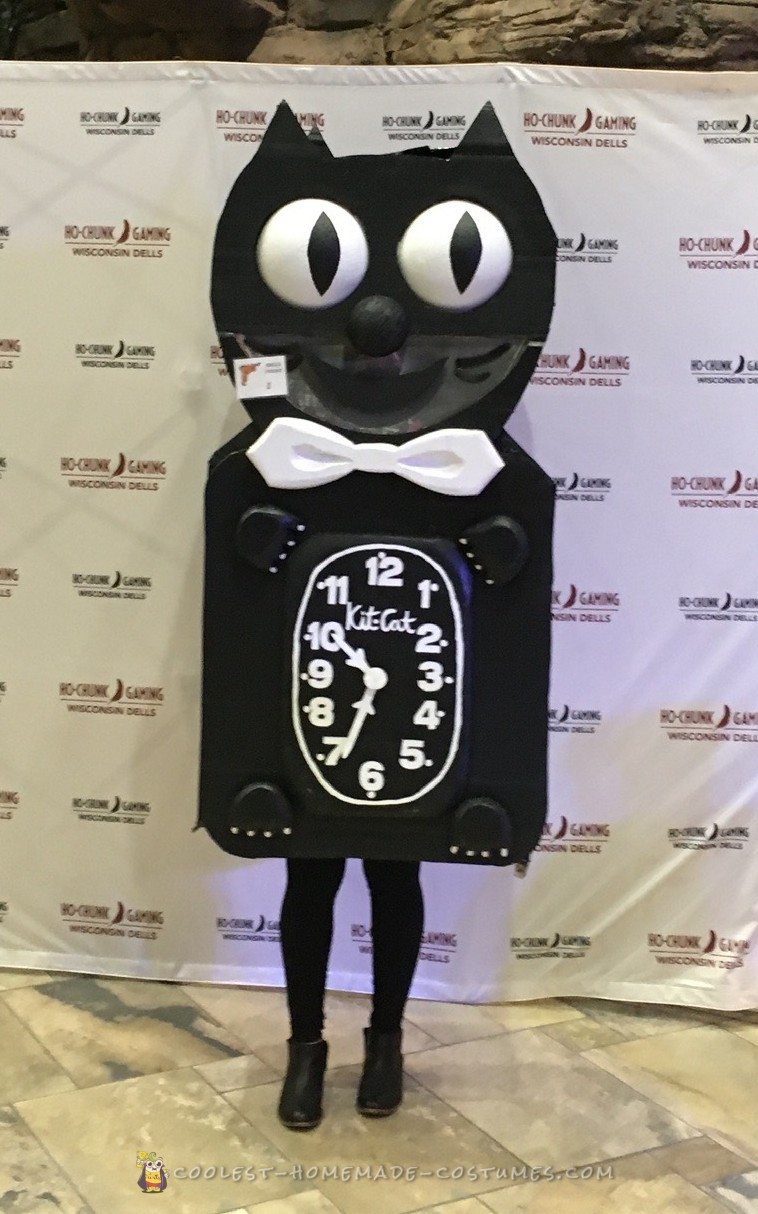
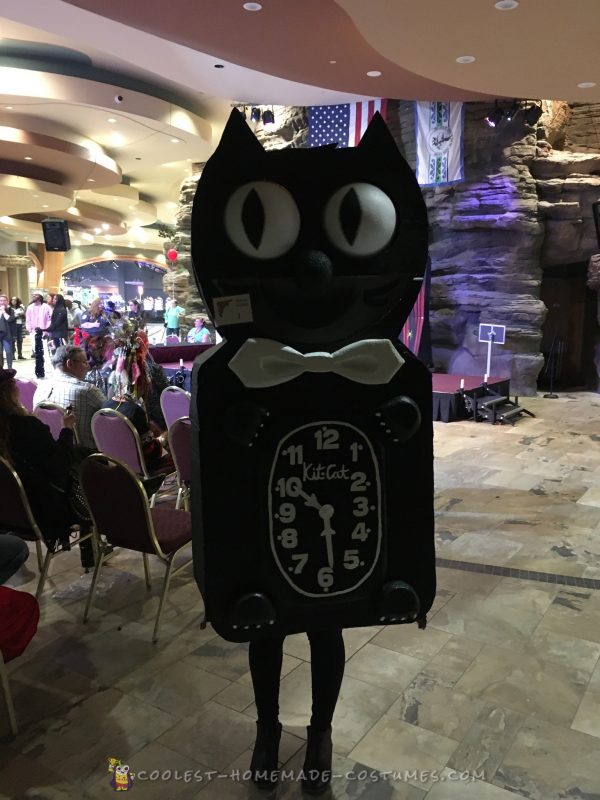
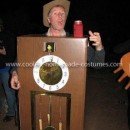
Inspired by the Kit-Cat Klocks of the 1940s and 1950s, this year we wanted to create a costume that would be iconic but not necessarily pop-culture related. So my idea was to create a costume based on an Americana figure, the Kit-Cat Klock. I especially liked the moving eyes and tail and wanted that to be the feature of the costume.
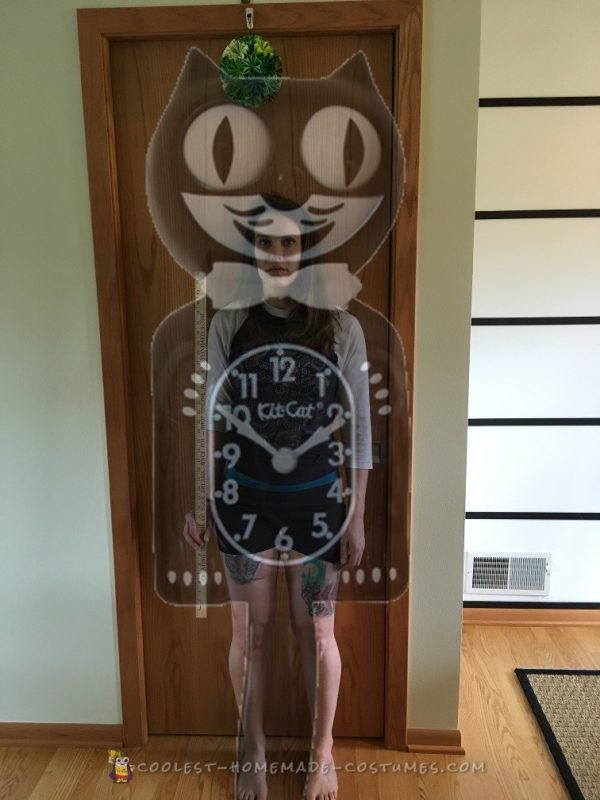
The first stage of the build was planning. We used photoshop to determine the scale of this costume. This stage was important because we needed to consider things like getting into doorways and what size would the easier for me to walk in yet spacious enough on the inside for my arms. We decided that the costume would be 4.5 feet tall and 2.25 feet wide. I’m 5’3″, so that meant I would be looking through the outer smile of the costume.
Next, we made a large stencil outline made by taping together four sheets of poster-board and then tracing my body. From that we created a scale of measurements for accuracy of the costume and drew those on the poster-board to create the clock stencil. We wanted the scale to be correct so the costume would look as realistic as possible to the original. By using the stencil I was able to trace out other pieces, such as the hands and bowtie and make sure they were accurate to the scale too.
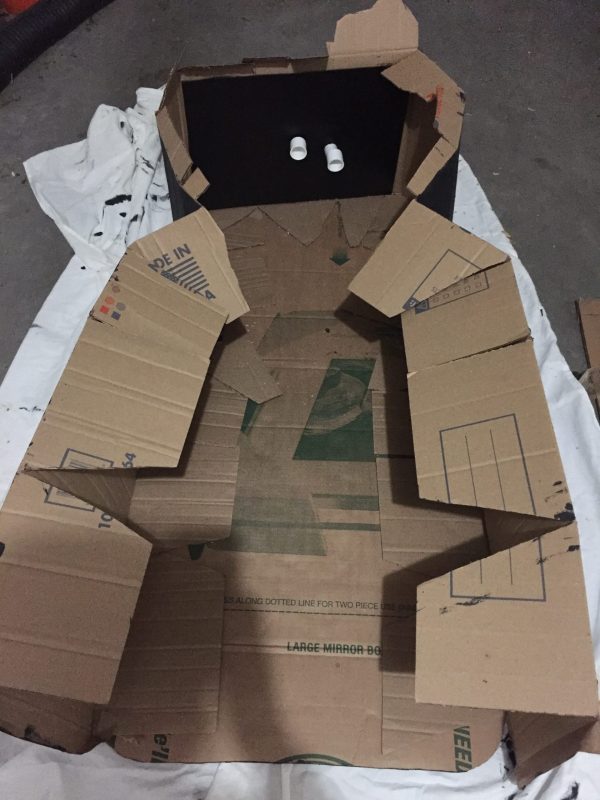
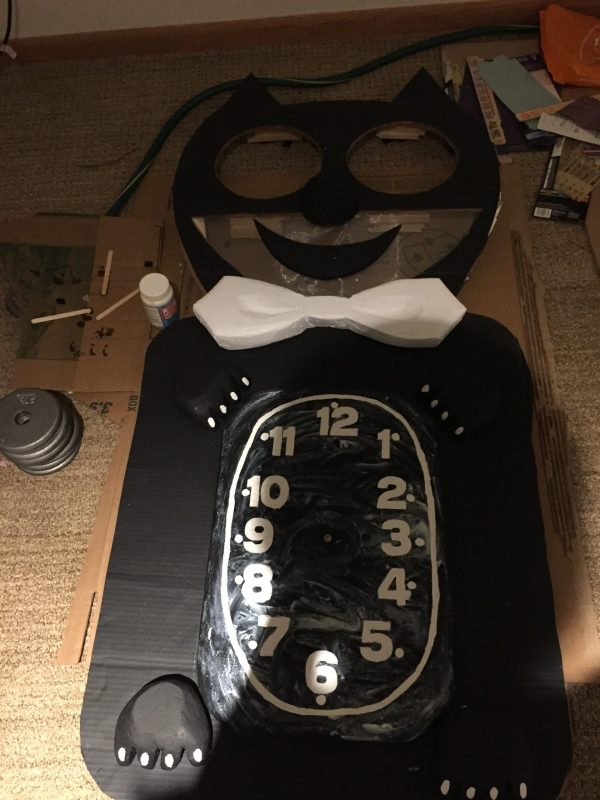
Then the next step was the construction. We bought three large moving boxes from U-Haul because we needed two large sheets of cardboard to make the front and back of the costume. We also needed a third sheet to hold the front and back together. Once these pieces were cut, we hot-glued the back and side together. Then all three pieces of cardboard were painted black.
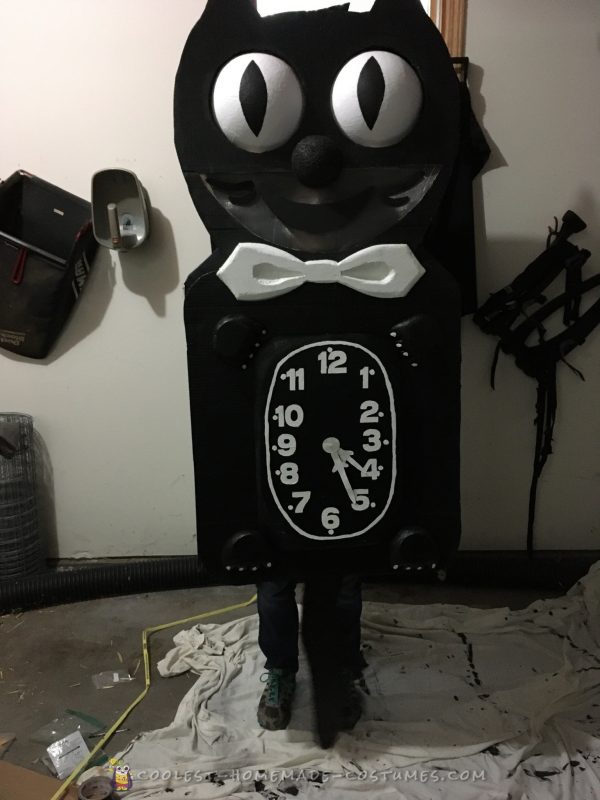
For the front, we needed to work on the animatronic eyes and tail. To keep this flexible and simple, we opted to use a tiny Arduino to control individual servos. Each mechanism was independently installed and aligned, and the timing was exact with an adjustable angle once installed. The only custom ancillary parts were wiring and a program. The battery we used was a high-capacity dual port USB charging battery, which would last for over a day with the demands of the servo. The construction of the eyes involved finding two 10-inch half-sphere foam shells, dowels fastened to the back for pivot, and a pivot axle for mounting on the end without the servo. The axle was an epoxied screwdriver bit and a plastic screen door bearing epoxied to the end of the dowel. Both the axle and the servos were mounted on wood, recessing the back of the eyes inward about 3 inches, with eye holes cut to about 8 inches.
To create the details such as the bowtie, inner smile (the black part), cat paws, and clock-face, we used polystyrene insulation foam. They were painted, then glued onto the front cardboard piece using epoxy. In order to see wearing the costume, the outer smile was made with a silver screen used for screens in doors. The whiskers and tail were made out of sintra plastic. The clock also had working hands by using a klockit.
Once the we were satisfied with the front, we hot-glued the front cardboard to the back connecting the three cardboard pieces and completed the outside of the costume.
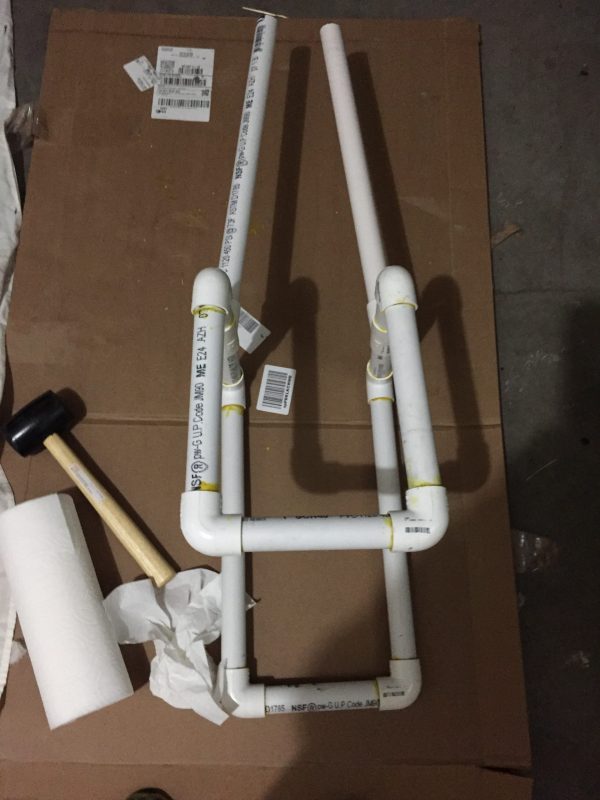
To wear the costume, we needed to build a support structure on the inside that sat on my shoulders and propped up the whole cardboard body. We used 1″ pvc pipe to make an inner framework. This held up the clock so that my hand were free inside the costume.
It was a lot of work but we were very pleased the the results. The Kit-Cat Klock costume was silly and creative. Wherever we went people loved it!

Your comment has been sent successfully.