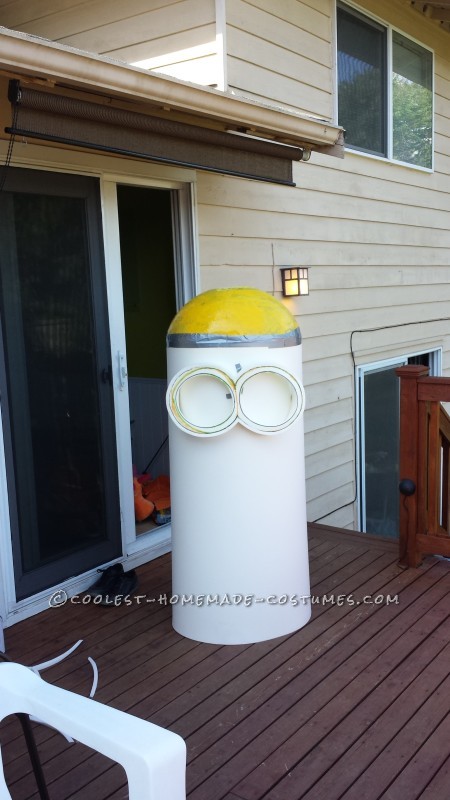
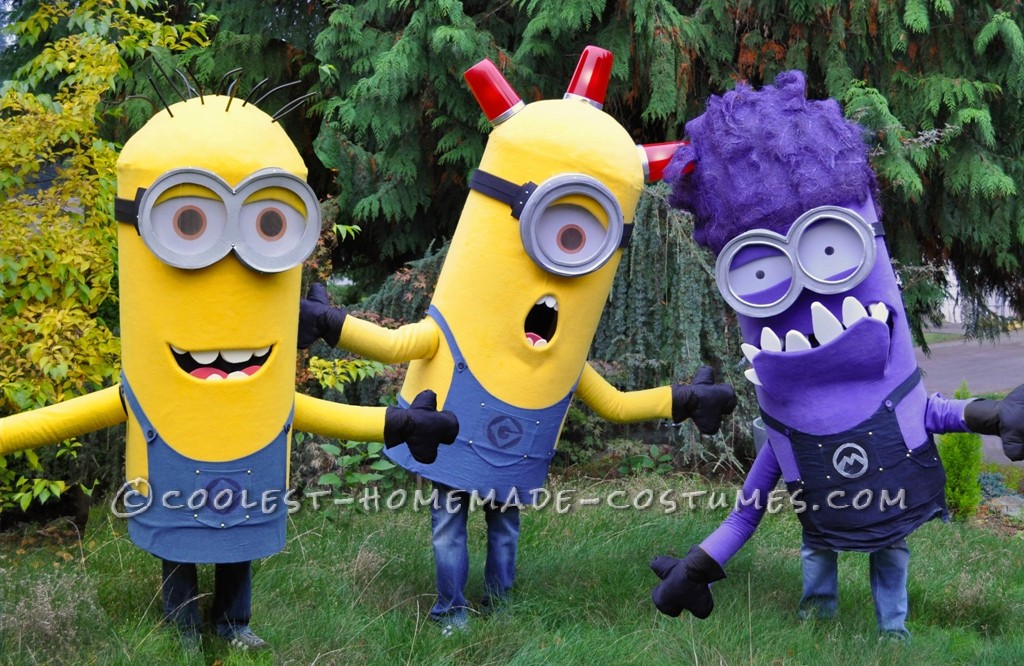
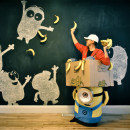
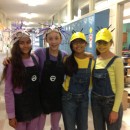
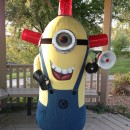
Last month the wife and her friends requested some adult Minion costumes and here is what resulted. This design gets as close to the movie proportions as possible. The arms are fake and slits will be cut on the sides to allow the real arms to be stuck out if needed. Thankfully my wife was happy to be “slightly inconvenienced for the sake of accuracy”.
Body Structure:
The body of each minion is a tube of 1/2″ EVA foam (aka polyethylene foam) with the edge glued using contact cement. The dome top was made by inflating a yoga ball to the appropriate diameter to fit the tube. Then plastic wrap was layered on the yoga ball. Then multiple layers of paper mache were applied. I used a 1:5 ratio of water to Elmer’s glue. Flour based mixes can mold.
Once the dome has dried on the yoga ball, deflate SLOWLY and remove. Deflating too fast can cause vacuum and it will crumple the head. I recommend you get light weight wall spackle and try to get the dome as smooth as possible with multiple layers of fill sand. It makes a HUGE difference in the final finish quality. The fleece can’t hide everything.
Once the dome is off, turn it upside down and spray lines of expanding foam inside to make a “subframe” to give rigidity. Make sure there is a band around the outer rim. Once cured, duct tape to the top of the body tube. Then climb inside and add a healthy amount of gorilla glue around the edge. This glue expands and soaks into both types of foam. It will get you the strongest bond possible between the two sections.
Shaping the face:
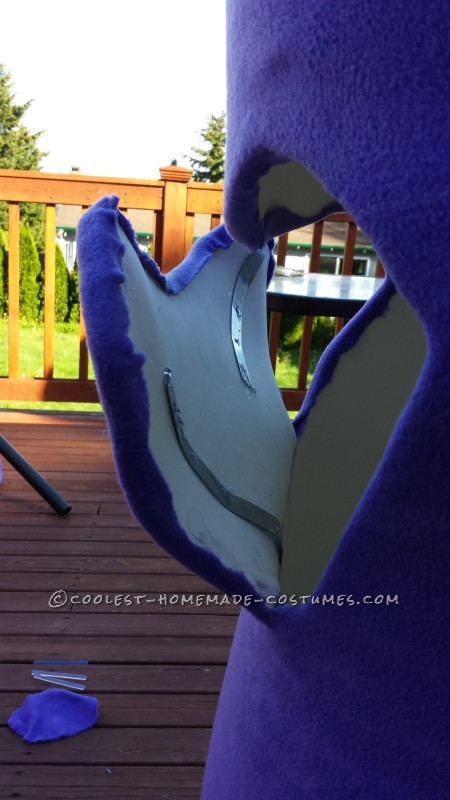
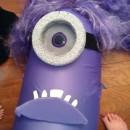
I used a heat gun to help shape the face of the “bee do” minion. Applying heat slowly will cause the foam to soften. Hold it in position until it cools and it should hold the shape. You can see how the purple minion’s mouth was shaped to a bigger degree. I also hot glued metal strapping to the purple minion’s mouth to give it even more shape. These small details will make the costume stand out a LOT more so take the time to give it some personality.
Goggles:
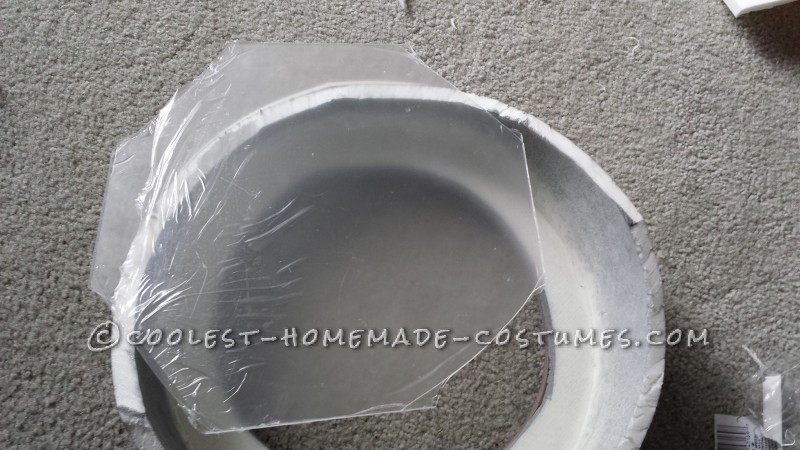
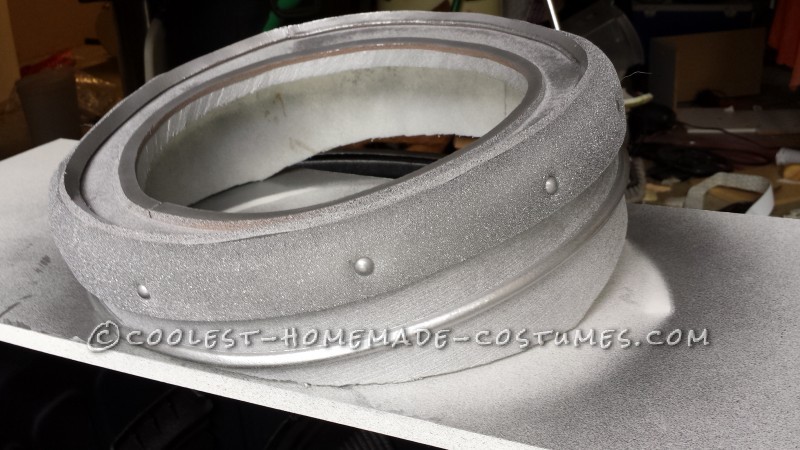
The goggles were made using EVA foam, weather stripping and round topped furniture nails. The “8” shaped front was cut. Then a 4″ wide strip was attached to the back. The goggles then need to be trimmed to fit the round body of the minion. Hot glue worked well everywhere. The furniture nails are used to replicate the rivets The lens is crystal clear acrylic plastic.
The eye was made by making a hoop from plastic tubing. Then spandex type material was stretched extremely thin over the frame and tacked in place with hot glue. When installed the wearer will be able to see out since it is dark in the costume, but those outside will see light reflect off the white hiding the person inside. To get the pupils, I found a tube and did short bursts of spray paint to create each circle. Take it slow to keep the paint thin and not impede the ability to see though the spandex.
Eyelids are made with EVA foam wrapped in the applicable body fabric (fleece) and hot glued to the hoop. The whole eye assembly is then hot glued into the goggle at the end. Be careful to not have trapped dirt and clean the acrylic with Windex before install.
The straps around the side are strips of 1/2″ EVA foam with lots of the furniture nails to look like rivets again.
Upholstery:
Use a good quality spray adhesive for general gluing and hot glue to tack down high stress seams. The key to the minion costume is getting the smoothest dome head possible with the least visible seams.
BEST ADVICE: If you’re building this for someone else, try to talk them into a theme that hides as much of the dome as possible to make your life easier. If you have the flower lei it will hid seams. If it is the golfer you can avoid the dome entirely.
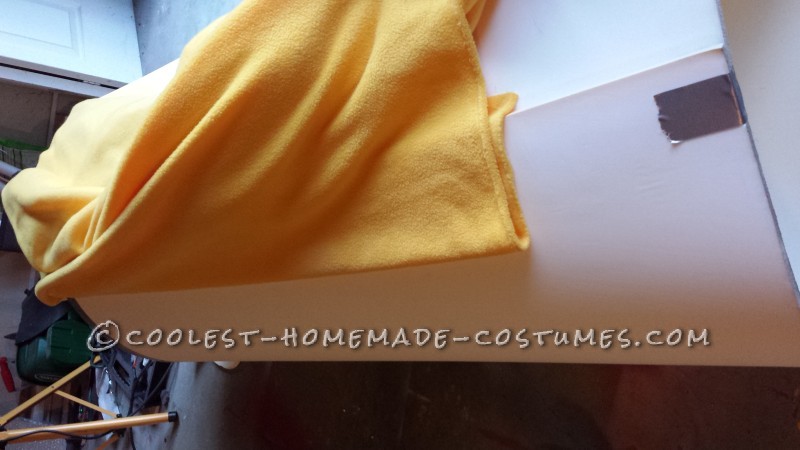
I used fleece fabric to give some hiding of imperfections while having some stretch to keep wrinkles out. Start by spraying a vertical strip of glue on the front of the dome. Press the fabric and let it set for a couple minutes as this will form your anchor.
KEY ITEM: Stretch the fabric the least amount possible to get out wrinkles as you go. It will take more and more pull to get them out as you work to the back.
Once the dome is done. simply wrap the rest of the fabric around the sides, again starting from the front. If you have a seam or wrinkle…you want it hidden on the side or back. Cut all holes (eyes, mouth) before upholstering. This way you can then wrap the fabric around the edge. Overall, I suck at sewing so I did all my work with a rotary cutter, spray adhesive, and then wrapped each edge over on itself.
Purple Minion:
The purple minion took some extra work on the hair and teeth. The hair is coconut husk sheets that usually line planters. It was pulled into triangle shapes (thicker on the base…thin at the top) and glued in layers to get bulk out of the hair. Everything was sprayed silver as a base coat and then different shades of purple. The teeth are cut from 1/2″ EVA foam. I still need to add pipe cleaners to give the “stubble” you see on the little monster in the movie.
Bee Doo Minion and Arms:
Each of the red lights was made by taking a pitcher from the dollar store, cutting off the handle and painting it with transparent red paint from a hobby store. A layer of gloss clear was then added since the red can end up tacky. Then take silver duct tape to wrap the base. I took a foam circle, connected it to the light with duct tape strips on one side, and then glued the foam base to the head. This way you can lift the light shell to put a flashing LED light inside and close it back up. I added a LED headlamp from Costco that had a flash setting.
I found irrigation tubing that was bent like those bendy straws. This allowed it to be positioned in any orientation, stretched, or compressed. It was upholstered with a simple strip of fabric left over from the body. Gloves are being sewn and will be attached shortly. To mount the arms, cut a hole in the body, but START SMALL. The more snug the hole is…the less you’ll have to glue. If it is super snug you don’t have to glue at all and can rotate the arm around.
Your comment has been sent successfully.