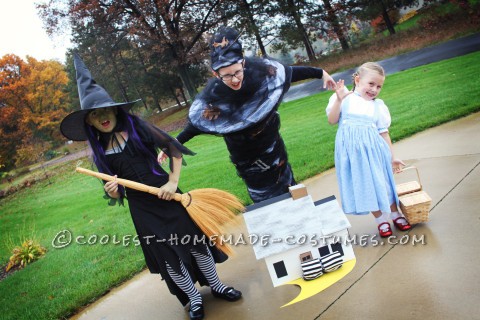
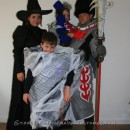
My kids have finally all reached the age where they can watch the Wizard of Oz without me fearing the night ahead. In honor of this (and the fact that it’s celebrating its 75th anniversary) we chose to take on ‘characters’ from this classic.
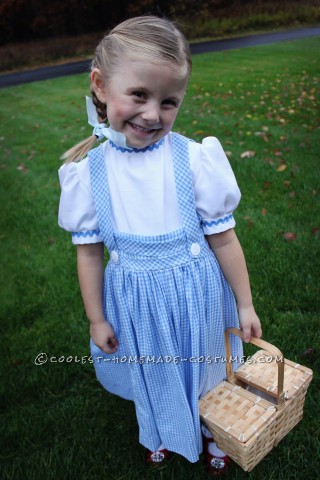
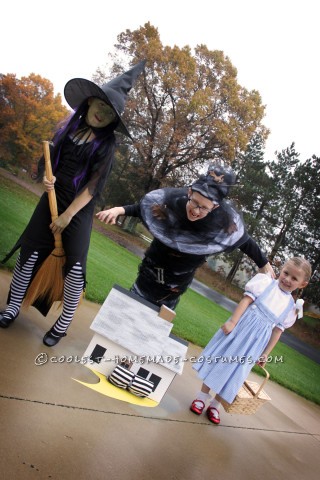
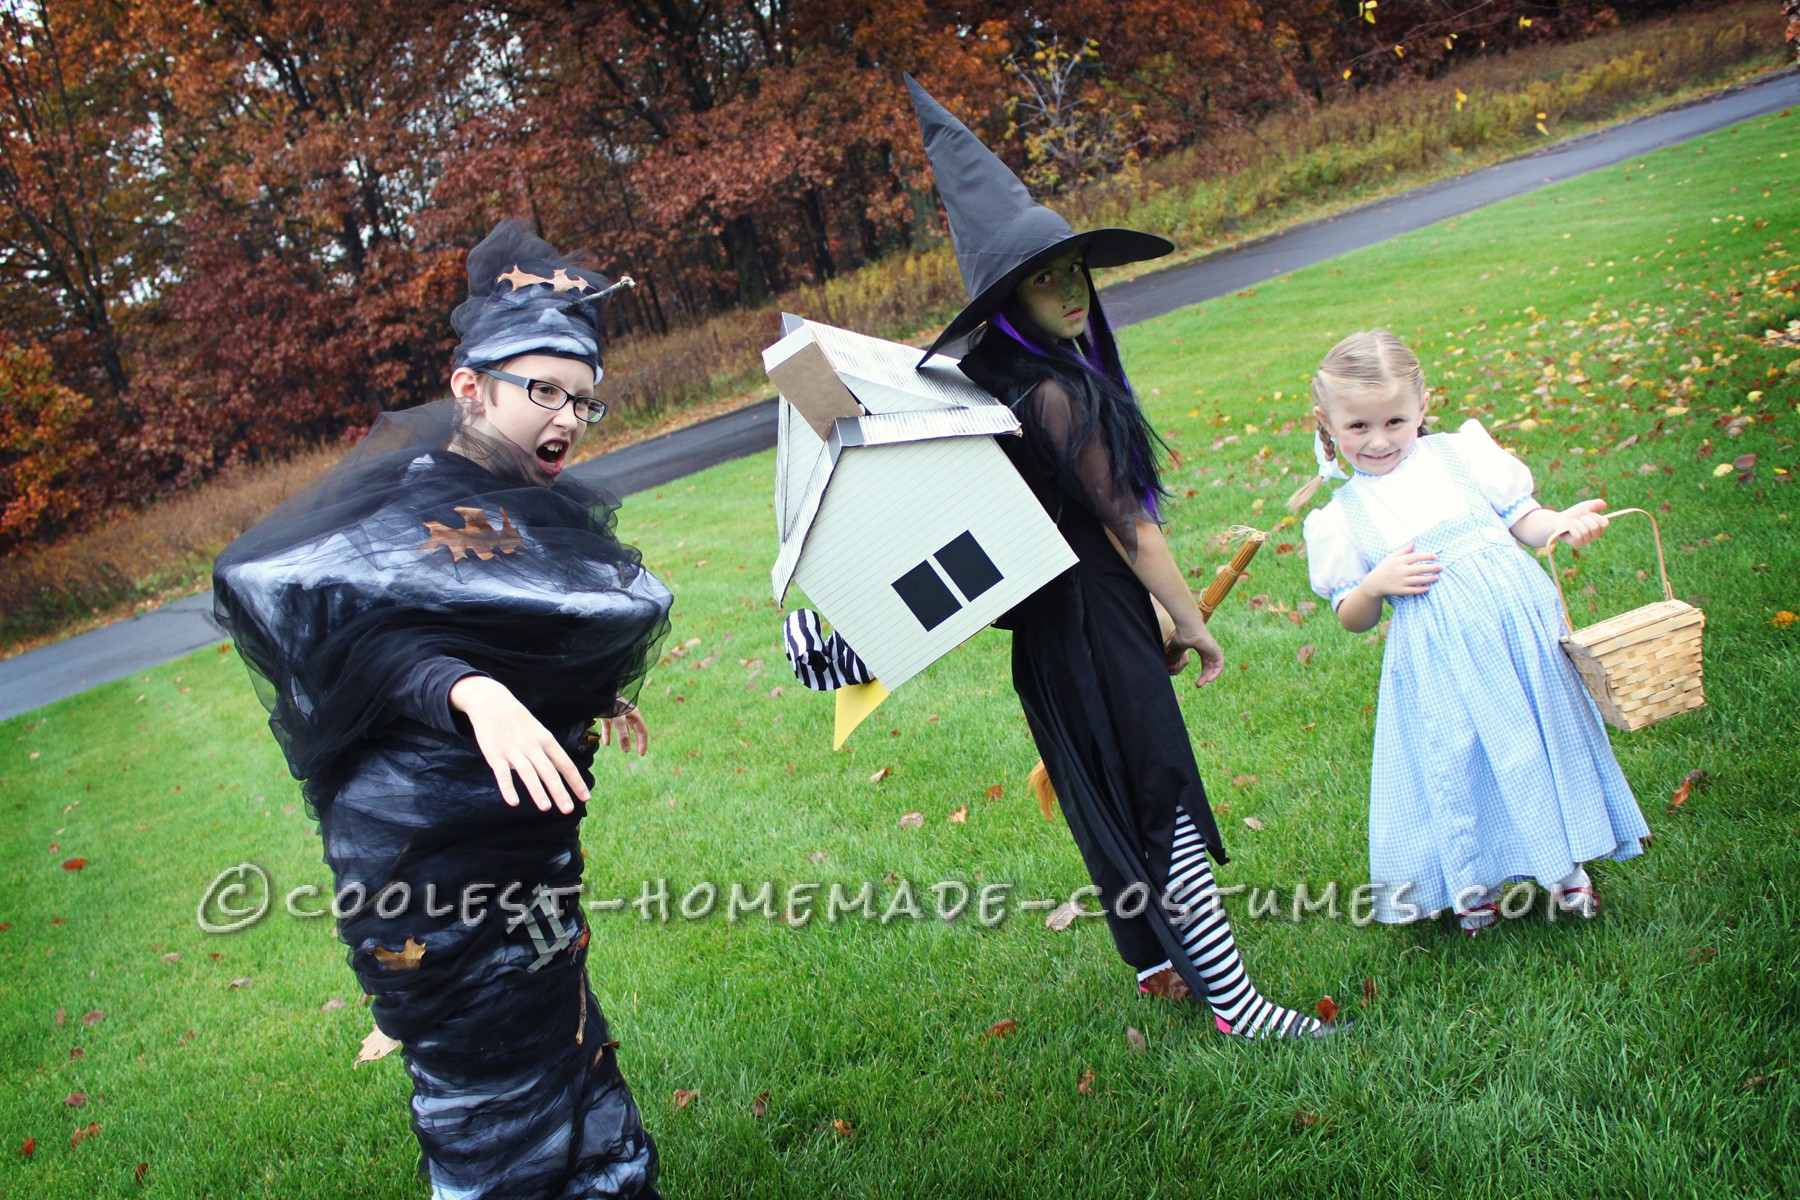
My youngest daughter was DOROTHY, complete with thrift shop ruby reds, a basket, small Toto dog, and hand-made (by someone else…) dress.
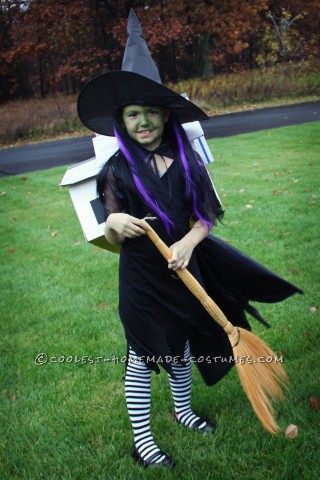
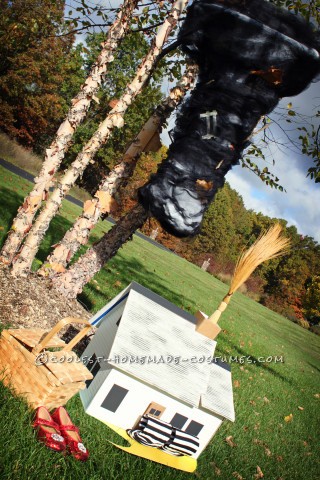
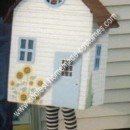
After many years looking cute and innocent, my middle daughter longed to be wicked and requested the role of the WICKED WITCH. Like Dorothy’s shoes, we found her dress and broom at a thrift shop, added a cape (vintage…as, I wore it when I was her age), striped socks, a pointy hat complete with hair, and applied green paint to her face. Now, while I can purchase some pieces, I can’t handle those pieces making up more than half of the kids outfits. This being said, we decided to create a little addition…the house that fell on her dear sister. :)
To make the house, I…
1. Found 2 old boxes. The first box served as the base of the house (walls and roof structure). The second box was cut up and used to complete the roof.
2. Using a large piece of posterboard, I drew lines to represent siding, added texture for shingles, cut them to size, and applied them to the first box.
3. I added windows from black construction paper, cut out a door, and inserted a chimney (to be used for candy collecting on Halloween night).
4. I then put a yellow piece of posterboard underneath the house and cut it in a shape to represent the yellow brick road.
5. Before gluing it down, I cut two pieces of cardboard and inserted them into a pair of striped socks, curling the ends. These were inserted and glued in between the bottom of the house and the yellow brick road.
6. To make it easy to carry, we added ropes that turned it into a pseudo candy backpack collector.
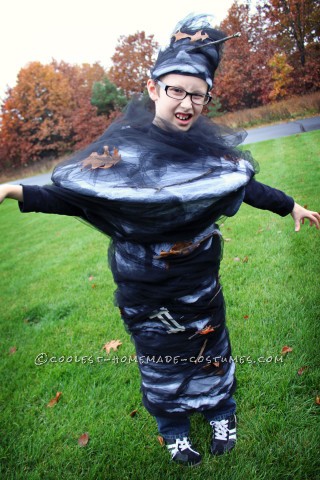
My son went as the TORNADO. This was my favorite one to build…
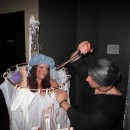
1. To start, I found 2 old, men’s XL gray t-shirts. I bought a small hula-hoop from the dollar store and inserted it inside one of the t-shirts. To keep the hoop in place, I attached 8 safety pins around the hoop.
2. I then cut the body off the second shirt, just below the armpits. I glued this piece to the bottom of the first shirt, and secured again with safety pins.
3. I then covered the entire shirt with 1+ bags of Halloween cobwebs, spreading them as I went so it looked as if it was swirling around the structure. I adhered the webs with glue, which I won’t lie, was messy (very messy)…
4. Once the webs were in place, I wrapped 10 yards of black matte tulle around the structure, starting at the top and working my way down. As I wrapped, I gathered and stapled to secure.
5. We then gathered sticks and leaves and inserted them, along with small farm animals and sections of fence (made from poster board) into the tulle.
6. To make sure nothing fell apart, I added additional staples every 6 inches or so, as needed.
7. Using one of the sleeves cut off from the second shirt, I repeated the process above, and made a small hat to compliment the costume.
The tornado held up way better than I expected, making it through a rainy trip to Oz! The group was very well received and people LOVED the combination and pieces of each. The wet weather added a natural backdrop for scene, and the kids couldn’t help but yell, “tornado” as they blew through the streets…it was a whirlwind night of fun! :D

Your comment has been sent successfully.