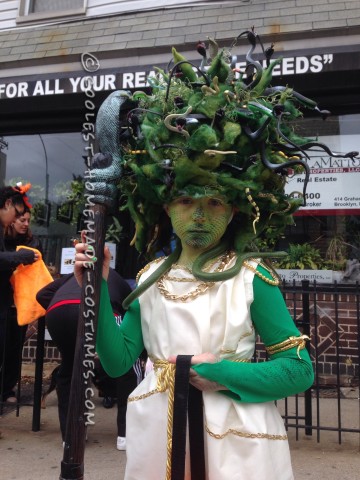
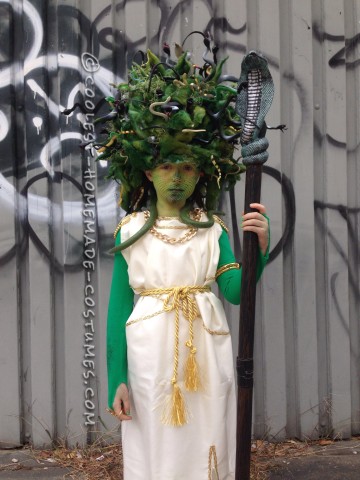
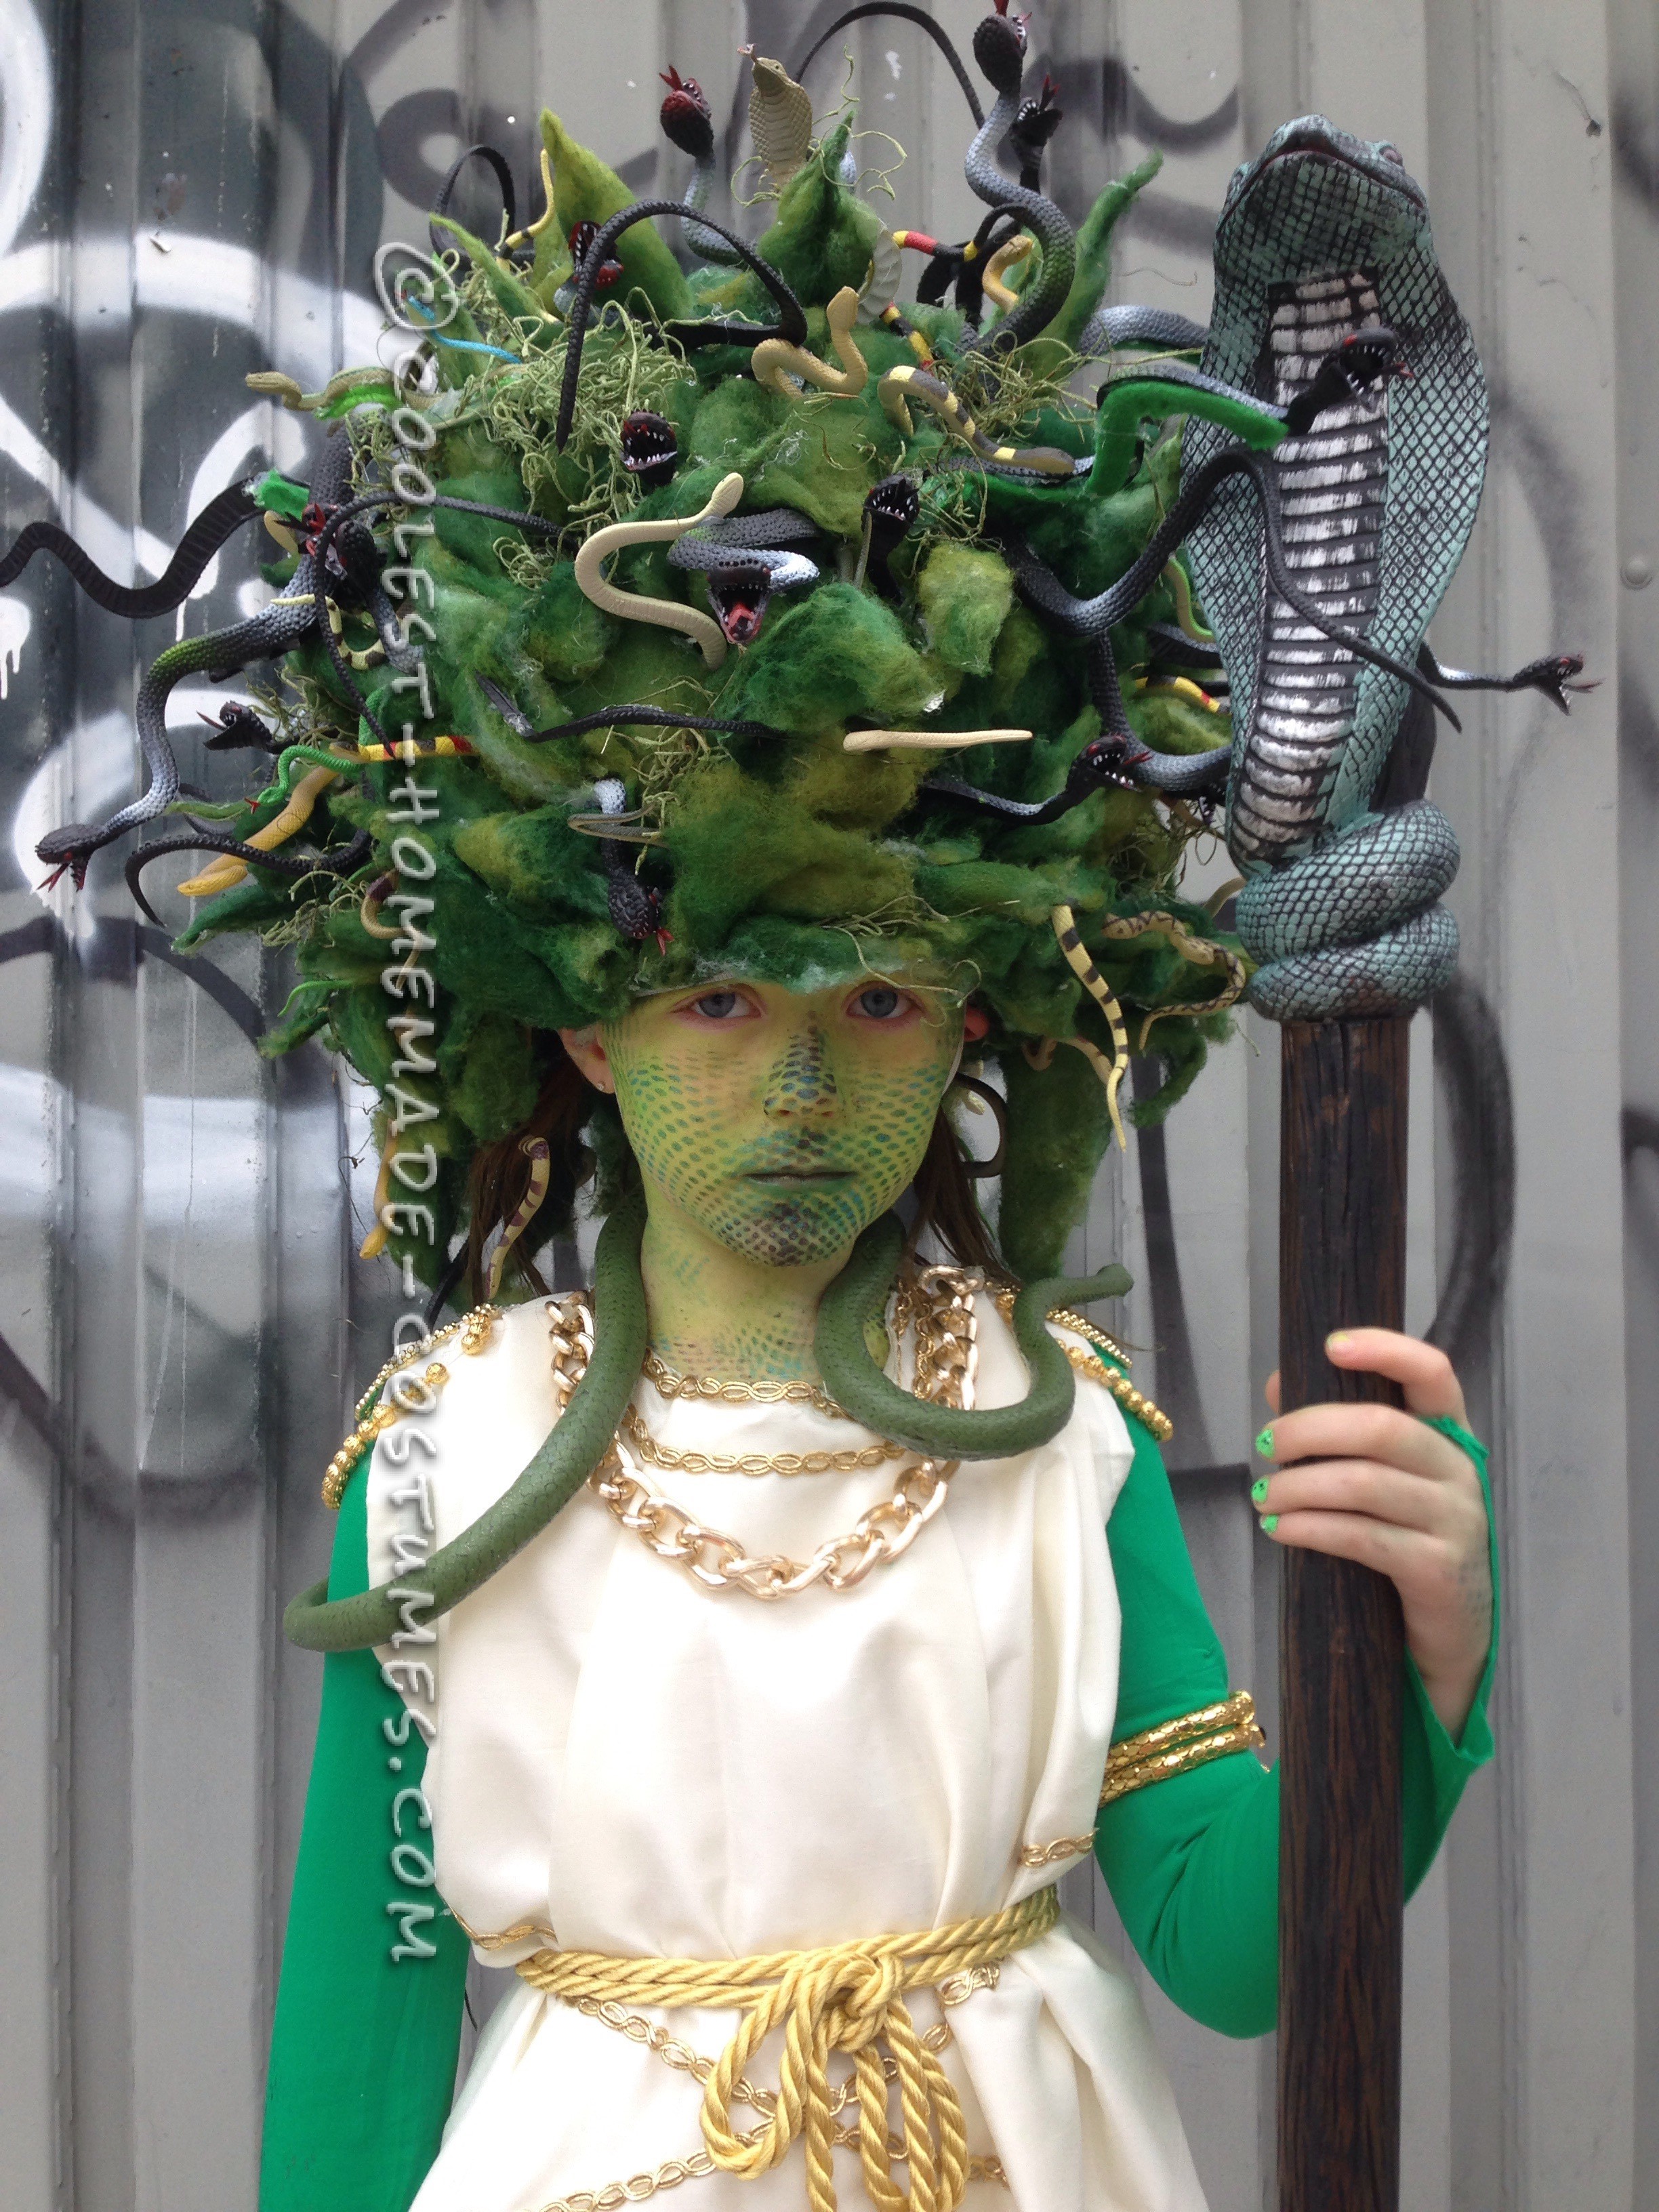
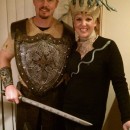
It was my daughter’s idea to be Medusa this year and I was super excited and up for the challenge.
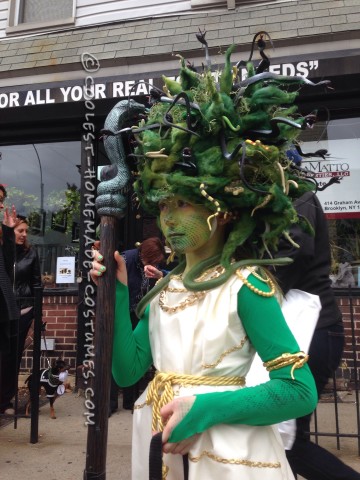
I knew that I wanted a full on showstopper of a wig and not a headdress, so I sat down and sketched out how to tackle this hair. Immediately I thought of those white foam spheres you can purchase at any craft store, and then built from there. I purchased a large enough sphere that I knew would fit the shape of my daughters head inside.
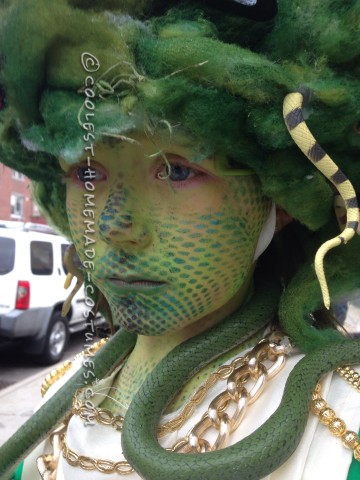
To start, I sketched the shape of her head on the sphere and started carving away With a regular soup spoon. My idea was to create a base out of the sphere that would essentially fit on her head like a hat. This step was the most tedious as I had to fit her several times, and it was difficult to get the inside smooth enough as to not make the entire piece lopsided. Once that was a good fit – it doesn’t need to be perfect – I began spacing and hot glueing my plastic snakes. I purchased 3 dozen small (approx. 5″) realistic snakes and a dozen larger (12″) snakes, cut them in half. Thankfully I left several of both snake sizes fully in tact because I used some small pieces (head or tail) at the end to fill in and balance the wig visually. Note that I had to remove many of the snakes once I had my daughter try the piece in because it was back heavy and falling off her head – so something to think about earlier rather than later.
Since it would be impossible to create something light enough for a 6-year old to wear for an entire trick-or-treating session by only using rubber snakes, I knew I needed a filler. So I teased out some batting and spray painted it in two shades of green. Quick & easy, the less I thought about it, the better it looked. I did thia early on, so it was dry by the time the snakes were attached.
Once most of the snakes were attached, I began ripping a variety of short and long pieces of the spray painted batting, I rubbed it between my hands to get a twisted effect and noticed the bonus: that it’s much easier or hot glue when there is a defined point. I started filling in between the plastic snakes, intentionally placing pieces of the batting to look like snakes rising from the head, and attached longer pieces in the back. I wanted the batting snakes to jet out all over the head.
Next, I sewed 3/4″ elastic into an inexpensive knit cap (from the Dollar Store) right in the fold -between the hat and the edge that folds up. There will be about another inch to 1.5″ of the folded up section above the elastic seam. Situate the head of the knit cap inside the carved out space in the sphere, hot glue. Wrap the inch /1.5″ piece of the knit cap around to the outside (front) of the foam sphere so the knit cap and sphere are securely attached. leaving the remaining section of the folded up flap unsecured to the hat. From there I placed the foam base on top of the head of the knit cap and attached with hot glue. Then folded the section of the knit cap above elastic, up and around the outside of the foam sphere so it was secure. Hot glue. Finished by filling in empty spots and covering elastic/knit cap with left over snake heads/tails and batting. Bada bing! Charlotte had the best costume on the streets of Brooklyn tonight. We were being stopped and getting our picture taken by strangers all night.




Your comment has been sent successfully.