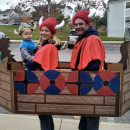
We started working on this awesome family of Vikings group costume in August. We had a great time doing them but they were very time consuming. I would go to the fabric store once a week to look for discounted material. Halloween has always been my favorite holiday, the one night of the year where you can be whatever you want to be. I am more into it than my children. Sad, I know. We tend to do group costumes every year and love to make all the activities as family friendly as possible.
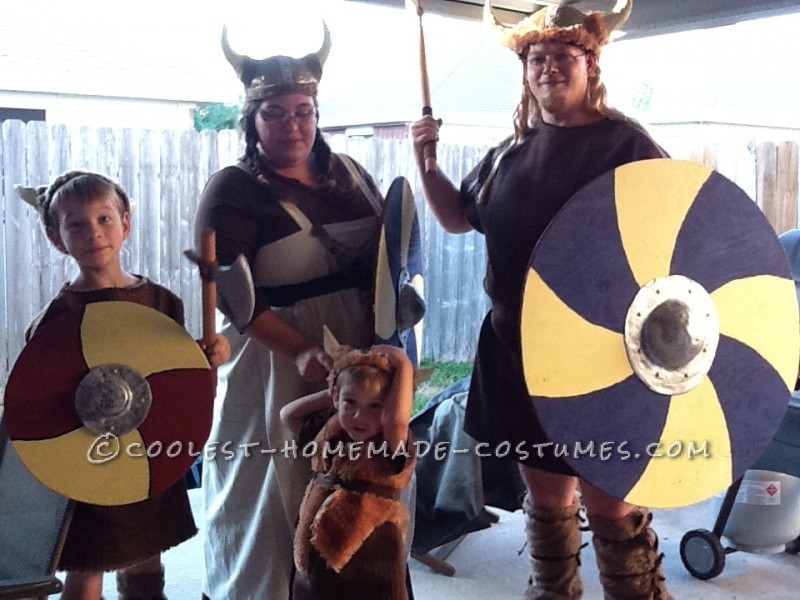
ready to pillage
Helmets
We are real sticklers for having no plastic on our costumes, so the Viking helmets were made from paper mache. We started by blowing up balloons to the approximate shape of our heads and covered with newspaper and flour water mixture to get the base of the helmets. The horns were sculpted over clay horns and allowed to dry for about half a day. Once the horns were set but not completely dry we added some additional paper mache to attach the horns to the helmets then allowed to dry another 24 hours. We ran in to some issues with fitting since the balloons shrunk some but we simply re-wet the paper mache and molded them out a bit. I then painted the helmets with Acrylic paint.
Tunics
These were made out of a thick upholstery fabric that had a rough spun look that I wanted. I folded the fabric in half and traced around a t-shirt for each of my boys (2 son’s and husband) , leaving about 2 inches around the t-shirt before I started my marks for sewing purposes. Then simply cut them out like a poncho. Luckily my husband is awesome and sewed these together with no problems.
The Little One’s Fur Vest
This is probably my favorite part of the costume! I skinned a bear for it! Well, a teddy bear.
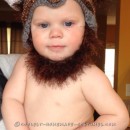
I found a few cheap teddy bears at the thrift store and after thoroughly checking for bed bugs brought them home, promptly cut off their heads and yanked out the stuffing. One of the bears was the perfect size to create a vest for my youngest son so I simply cut off the arms, and some excess fabric from the bottom and slipped it on, it was perfect! The teddy bear legs went on right over his shoes, to create perfect fur boots!
A teddy bear was harmed in the making of this costume
Shields
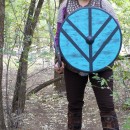
The Shields were time consuming but not difficult, my husband used his jigsaw to cut some ply wood into circles and we spent and afternoon on the front porch working as a family to get them sanded down. We then used a pen on a string to draw the pattern and I painted them with Acrylic paint.
The shield boss was made of papermache and the rivets were some gold beads I had that my husband cut in half with his dremmel. Then we hot glued them to the boss after painting them silver and dry brushed with bronze paint to give them a rusty aged look, can’t see that too well in the photo, the paper mache gives it that nice battered look naturally.
Plywood, paint, & paper mache
Female Viking
My actual costume was pretty simple, I found a long brown Corduroy A-line skirt at a thrift store and had a brown shirt in my closet, I made the apron from plain linen fabric, despite my horrible sewing skills it is relatively easy to make. It is a simple tube of fabric with straps sewn on.
I went historical viking rather than cartoon viking, other than the horned helm. Viking women wore a “necklace” that actually attached to their apron I found a beaded choker at a thrift store and used that, I couldn’t have been more lucky in the find, it looked like it was made for this costume. I found large triangular earings and attached them to the apron with that, the picture here is of a historical recreation of a viking apron dress necklace since I do not have a good picture of mine.
Then for a little definition I went off the historical path and belted the dress with a cinch belt from my own closet.
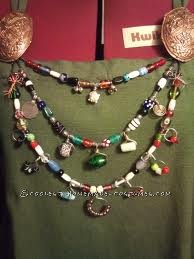
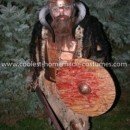
Not my necklace, but very similar
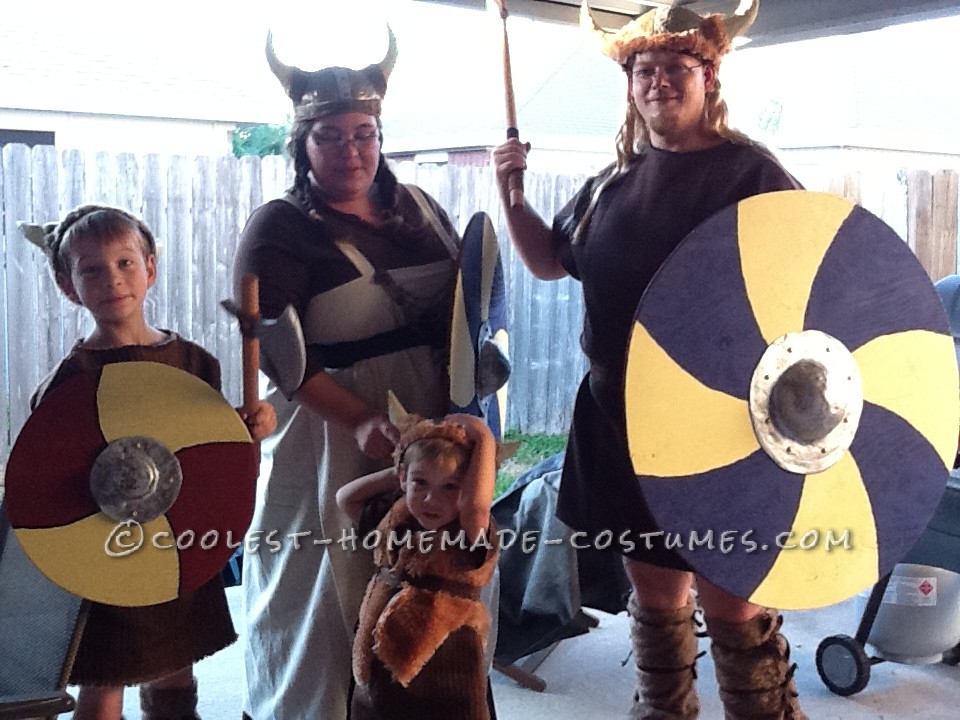
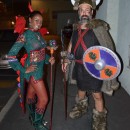
best picture I could find of my costume
Axes
These were made of ply wood and wooden dowels, we stained the dowels with watered down brown acrylic paint, the axe heads were cut from ply wood sanded and painted with silver and bronze acrylic with a lighter paint silver mixed with white for the blades edge, the dowels were notched with a dremmel and the axe heads slipped through the hole created and secured with leather binding. The leather “string” was obtained by taking a couple of braided leather belts and unwinding them, 25 cents each at the thrift store! We also wrapped the leather around the dowel to created a handle.
Conclusion
I hope that this inspires more people to make their costumes at home. Parts of costumes can be stored and reused for future costumes, I even wear the skirt I purchased to work. We were stopped in the streets to take pictures, we had paparazzi following us down the street taking video. It was an awesome experience and the whole family was able to get involved in the preparation.
Axe


Hopefully this will get a few views and comments!
real vikings did not have horns on their helmets. overall nice job though, especially with the shields