Matryoshka/Russian Nesting/Babushka Dolls
Total cost: $200 ($40 per person)
Materials: Foam, red and yellow fabric, red and yellow rose buttons, elastic, acrylic paint. You will need a sewing machine and thread.
Total time: 3 days (based on one person crafting)
Inspiration and steps in detail (trust me, it looks harder than it is!):
The inspiration for our homemade group costume actually came from us girls. See, we’re all different heights and dress sizes- not to mention from 4 different countries; Ireland, England, Scotland and America. We’re the same of something- 5 expatriate girls living in Sydney who LOVE HALLOWEEN, but are vastly different in size. And then the idea just hit when passing a billboard with a Matryoshka doll: They are identical in color, hair and faces but different in their sizes- it would be perfect for us!
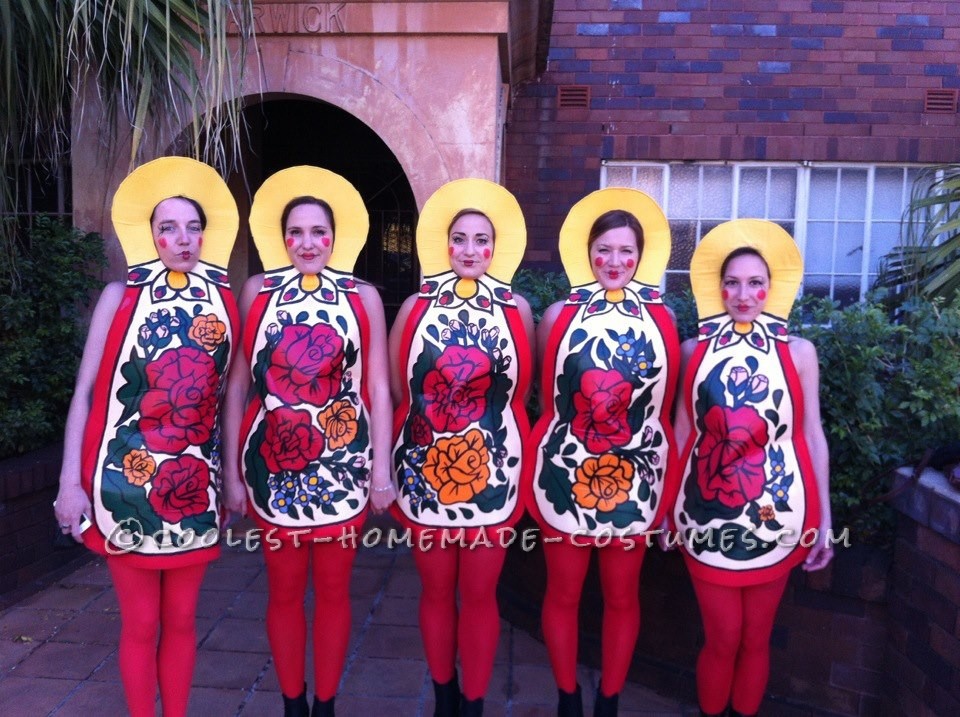
When researching the Matryoshka dolls, I came across an old legend/fairytale which essentially was about a grandmother, mother and sisters all rushing to the youngest sisters side in a time of need and hugging her so tightly they all became one. These five girls in this costume are all twenty somethings who left their home country and family to start anew. We rely on each other for support, have grown together and understand each other’s struggles. We are a family that love each other and as such are an integral part of each other’s well being. And just like the Matryoshka dolls, we have become one.
[But the best part of this costume was not only how incredibly happy it made my 4 girlfriends, but to have everyone knew exactly what we were! Tons of people shouted words of approval and bombarded us for photos- especially a group of Russian expatriates who were thrilled at the idea and nostalgia it brought them! Making other people happy made the effort and time put into the costume worth it.
Then the process started with a sketch and a yard and a half of thin/cheap foam from Clark rubber (Australia). A template was made and the girls were fitted in the foam and re cut.
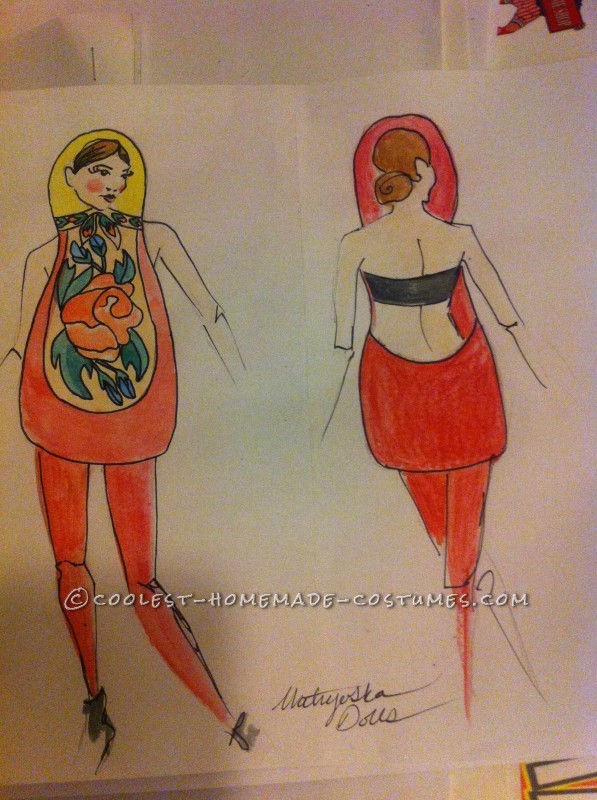
(If you’re making this costume in the US, you can buy large colored foam sheets at select craft stores. This will actually be cheaper and easier for you to accomplish the same look as you can completely skip the fabric covering step and go right to sewing and painting).
I then bought the cheapest red and yellow fabric – as the foam I purchased was white-and used spray adhesive to attach it to the foam- mostly to make sure it would stay in perfect place for sewing. Once all of them were covered and dry they were quickly run through the sewing machine on a regular stitch. The back skirts were attached and small darts/cutouts were put in. This was so that the costume could fit up over the hips and then be buttoned for a more form-fitting look.
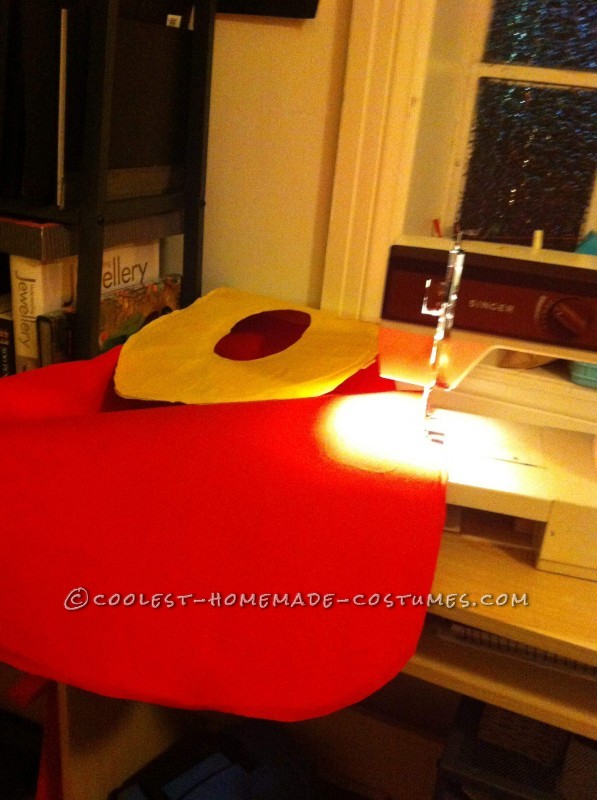
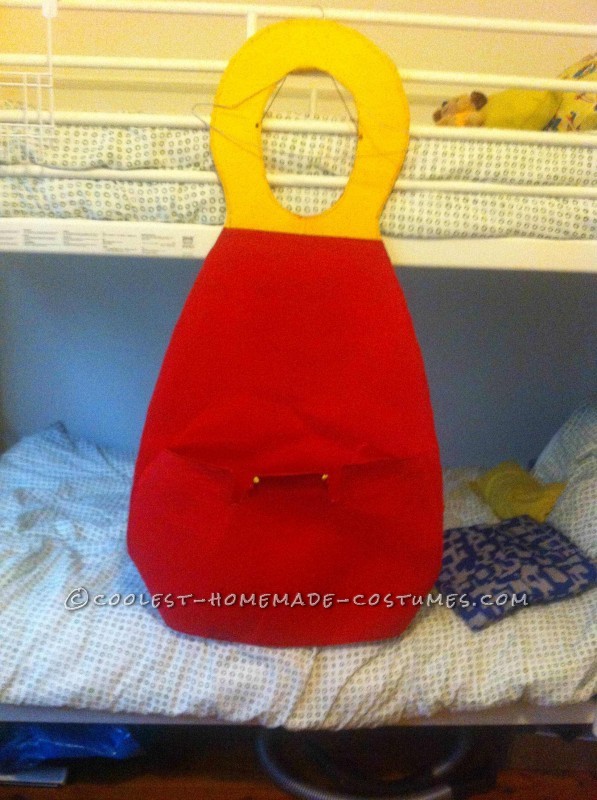
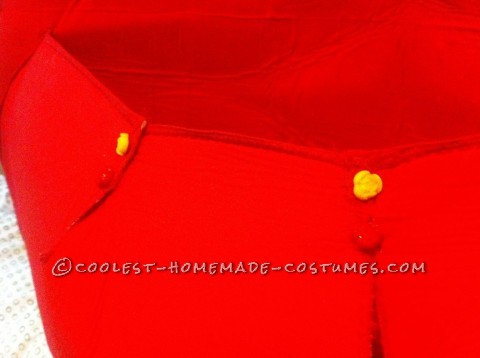
Once all the dolls were stitched up the cream background was painted on with acrylic paint. Once dried over night, the base colors were added for flowers and leaves. Once the 5th doll had its base colors the 1st one would already be dry enough to start outlining. Once dry over night, elastic was added to the face cutouts and buttons were sewn on.
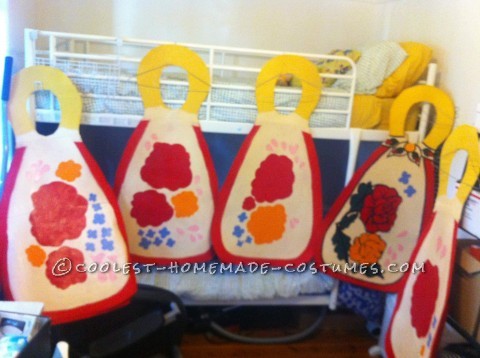
It really is simple, the paint drying took more time then the sewing and cutting. The most important part of the Matryoshka/Russian Nesting Dolls is to make sure you get the heights right, which is easily adjusted with heels!
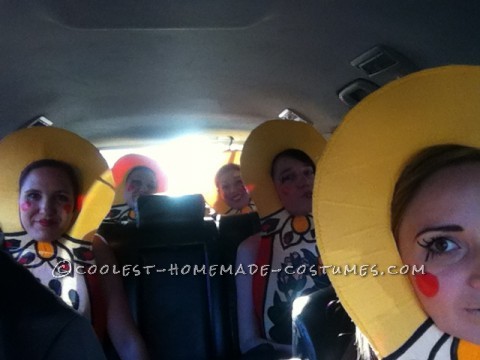



I really love these costumes! I´m trying to recreate them for my group of friends. I was just wondering is there an example picture or a stencil of some kind that you used for painting the flowers on the costumes? I don’t think I could do that without any. I would love to receive some tips from you.
I really love these costumes! I´m trying to recreate them for my group of friends. I was just wondering is there an example picture or a stencil of some kind that you used for painting the flowers on the costumes? I don’t think I could do that without any. I would love to receive some tips from you.
Great work! I would love to share
Great work! I would love to share
Love these!