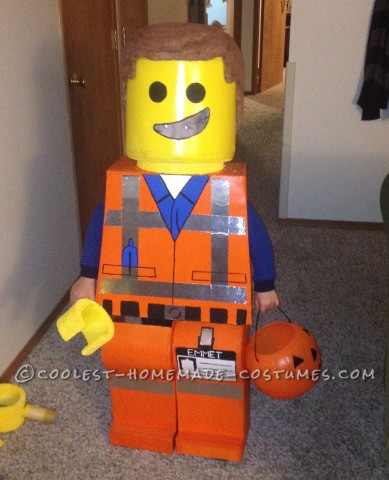
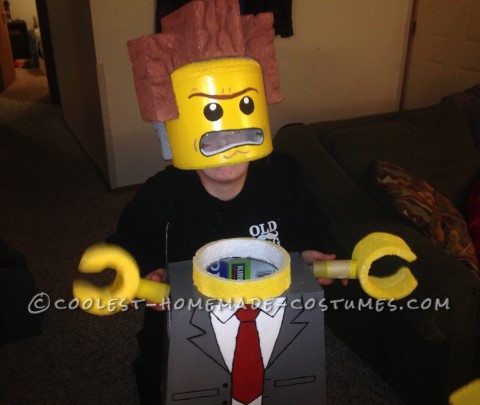
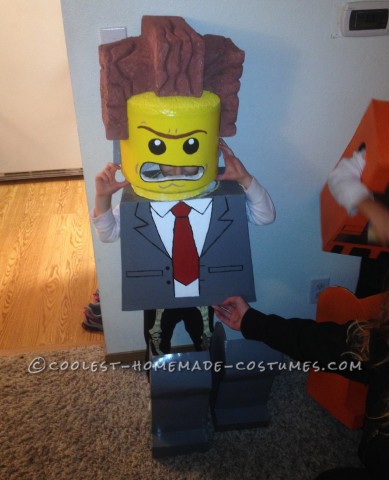
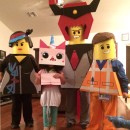
My boys and I have watched The Lego Movie at least once every weekend since it came out on DVD back in June. We still love it every time! We decided around July that they would be Emmet and President Business for Halloween. They boys were excited, but I was probably more excited to get crafting. I started daydreaming then obsessing about how I was going to make these Lego Movie costumes. A few times, I wondered what I had committed myself to.
Getting Started
I never know when to start these things. I didn’t want to start too early and have them sit around the house or too late and be pulling all-nighters trying to finish. The second week of October seemed like a good time to start, so I got all of my supplies together and got to work. I had already created my “blueprints” by measuring all of the proportions of the Lego guy and scaling them to my sons’ sizes. And you thought algebra was useless!
Bodies and Heads
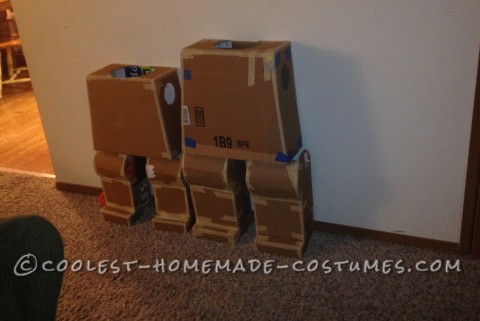
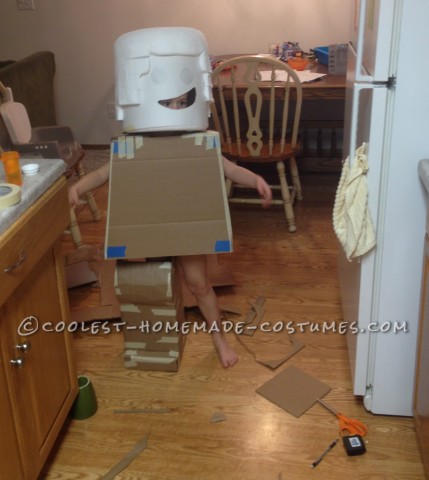
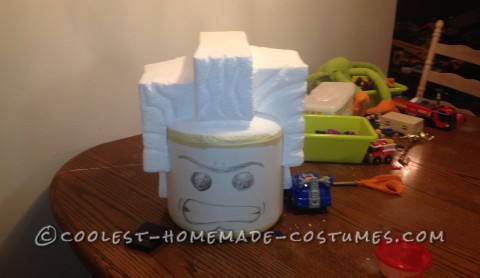
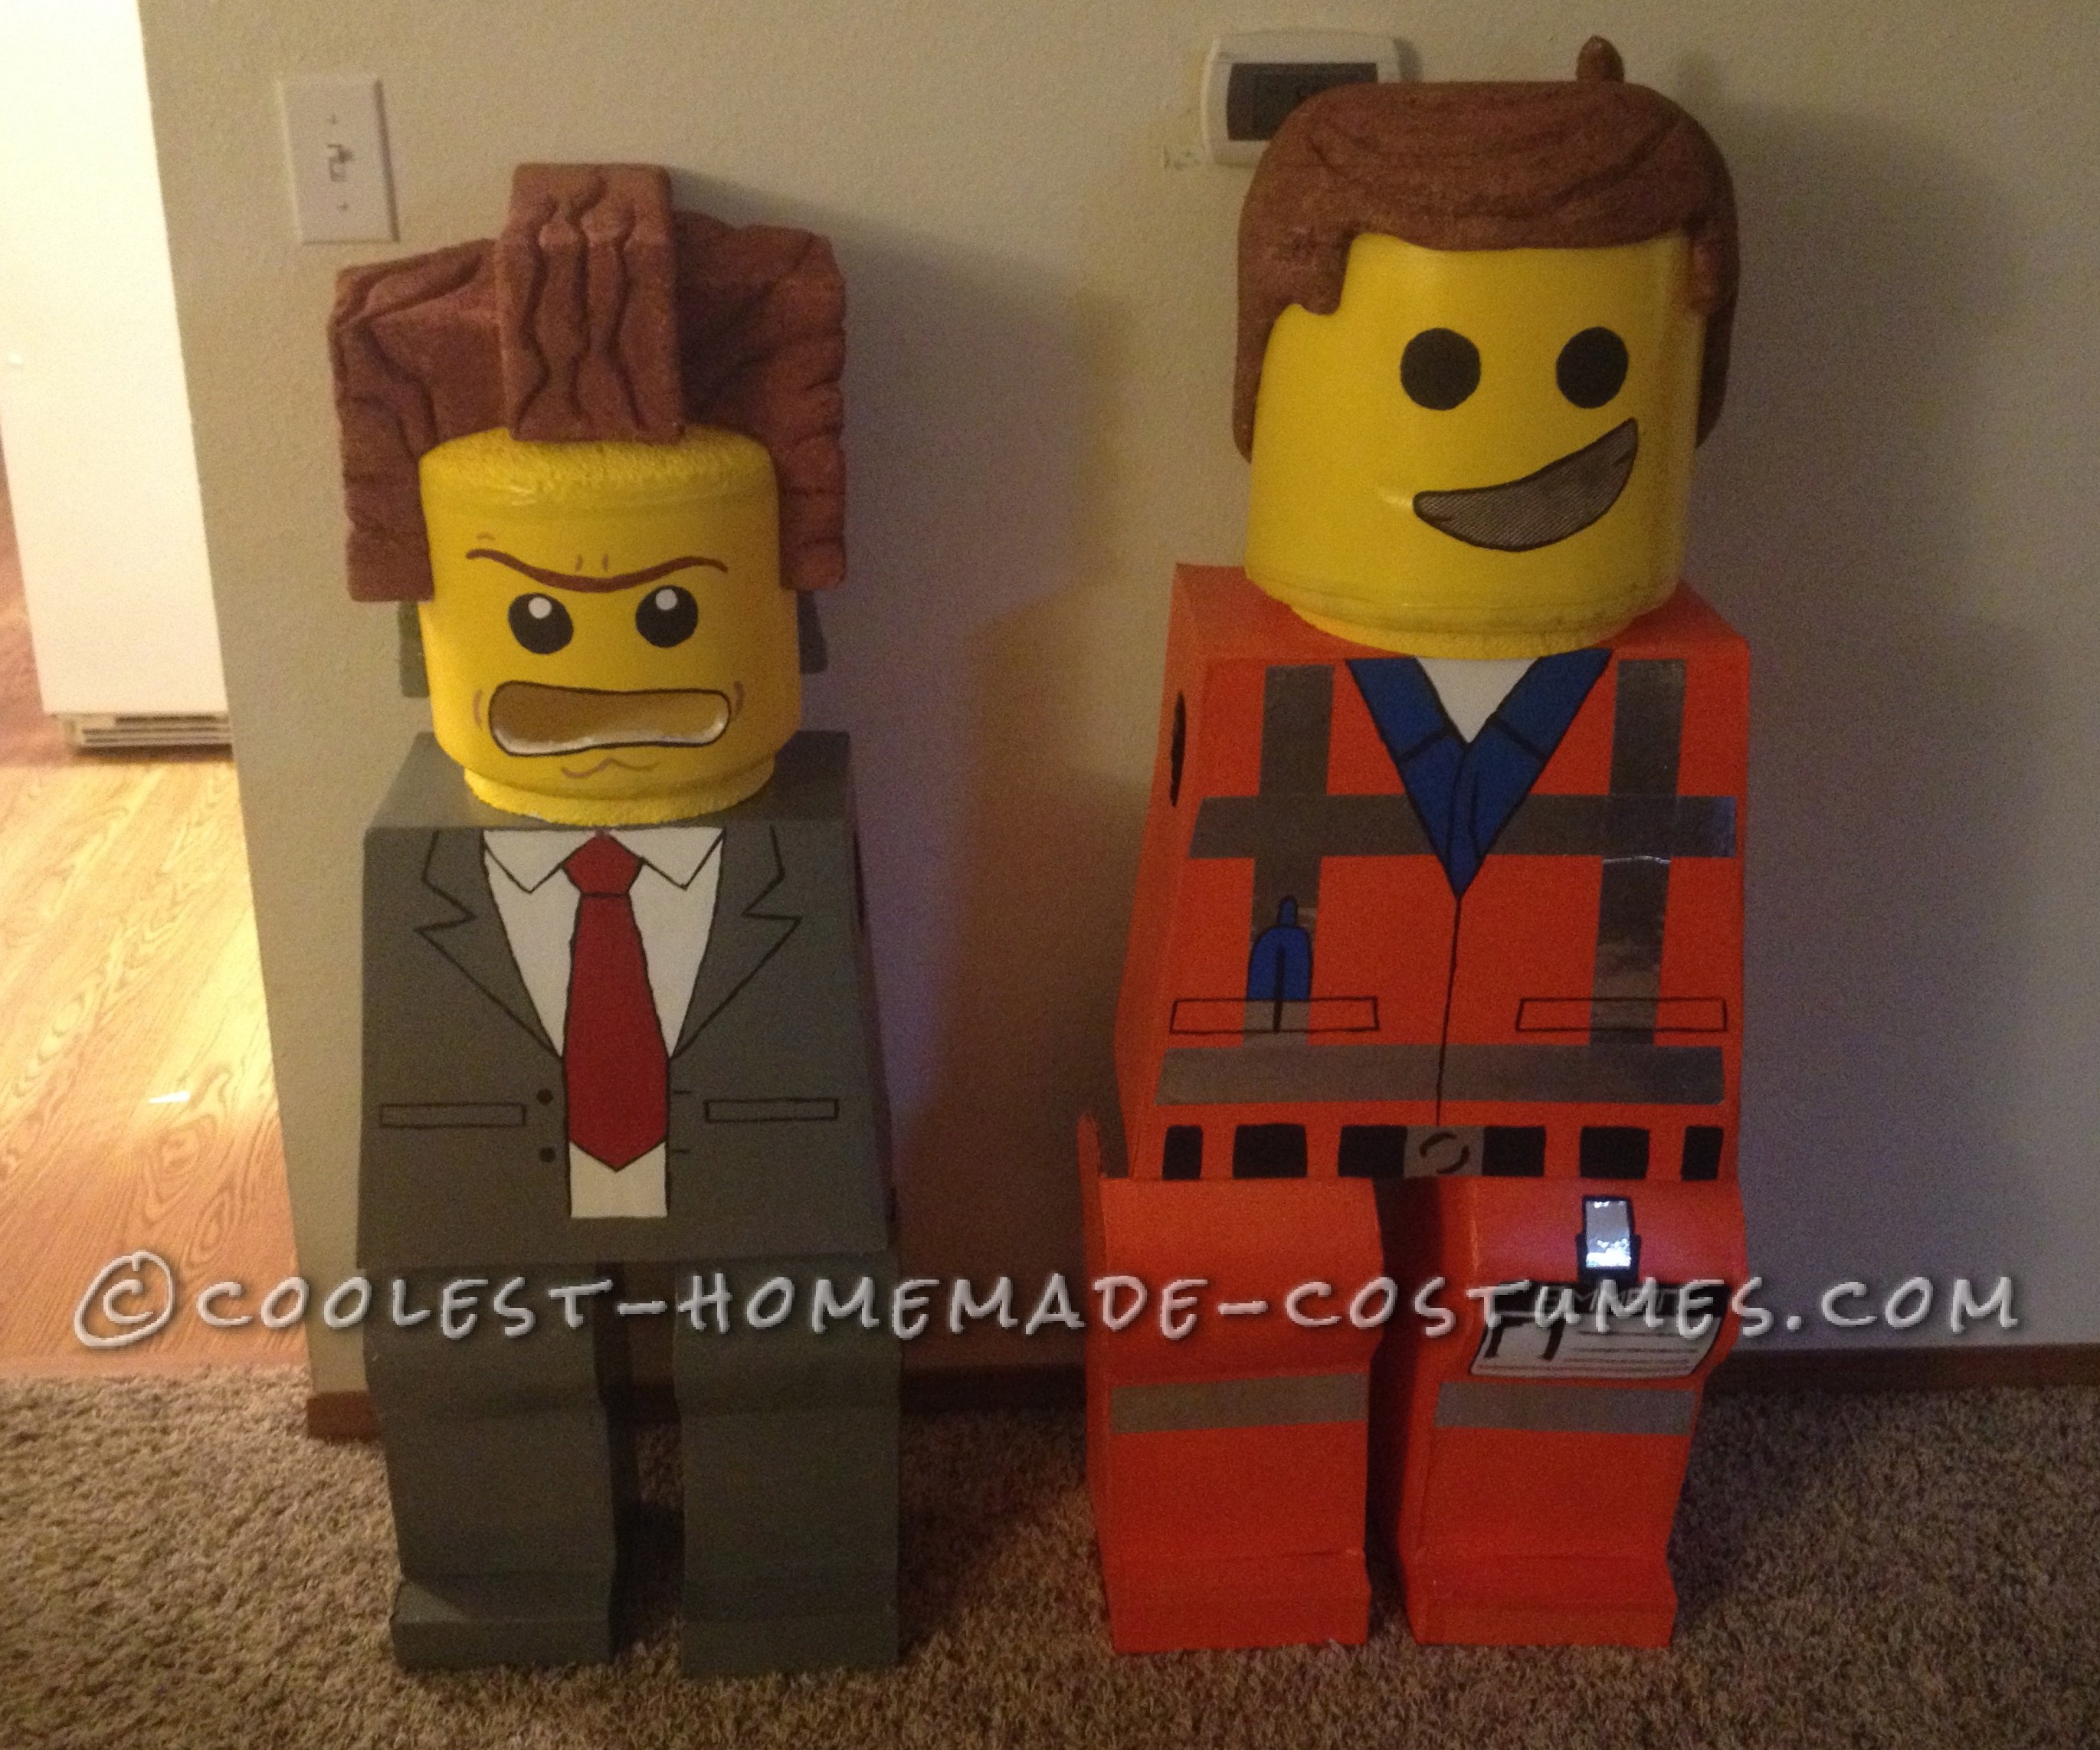
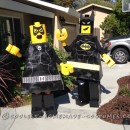
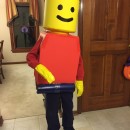
Next, I started making the bodies out of good old cardboard and masking tape. This was probably the easiest part, since I already had the measurements. The best boxes were the Kirkland Diaper box and also apple boxes from Costco. They were nice and sturdy. After I had the basic shape of the bodies down, I got to work on the heads. I used insulation Styrofoam from Home Depot for the top and bottom and poster board for the center part. I am sure there is better foam out there, but this came in a 4 ft by 8 ft by 2 inch sheets for around $7. The craft foam is much more expensive. I cut the circles with a large pocket knife and shaped them with sandpaper,and then taped some poster board around the circles. I had to make sure to position them so the boys’ eyes would be in line with the mouths of the Lego Guys.
Hands and Hair
After the heads came the hair and hands. This was by far the most difficult task. I cut out the rough shape of the hair in layers and glued the layers together with Loctite Spray adhesive. As long as you spray far enough away, it won’t melt the Styrofoam. After I had the rough shape, I got to work sanding to make the layers even and shape them into beautiful Lego hair that fit the Lego heads. This took a lot of elbow grease and some medium grit sandpaper. I’m sure there is a much faster and better way to do this, but I don’t have a workshop or a lot of tools. WARNING: Foam sanding is very messy and I recommend a mask. I have been finding little bits of foam in my hair and everywhere for days! For the hands, I just glued two layers of foam together and cut out the circle shape of the hands and sanded.
Finishing Touches
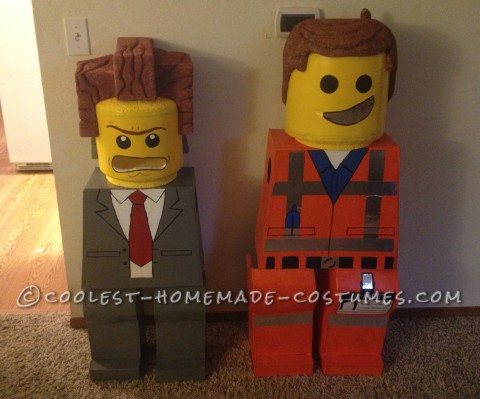
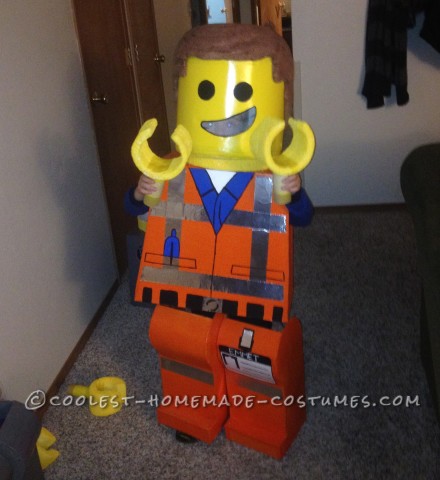
Everything was coming together! I had the basic shape of all of the parts and it was time to paint. First, I covered the bodies in white poster board, but probably could have used the roll of paper I had laying around now that I think of it. This step took a while, but it really saved me time and money on spray painting. Poster board or white paper is cheap, and it made it so I only needed one coat of paint and no primer. I sprayed the main body section, legs, heads and hands and used regular cheapo craft paint for the rest, including the hair. It’s best to avoid spray paint on Styrofoam. Oops! I drew the design on the bodies and faces by looking at my son’s toys and measuring the proportions, then painted over it with the craft paint. I think all of the measuring was key to these turning out pretty good. It takes a little longer, but it looks right. After that, the costumes were complete and it was just in time – the day before Halloween! I could not wait for boys to put them on. I felt like it was Christmas Eve back in 1991.
Trick Or Treat
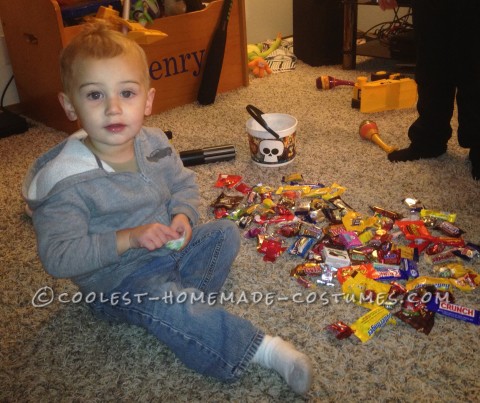
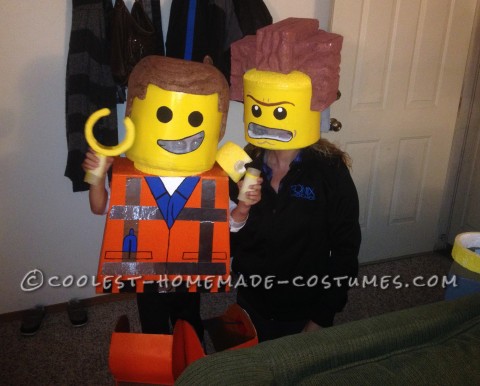
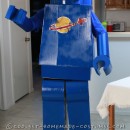
Halloween Day! It had been raining all week, but it looked like we were going to stay dry for the evening. Bonus! We hadn’t really figured out how we were going to get these giant Lego legs to stay on, but after a bit of trial and error, my older son and I settled on duct tape and yarn and made some suspenders. The first Trick or Treaters came, so we decided it was time to scarf our chili down and get going. My five year old was ready to go! He put his costume on, posed and patiently waited by the door with his pumpkin bucket. His little brother had other plans. “Hippy dippy baloney,” he said. I begged, I pleaded, I bribed, I chased him, I tried to force him, but this kid was not going to put on his costume. I offered just the head, just the body, just a hand, anything please! But,I could not crack the will of a two year old and his big brother was getting impatient. We decided to journey out with just Emmet, but I carried President Business just in case the little stinker changed his mind. I ended up looking kind of sad and desperate walking around with this empty costume, but I just couldn’t bear to leave it home after all the work that went into it.
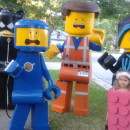
It took a little time to get out to the street with Emmet’s giant legs, but it was worth the slow walk. Seeing my son walking as a life sized Lego guy was one of the funniest things I have ever seen. The way he had to walk with his giant legs was priceless. I could not stop laughing. With the very first step into the street, we were greeted by a group of pre-teens who thought he was so cool that they had to take a picture. Emmet was such a good sport and stood there next to the empty President Business while strangers took his picture. Once we crossed the street, we ran into more Emmet fans who wanted pictures. I think my son felt pretty cool, but he hadn’t even scored any candy yet, so we hit a couple houses. The looks on the faces of people who opened the door and saw him were the best. It made people so happy and that made my day. Lots of people called for their kids and spouses to come look at the Lego Guy. We were feeling pretty good, but after a while, the legs got to be too much. We took them home and went back out and stocked up on candy. He still looked pretty darn cool even without the legs! I’m pretty bummed that President Business didn’t join us, but there’s always next year!


Your comment has been sent successfully.