After Seeing Tim Burton’s “Alice in Wonderland” in the theater, I knew I had to make a Mad Hatter costume. I didn’t want to do it right after it came out because I didn’t want to be one of twenty Mad Hatters everywhere I went. Also I knew it would take a lot of work so I had to wait for a year when I would have the time, money, and motivation to make it happen. This was the year.
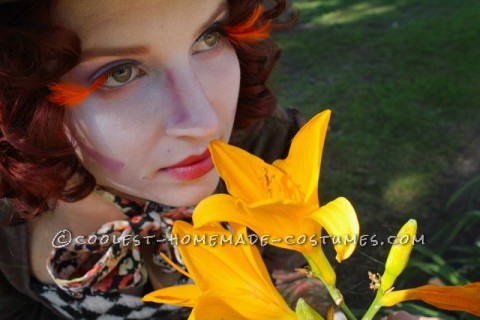
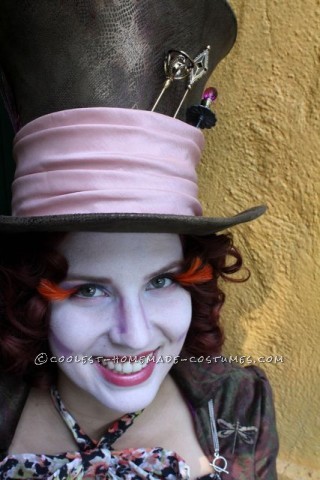
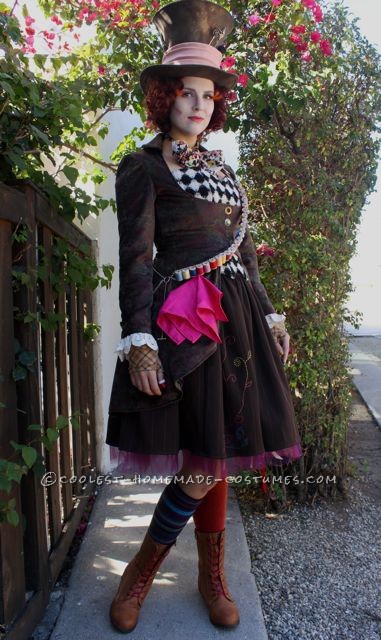
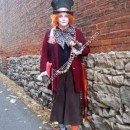
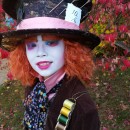
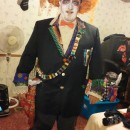
I wanted the costume to be as close to Johnny Depp’s as possible, but with my own twist. The major thing was making it female, which meant a skirt instead of pants and other feminine touches. For example, I wanted to do orange eyelashes instead of eyebrows because long bushy eyebrows really aren’t sexy, are they? I already owned the pattern I was going to base my costume on (Simplicity 2172) and did a few sketches with options for some of the details. All of the pieces would be altered in some way: shorten the skirt and add a petticoat, make the bustier with an extra layer of canvas inside and make it sweetheart with double the buttons, shorten the jacket and lose the neck ruffle but add a collar and more buttons. I re-watched the movie and spent quite a few hours searching online for good pictures of his costume and to see how other people had made their Mad Hatter costumes. I knew the hat was key!
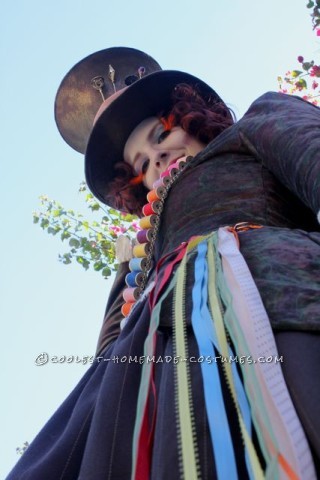
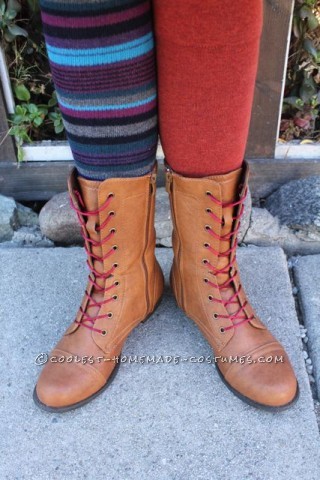
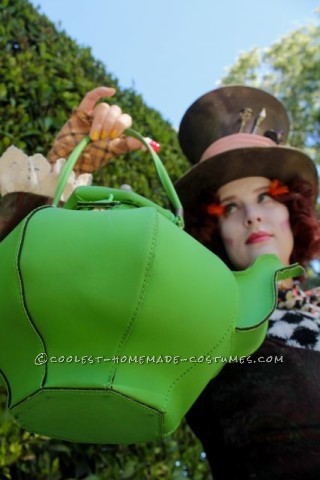
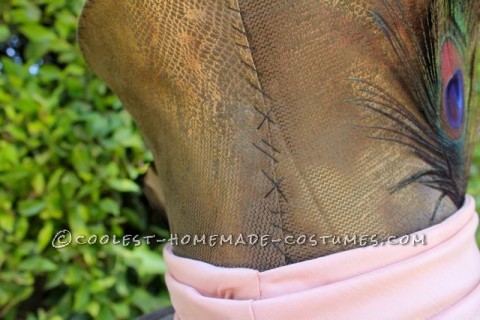
I made the first purchase for my costume in April–my boots–and bought the first fabric in May when I was visiting Denver. I put the skirt together first from a comically large pinstripe suiting and then the “vest” with fabric I had to splurge on at Mood because it was so perfect. Finding the outer jacket fabric and a quality hat with the correct shape that didn’t cost $160 turned out to be the most hellish parts. Over time, I accumulated all the small components to make the costume complete: giant kilt pin and ribbons, thimbles to paint the right colors, red shoelaces, yellow nail polish, mismatched socks, yellow quilting pin, peacock feather, etc. I even found a teapot shaped purse! I did end up buying the official merchandise hat pins since there was no way I was going to find other hat pins close to the design in a large enough scale. I actually liked having one manufactured piece incorporated into it all.
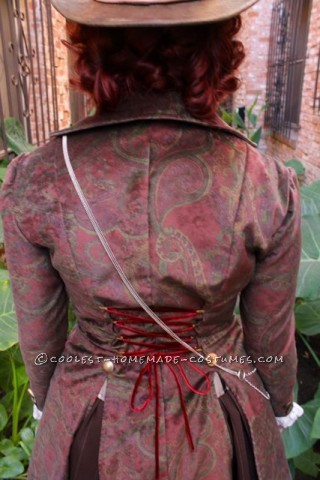
I eventually found my jacket fabric at the F&S Fabrics upholstery outlet and started working on what all the pattern reviews I had read called the most difficult part. I made the fingerless gloves, the pink hankie, and the hat band. You could say that my costume is quite worldly in a way: the lace for the cuffs was ordered from a Hong Kong based Etsy shop, the pin cushion ring was ordered from Australia, and the eyelashes (and bright green contacts that I wasn’t able to get in to my eyes) came from England.
I definitely had some setbacks along the way. For one, I ended up ordering about five pairs of orange socks from Sock Dreams to find the right orange. Luckily they had the perfect striped socks to go with them. Probably the most disappointing thing was when I finally found a hat I liked online and ordered it. I was going to have to cut the fabric off and dye it or cover it with totally new fabric, but at least the shape was close to what I was looking for. I waited impatiently for it to arrive, and when it did I was horrified to pull out of the box a totally different hat. It was a hat I had seen elsewhere online and thought it looked like the cheesiest, cheapest thing in the world. I called immediately and the company told me the manufacturer had changed the design of the item and not informed them. I sent it back and felt disheartened. I searched online again and came across a tutorial by Lynn McMasters for how to make a Mad Hatter hat. At the beginning of this whole process my friend had suggested I make my hat. I scoffed. I have never made a hat before and figured it would be beyond me. This tutorial made it look very doable. The next day I went down to California Millinery Supply and bought buckram and millinery wire. I ended up having to make another trip when I had to start over at one point, but I learned so much! Plus I ended up finding the perfect fabric for the hat after months of searching.
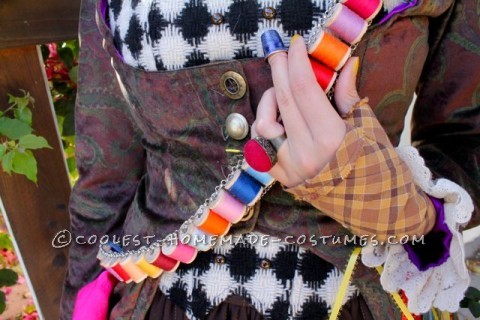
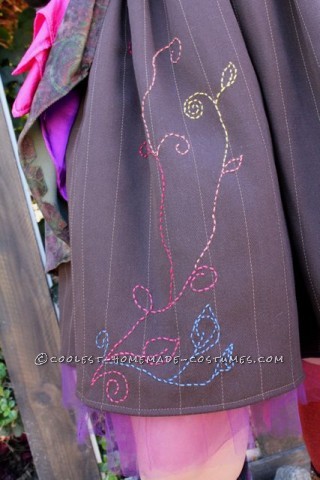
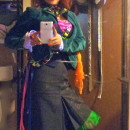
In October, I spent time finishing my jacket and working on details like the vest buttons and the decorative stitching on the skirt. I decided I needed to make a petticoat to make my skirt more poofy, and it would be cute if it peeked out a little bit. I hate working with tulle but it seems to keep popping up in my projects. I put together the thread spool bandolier from scratch. I started with plain wooden spools, embroidery floss, chains, jump rings, and toggle clasps. I also made the 10/6 hat card and bow tie last minute, I had almost forgotten about them! I had an idea to put horsehair braid in the tie and I love how to stands up.
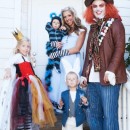
I wore my costume for the first time to a Halloween party at a bar on the 26th. All night people were stopping me to tell me how much they loved it. Later in the night they held a costume contest and I won first place. A few days later, Halloween was finally here! I wore my costume to the Festival on Santa Monica Blvd in West Hollywood. Around 50,000 people attend every year. My friends and I have fun walking up and down the street looking at all the creative costumes people have come up with. When we see a really special one, we may ask to take a picture with them. This year, people were asking to take pictures with me. It was so neat, I felt so special! It made me feel like all the blood, sweat, and tears were worth it. I’m very proud of the outcome, especially the hat. Besides, what good is a hatter without his hat!?
Now I’m happy to share my hard work with all of you!

Your comment has been sent successfully.