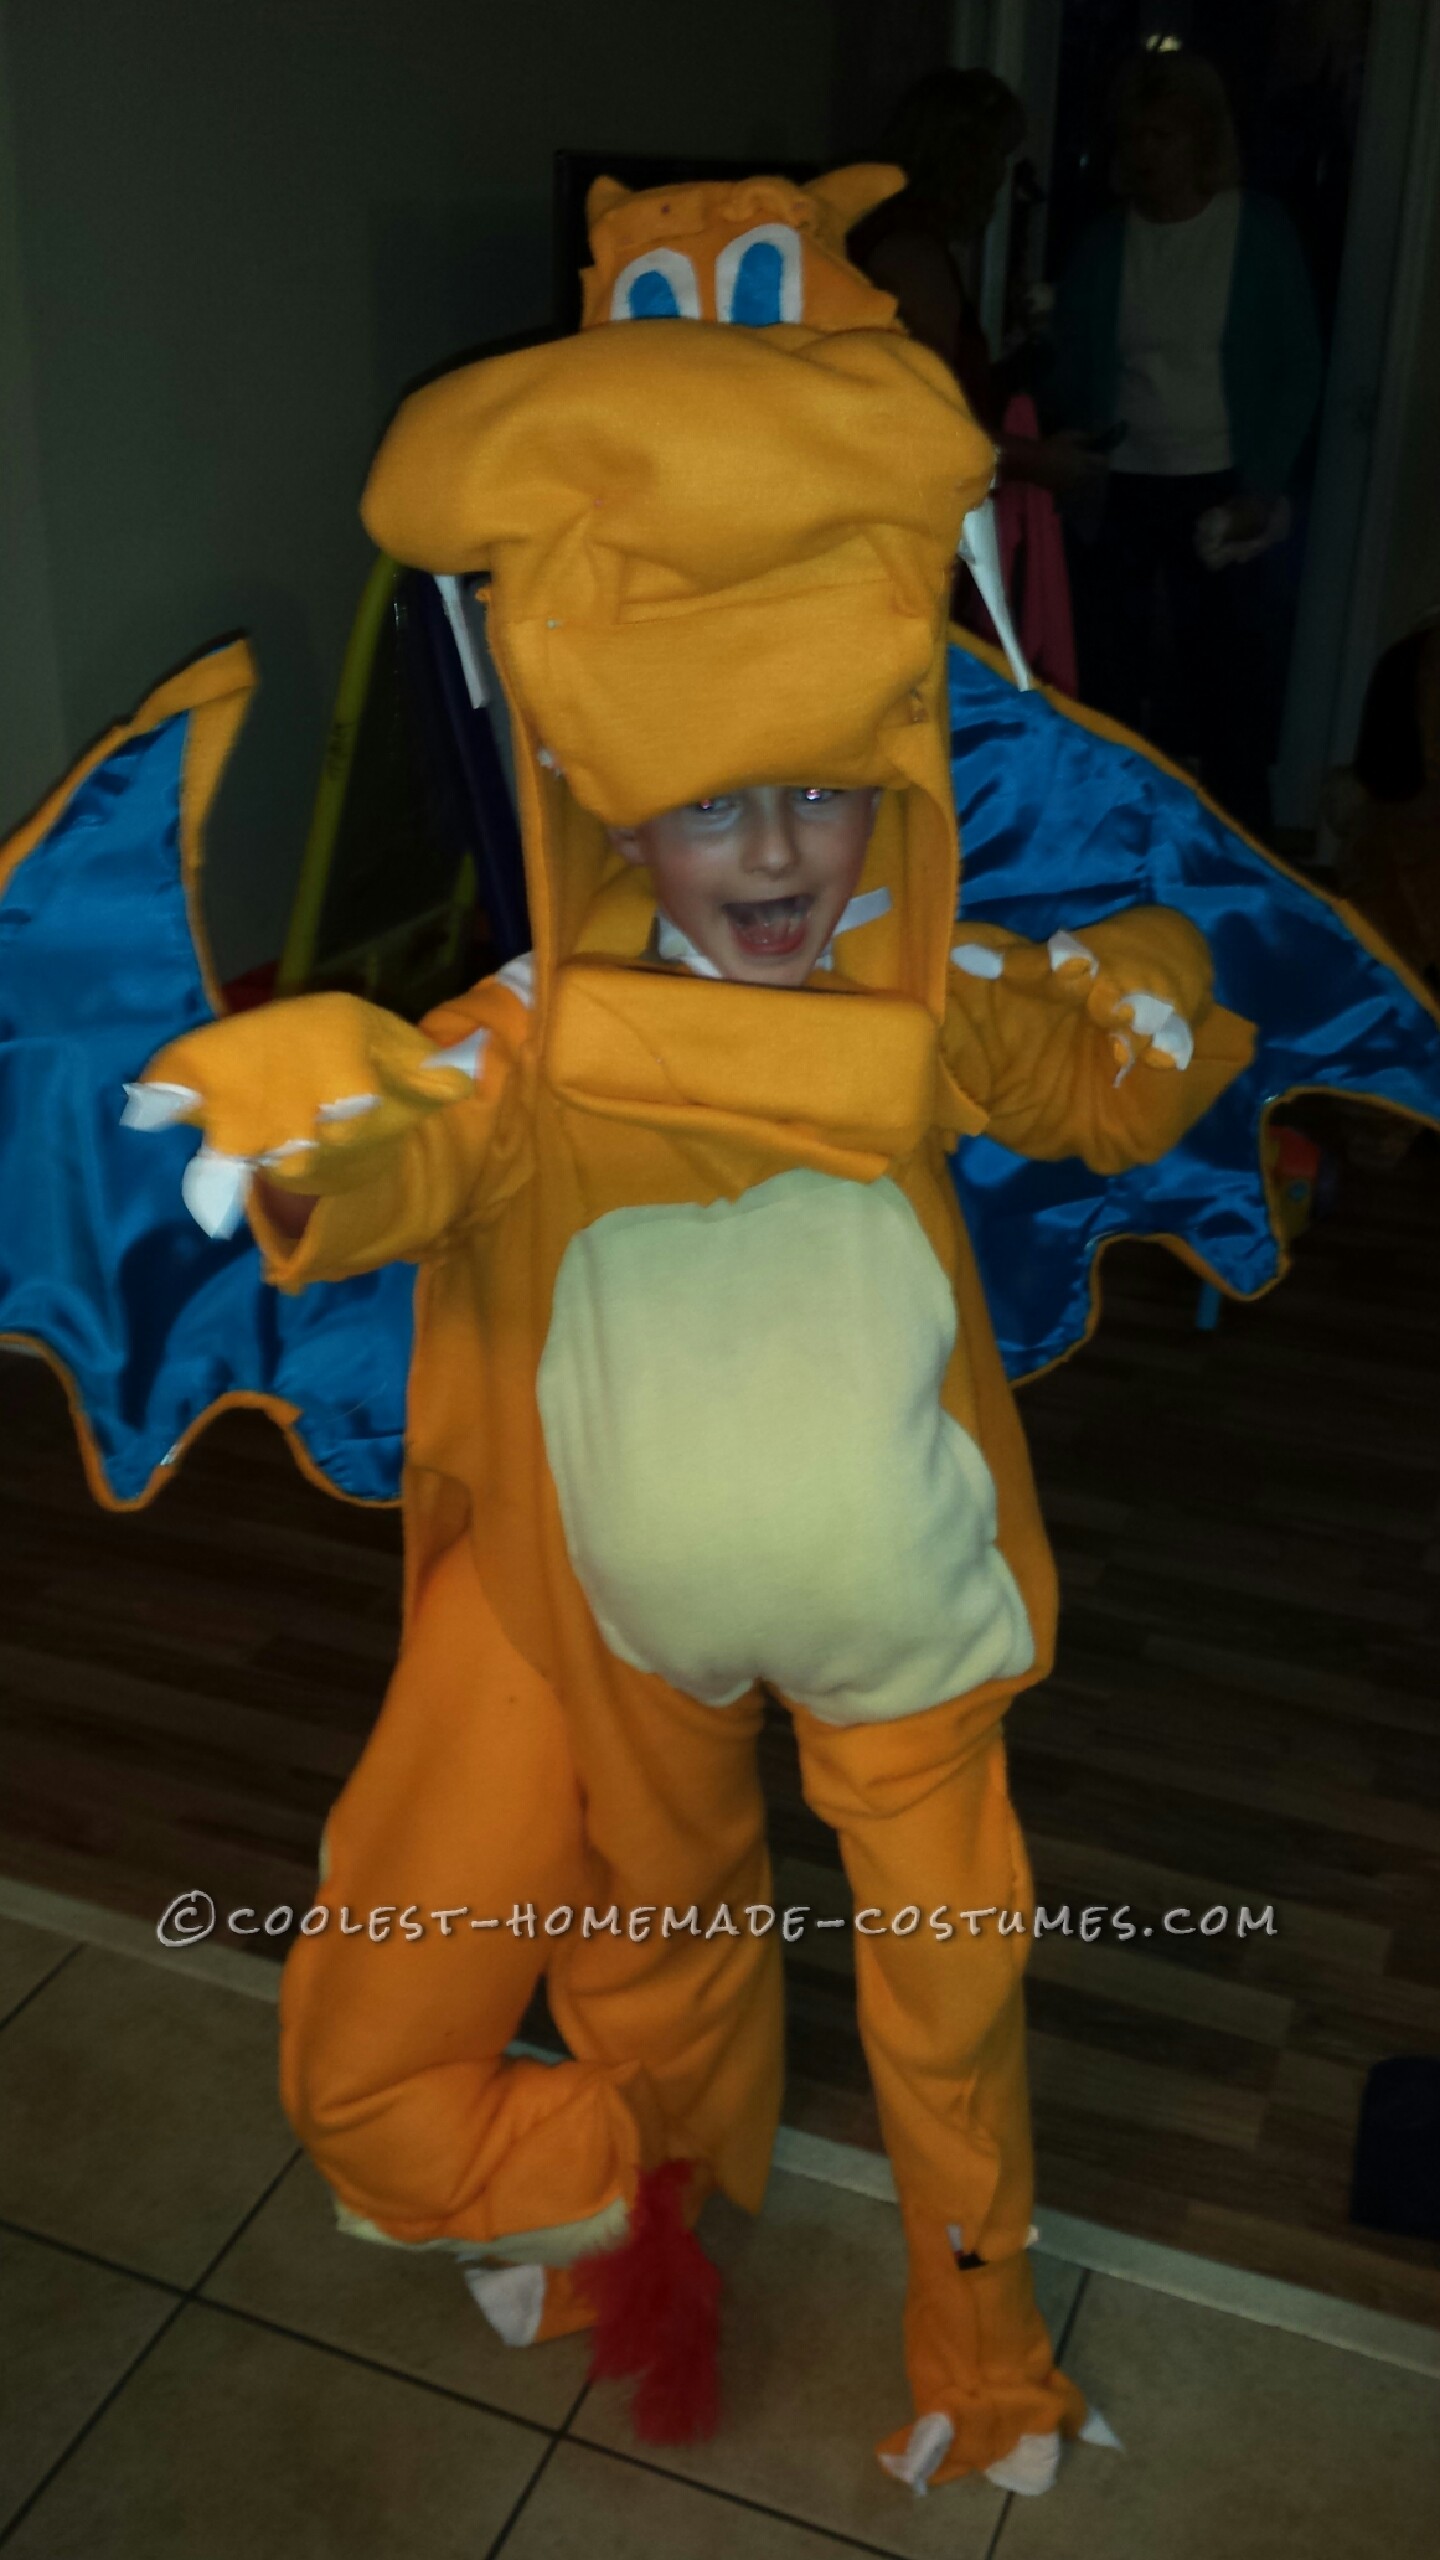
My 9 year old told me he wanted to give me a challenge this year for Halloween: he wanted to be Charizard (from Pokemon) this year. And of course I haven’t sewn anything since Middle School, which is far too long ago to remember. Overall the costume was a HUGE success and at each step I was pushed to go further from his over excited comments: “Those are the best feet ever!” “That’s the best Charizard head anyone has EVER made!” I think he just knows how to keep me working, but man did I need that. The easiest part of the costume has got to be the feet, or dragon toes as my son calls them. Just an old pair of shoes, some duct tape, hot glue and fabric. You honestly could use these feet for any dragon costume. The toughest part of this costume, in my opinion has to be the head. The top of the head was basic and rather simple, but when you try to connect the jaw line and make the head fit on a small little head (as opposed to all Charizard costumes online which use adult sized heads). Again, I would say perseverance is the key to this costume. If I can make it … anyone can. I bought a sewing machine and just started. If I can do this and not have the first clue in how to sew… trust me… you can too!
Please excuse the Charizard fabric mess in the pics!
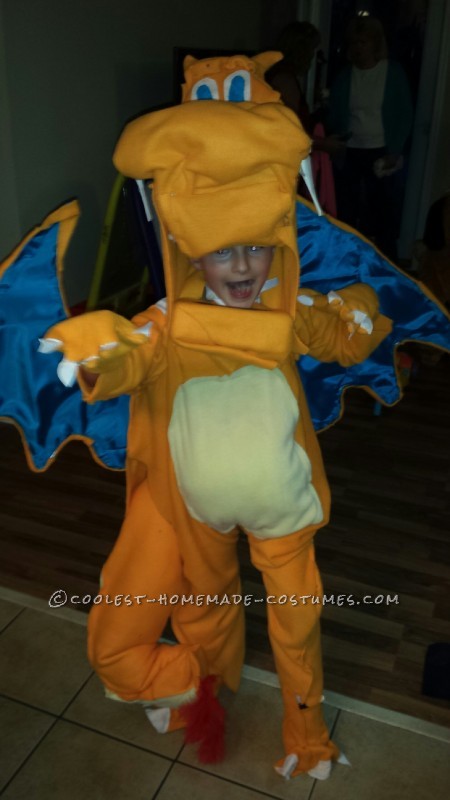
Charizard Costume
Making the Dragon Feet
#1 – Find a pair of old tennis shoes that still fit.
#2 – Place duct tap for the amount of toes you need. For Charizard, you will need 3 toes. Put duct tape on the ends of the shoe and make the toes.
#3 – Next sew the shoe cover. I used 2 pieces of orange felt, sewed them together, top and back.
#4 – Sew or hot glue toe nails onto the fabric. I chose to sew them because my 9 year old is a bit rough on his costume and likes to play in it after Halloween is over.
#5 – Hot glue the fabric to the old pair of shoes, including the toes. Leave fabric at the ankle to cover any showing skin.
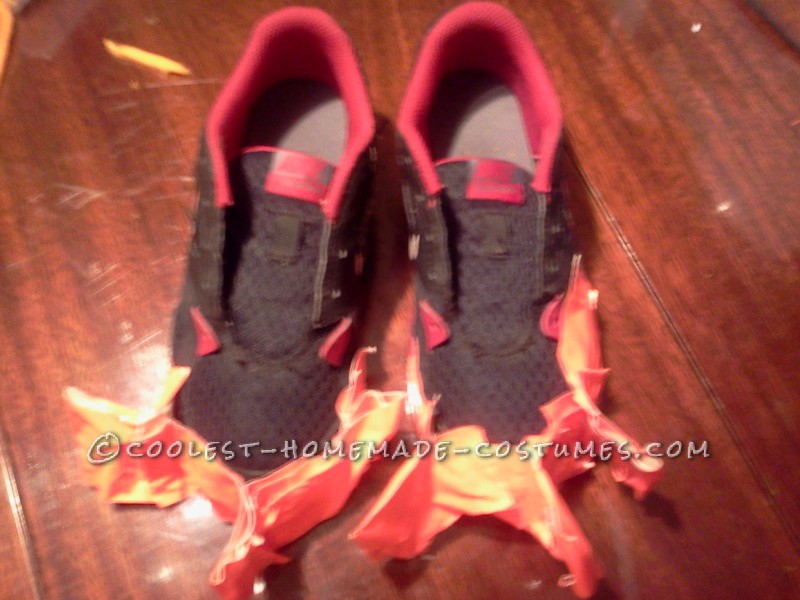
Shoes with duct tape
Make the Tail
For the tail I used 33″ x 20″ (length X width) of orange fleece fabric and 33″ X 5″ of cream colored fabric. The cream color is the same fabric for the belly of the costume and the orange is from the body of the costume, hands, and feet. I pinned the fabric together (the cream color is supposed to be the underside of the tail). Sewed one side of the cream to the orange. Next, I placed the stuffing (poly-fill you can buy from any store: Walmart, Target, Michaels, JoAnn Fabrics) in the tail with a 6-gage wire. The wire allows the tail to not drag the ground. Moving forward I would suggest placing 2 or 3 wires in the tail as my son’s was dragging the ground by 45 minutes into trick or treating. Next, sew the other side closed. Then sew whatever feathers, extra string etc you want on the end of the tail (to make the fire).. I only had red so that is what i used. You can use whatever elastic you have, even around the house. I used an old pair of shorts, that were elastic waisted. Cut the shorts off, and sewed the top of the tail to the inside of the elastic. This will go around your child’s waist. Keep this in mind when cutting your fabric for your costume.
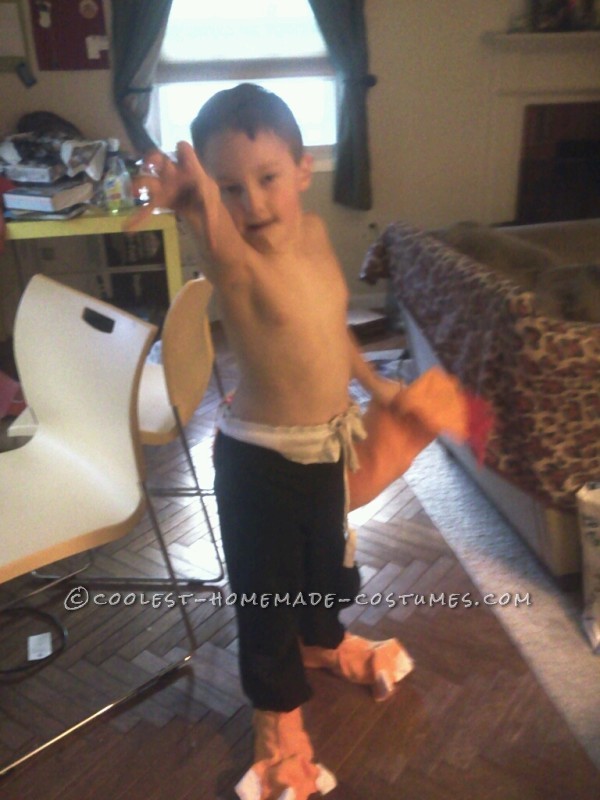
Feet and Tail without the wire
The Dreaded Wings :)
I first drew out Charizard’s wings as they are shaped a bit funny. Next I measured my son’s back to see how big he wanted them. I have attached the very rough drawing I used. The wing span was 30″ wide, 21″ for the bottom and 8″ for the back measurement. At first I tried to use cardboard for the back support, but the wire was too heavy. 6 gage wire is the best to use, but for children 8 gage also works. I ended up using a piece of wood covered in fabric with the wires running in and out (weaved) for support. After the frame is built, I just hot glued the blue fabric to the wings and then used extra orange fleece and hot glued around the edges. This allows cover up of any boo-boos :) Instead of making him carry the heavy wings on his shoulders I used heavy duty bands and clips and put 2 around his belly.
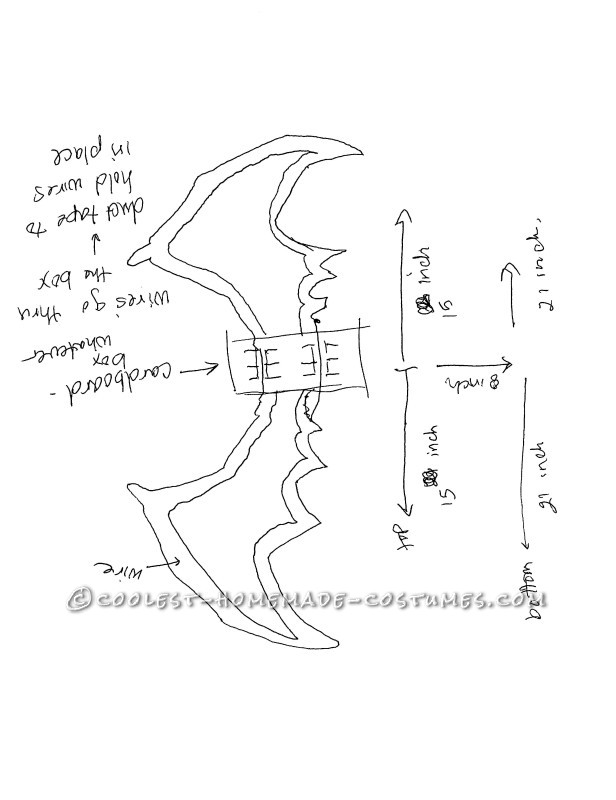
Sketch of wings
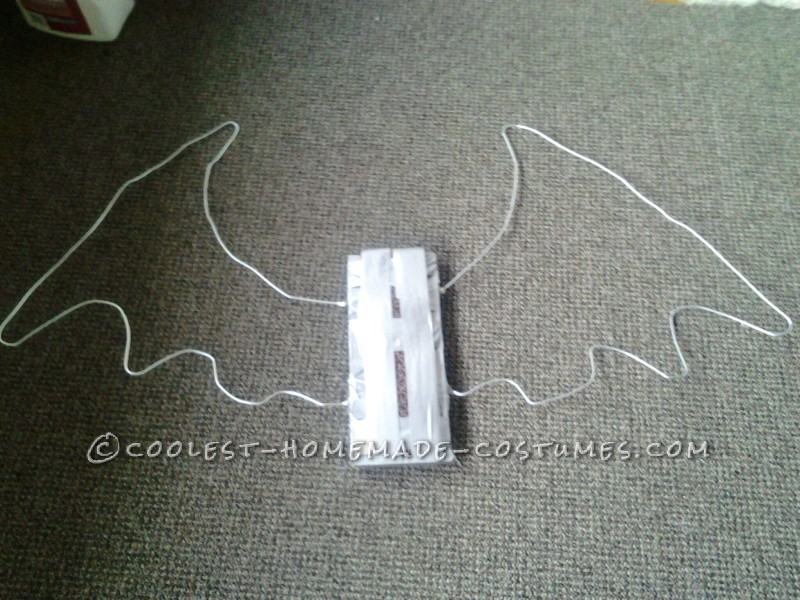
Wire outline
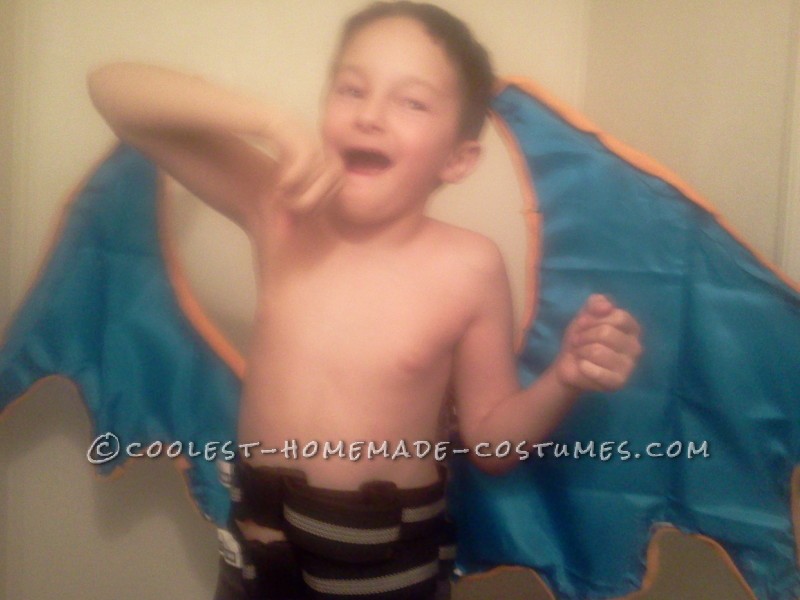
Wings Complete
The Body
I just used a dragon costume pattern from Walmart for $0.99. I only used the pattern for the front, arms and back and threw out the rest, as you will make your own wings, feet, hands and head. After sewing the front two panels, I put a large circle on the front, filled it with stuffing and sewed it closed. When putting the back 2 panels together, keep in mind you must make room for your tail and wings. I chose to put the tail hole in the back of the right leg to keep the tail and wings seperate. I used velcro to keep the back closed around the wings.
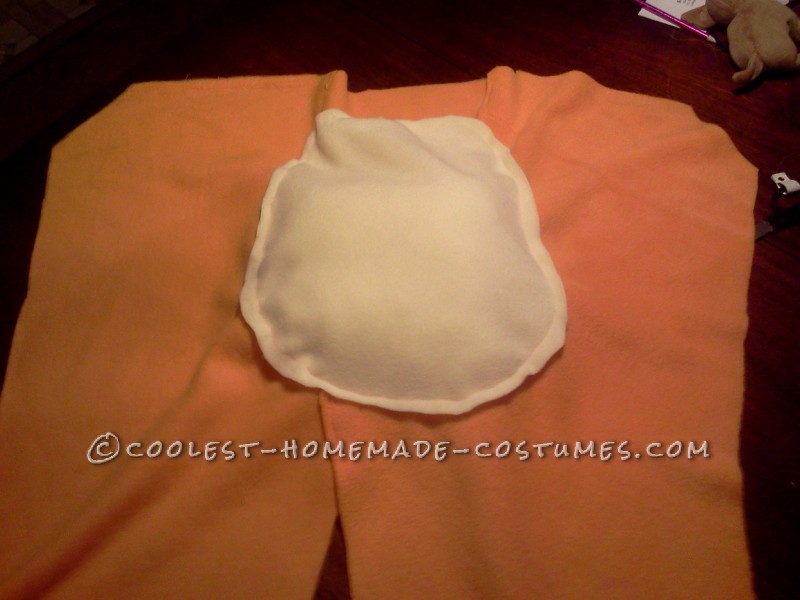
Front with Stuffing
The Hands and Head
#1 – Trace your child’s fingers, but use about double the pattern. When making gloves, keep in mind you will sew and then end up turning the glove inside out, this takes up a decent amount of fabric and space.
#2 – Next sew fingernails on the ends of the fingers
#3 – For the head: buy foam board from any fabric store. Using my son’s head I then measured how far to cut the head, this was about 13 1/2 inches. The foam has to go from the back of their head and extend out in front of their face. I then cut a smaller part of the foam and hot glued it to the top of the first piece. This will give the part by the eyes. Then hot glue orange fleece to the entire foam board (excluding the bottom). Make sure you stuff the front of the head for his puffy nose. Then hot glue spikes to the back of the top piece (I say ears and my son is insistent that these are spikes and dragon Pokemon’s do NOT have ears!). Again, cover with orange fleece. Make eye brows with rolled orange fabric. Next use the white fabric (from the nails) and make eyes. I just hand cut all of the head but I think it was about 2 inches tall. Next use the blue from the wings and make the insides of the eyes. All of this was hot glued, I did not sew any of the head (cause I can’t sew that well :) Here is where it got complicated for me. For adult heads, you can balance the head easily, but for a 9 year old this did not work. I turned the foam upside down and carved out a space for his baseball cap. Then i duct taped the brim of the hat to support the front of the head. This works FAR better.
#4 – The bottom of the head again is another piece of foam. This will fit underneath the chin and then measure to equal the length of the top piece. Again, cover in orange using hot glue. Then I used a piece of black cardboard and cut in the shape of a “U” and hot glued for the inside of the mouth. Hot glue the bottom foam to a piece of elastic. The elastic will go around the chin to the back of the head.
#5 – When you put the head on, velcro pieces of orange fabric to either side of your child’s head to make the head complete.
#6 – Add teeth to the top of the head. You can see the attached, but I honestly just used construction paper and hot glued the teeth on… very simple.
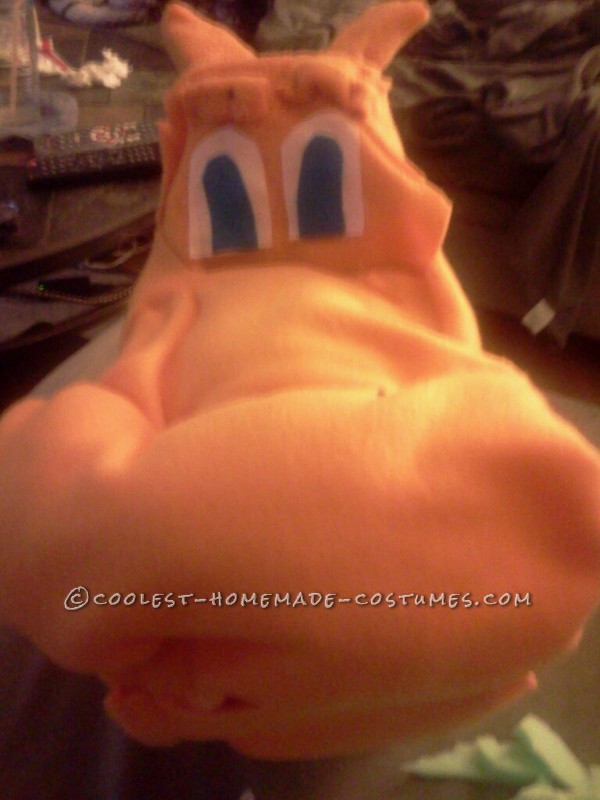
The top part of the head

Your comment has been sent successfully.