The Story of How to for BeeDoo
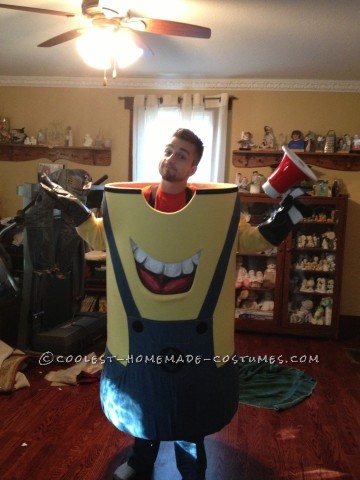
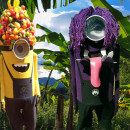
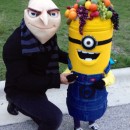
My son is a first grade teacher and loves dressing up for Halloween for his class in a character the kids can identify with. Thus this is how CARL was created.
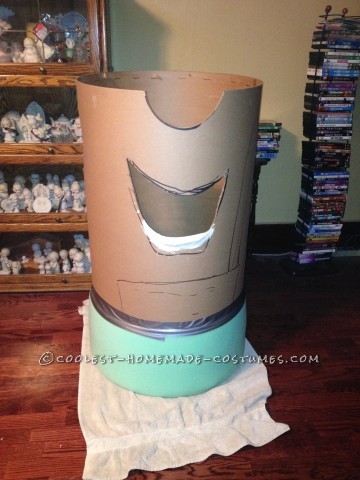
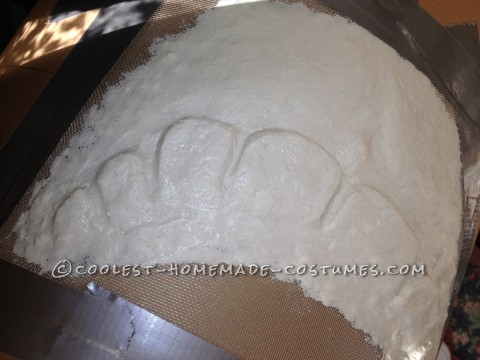
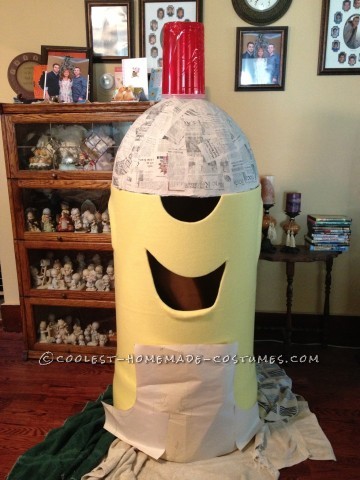
It all began with a cardboard drum for the body.. I cut the drum to my son’s height, cut arm holes and mouth area out. The bottom was wrapped with foam rubber to add shape to CARLS bottom end.. Now the mouth insert was constructed on mesh screen with homemade clay, toilet paper (wetted and shredded), joint compound and salt, then shaped into teeth, tongue etc. I added a lip on the drum to add some shape to the mouth so it wasn’t all flat. I taped the mouth metal screening to the drum, while drying process so it would dry to the curve of the drum and fit into the area cut out for the mouth. I learned this the hard way. I had already made one clay mouth and had just laid it on the drum with out taping and when it dried it was twisted and wouldn’t lay flat against the drum. When the new mouth sculpture was dried I painted it accordingly.
So now I am ready to start covering the body. This process is not the easiest. I used spray glue and started wrapping with yellow material trying to keep it straight and all the wrinkles out. Doing this by myself was no easy task…
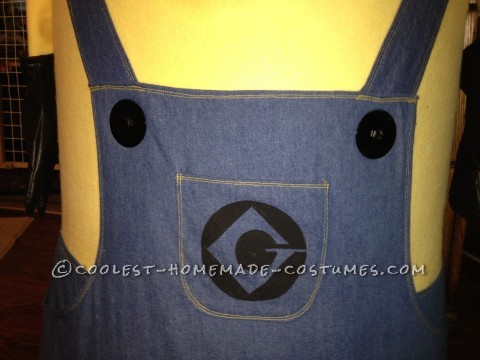
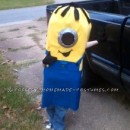
After the body was wrapped and secure I added sewn sleeves and hot glued into arm holes. Now I had to figure out the bibs to cover Carl’s bottom end.. I used paper and cut a pattern before I cut from denim.. So after I had the pattern figured out and fitted I made the bibs and added sewn accents. I added a front pocket that I had painted with the Minion logo. Since a portion of the legs were exposed I made leggings from material match the bibs which cover the legs.
Straps were added to inside of drum to carry the weight of the costume. I secured the straps with bolts, washes and rings, which acted as the buttons on the bibs, and then the straps were sewn to actuate length for my sons height. I added foam rubber for shoulder comfort.
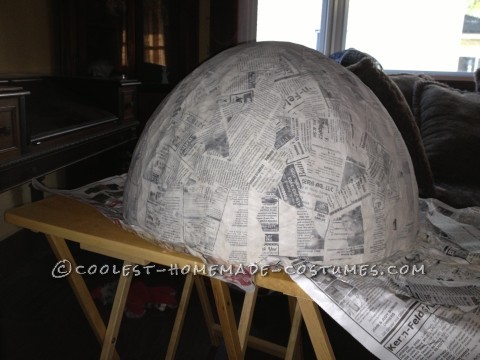
Now the biggest challenge was the Dome or top of head. I had to figure out what or how to make the dome shape. SO… I scratched my head and figured the only way to get it to fit the body (drum) was to construct a form from strips cut from the bottom of drum. I then taped and glued strips together to form a dome. A layer of duck tape was used to fill in all the void areas. Now let the fun began! 10 layers of paper Mache, ¼ cup Elmer’s glue, 1 cup flour and 1 ½ cup water mixed with strips of news paper, covered the form drying each layer before the next. After all layers were dried it was removed from the form. I cut holes for the 3 lens and the eye, and then covered the dome with yellow material, using spray glue.
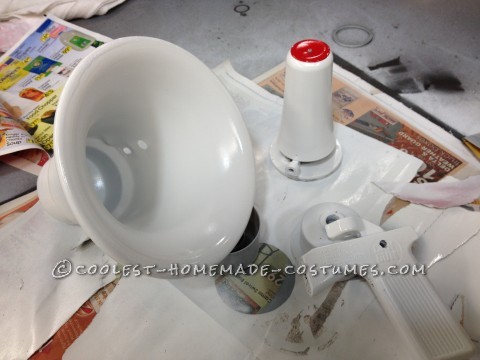
Constructed from a food strainer, with the handle removed, was the eye. I hand painted the eye and added eyelids using matching material. The goggle, surrounding the eye, was a cardboard ring big enough to surround the shape of the eye. The goggle was primed and spray painted silver. I added silver decorative grommets around the edge.
The top Rim of the goggle was slit to make tabs so the tabs could be hot glued to
the dome top to secure into place. Black material was sewn and elastic added for the goggle strap. On the bottom edge of strap I hot glued Velcro. On the top edge of the body on outside I hot glue the other half of the Velcro to keep the top removable and secure when put in place.
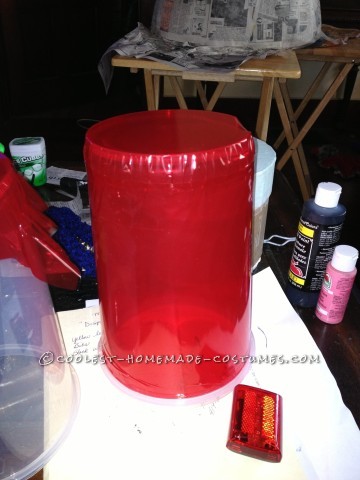
Now here comes challenge number 2 or was it 3 anyway ….What could I use for the lens, emergency lights on the dome, that was big enough to look in proportion with the rest of the body?? Well scratching my head again and looking on line and found nothing that was big enough. Off to Wal Mart I went to do one of those walk around and get inspired. And what do you know I came upon clear plastic water pitchers just the right size. So I bought 3 took them to work and had my boss cut the handles off and sand them smooth. I then took red cellophane and double faced tape and covered the pitchers.
Ok so I made it this far and again one more huddle. Now I needed some type of flashers that wouldn’t cost an arm and leg, cause remember I need 3. So I made a trip to our hardware store, by the advice of a co-worker, low and behold $2.88 bicycle flashers PERFECT! I mounted the flashers on the goggle band and the top flasher mounted on the pitcher lid. The hole for the pour spout was left open so one could insert finger to activate flashers. I used aluminum stove burner covers, cut and covered with silver material, then hot glued to the rim of the lens to make it look like metal rings.
Minions only have three finger gloves so I had to make a pattern to fit my son’s hand, and then cut them from black pleather material.
OK stay with me almost done…Last and final hurdle I promise.
Carl uses a meg-a-phone in the movie so my last challenge was to find something anything to use to construct a meg-a-phone. Again I went to my boss and shared my dilemma with him. In a matter of minutes a light went on and an inspiration was born… an external truck speaker. Who would have thought! We found one that was junk, gutted it to make it lighter. I taped it off and spray painted the approate colors. Now the handle for the mag-a-phone was a spray can nozzle gun cut down and bolted to the speaker.
Who would have thought!!
The highlight to all of this is seeing the laughing smiling faces of the kids that have lined the streets to watch the Halloween parade. When Carl arrived the kids started chanting BeeDoo BeeDoo , the only sound Carl makes, as he passes by giving high five, hugs and wanting their pictures taken with Carl. THAT’S WHAT IT’S ALL ABOUT!
And this is how Carl the BeeDoo Minion was created and why!
I hope you enjoyed my construction journey with Carl. This process took me three months to complete.
Sorry I’m not a writer and didn’t graduate college as an English major so I hope you can over look any and all English grammar errors. (Smiling)
Your comment has been sent successfully.