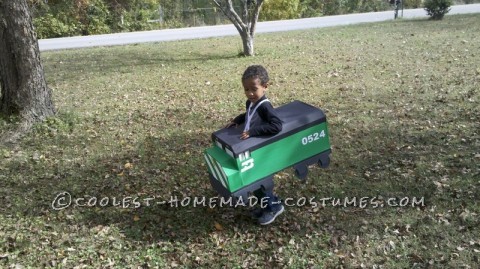
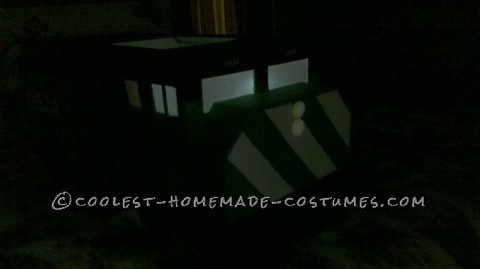
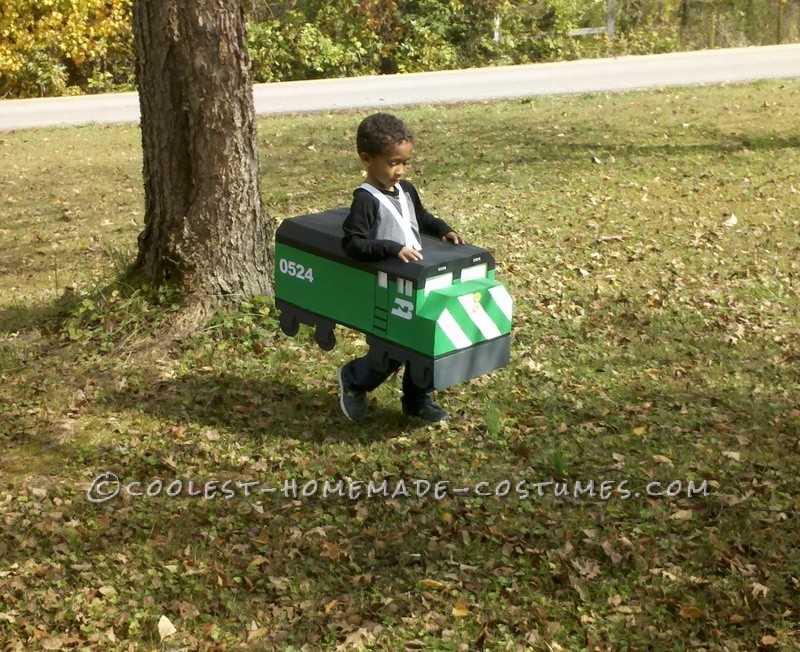
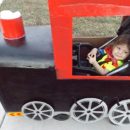
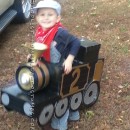
My 5 year old son is a train fanatic. He watches a lot of train videos and in one of the videos he saw a Burlington Northern diesel train and kept asking for it for months. The train he wanted was a few hundred dollars so when he said he wanted to be a train for Halloween again I decided to try to make him the one he wanted. He was very specific about what he wanted for a costume. It had to be green, had to be a diesel train and it had to light up so the engineers inside could see.
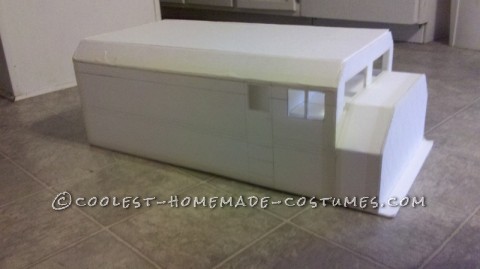
I decided to try foam board since it was really light and cheap. The first attempt didn’t turn out so well. The basic form was there but the front looked more like the dog van from Dumb and Dumber than it did a train. I also had a boy who insisted playing with it every time I put it down and since little boy trains crash a lot it didn’t hold up well. After a few more days searching online for ideas and looking a few model trains I was able to get the basic structure built. The second time it looked more like an actual train and it ended up being very sturdy because of all the extra supports. I over did it on the extra support but the costume will be able to be played with longer because of it.
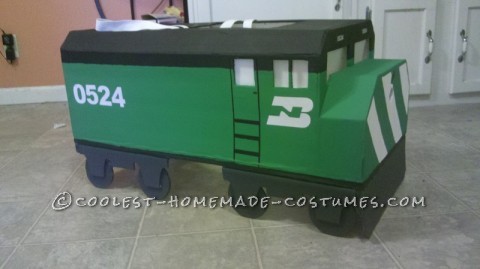
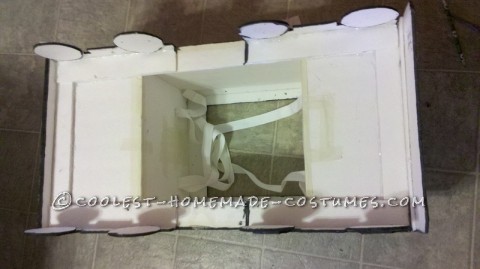
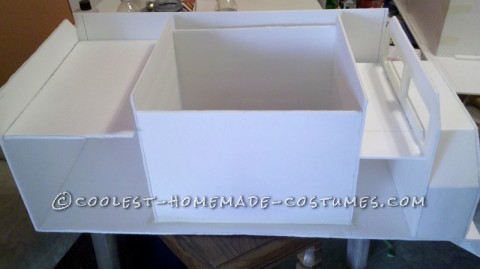
I started with a 14” x 27” base with an 11” x 13” center cut out. Then the inner walls were hot glued on and extra pieces were added along the seams for more support. The front windshield piece and back were added to the base next along with additional support pieces that connected them to the inner walls. At this point I cut out the front windshield and added the hood section then the sides were added and the side windows, door window and headlights were cut out.
I used unpainted foam board for the inside of the windows and clear water bottle caps painted yellow for the headlights. Light will shine through plain foam board but not when it has paint on it. Yellow acrylic paint will not stick to plastic bottle caps so I used yellow ink from a printer refill pack to stain the cap yellow.
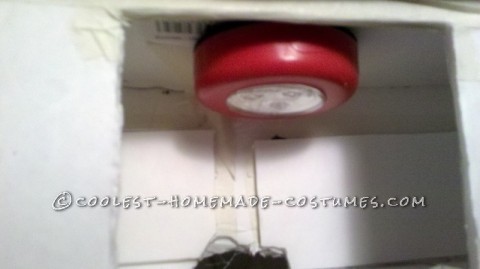
For the light inside I cut a small section on the inside to make a door so I could attach a small led light to the top of the cap and be able to reach in and turn the light on and off. The whole thing seemed like it could use more support so I added more pieces along the outside bottom of the base before I added the wheels and cow catcher on the front. I used masking tape along all of the outer seams for extra support. The paint covered it just fine.
Just when everything was coming together I realized that I forgot to cut the slots for the straps. I ended up having to cut holes in some of the inner pieces to put the strap in and patch them back up with some masking tape. I also went back and cut a larger hole under the windshield so more light would shine through the headlights. To finish it off it was painted to match my sons’ favorite train and I printed out the company logo and the train number (which is his birthday). I downloaded an app on my phone provided for train sounds.
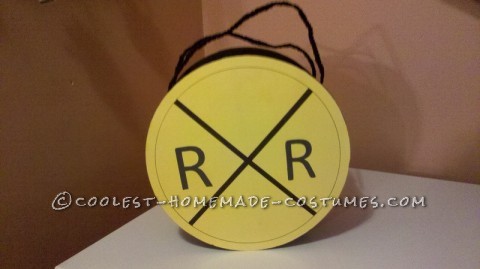
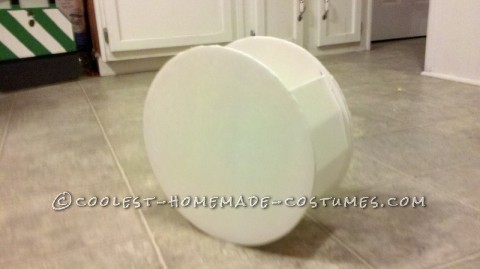
I had just enough scrap pieces left over to make a matching trick or treat bucket. Since he was a train I made a it a rail road sign. I cut out two 12 inch circles for the outside and a 4” strip along the length of the foam board. On the 4” strip I marked it off at every two inches and cut along the lines just enough to go through one side of paper and most of the way through the foam. I bent it in on each cut so that it would form a circle but would still be smooth along the outside. I them marked one of the circles on the inside with two inch lines, an inch from the outer edge to make a rough estimate of where the 4” piece would go. Starting in the middle I hot glued the 4” piece to the circle on far enough on each side so that there was still a big opening in the top.
Then I pulled off the foam from the foam board and trimmed the paper so that it overlapped the edges a bit to make a smooth edge. Then I lined up the other circle and glued it on. It held really well at that point but I reinforced it with more hot glue on the inner seams just in case. For the handles I braided some black satin ribbon and cut 2 half an inch slots on each side of the top of the inner part to pull it through and I tied it in a knot and glued it as well to make sure it stayed.
The handle could easily go on the outside too but I didn’t want it coming through the sign part. I made two of these buckets. The first one was painted on and the second one I used yellow poster board and drew out a matching 12 inch circle and drew the sign on with a Sharpie and glued it to the sides. It was much easier than painting the whole thing but they both turned out great.
I used a total of 8 pieces of foam board or the costume and bucket but I could have probably used 6 if I had planned it a little better before I started. The whole costume cost less than $15 to make but because of the amount of trial and error involved it took 3 weeks from start to finish.
The look on my sons face when he saw it all finished and got to try it out made it worth all the time and effort. We received a ton of compliments and questions about it when we were out trick or treating and he won 2nd place in a costume contest.
Video –
http://youtu.be/PtKf6qfK1WM
Very nice!! My 3 year old son saw this and wants me to make him one. Thank you for sharing the info!
Very nice!! My 3 year old son saw this and wants me to make him one. Thank you for sharing the info!
I am so glad to see this. I understand what you mean by boy’s and their trains. My 3yr old son loves freight trains as well only in our area we have Norfolk Southern so that is his interest. I am trying to finish up a cardboard train for his costume. He already has the uniform. Most things on out there are for Thomas or just steam trains. I was so happy to see your post. Thanks again!
I am so glad to see this. I understand what you mean by boy’s and their trains. My 3yr old son loves freight trains as well only in our area we have Norfolk Southern so that is his interest. I am trying to finish up a cardboard train for his costume. He already has the uniform. Most things on out there are for Thomas or just steam trains. I was so happy to see your post. Thanks again!