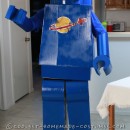
This year my grandson decided, he wanted us to make our costumes for his school’s annual costume parade. He loves to play with Legos, and spends his free time reading the Lego City books. For his costume, he picked Kai, the red Ninja Ninjago. I was sure that was a tall order for a lego mini figure man. To compliment his costume, because I work in the school I decided to be a lego girl mini figure, because girl’s clan play with legos too. We used cardboard, poster board, buckets, foam sheets, electrical tape and duct tape to create our costumes. We were the hit of the costume parade without spending a lot of money on unique costumes!
Things You Need
We purchased a small red bucket, a red bowl, a red measuring cup, red t-shirt, yellow foam sheet, electrical tape and red duct tape, red poster board and a white foam poster board at the local dollar store.
I had a round spatter screen that broke so I cut it apart and recycled the screen.
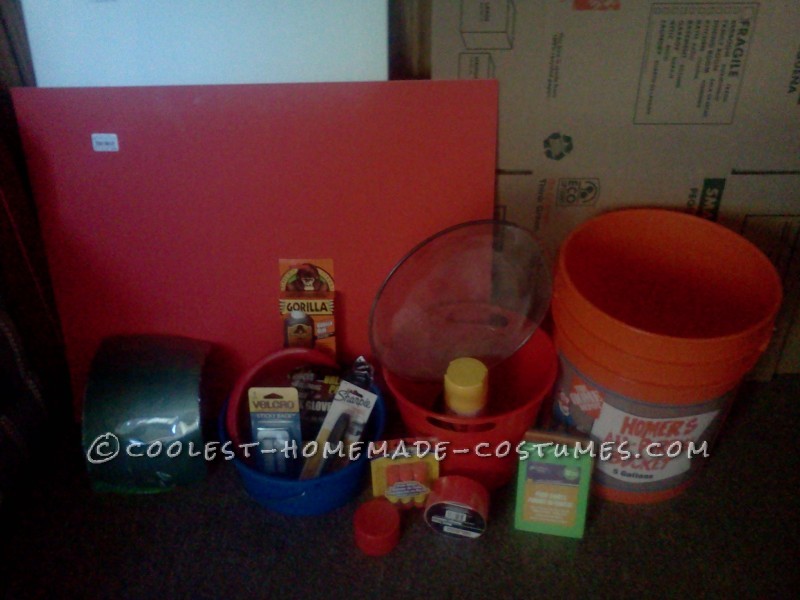
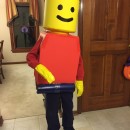
Before Photo for Both Costumes
Creating the Hood
I marked on the bucket where his eyes would be and cut bucket so he could see through it. Used Gorilla Glue to fasten bowl to top of bucket, and then fastened measuring cup to top of bowl to create the head shape. Spray painted spatter screen yellow and then cut to fill inside the bucket and duct taped it in place. Used a Sharpie marker to create round black eyes and eyebrows. Fastened t-shirt with neck hole over bucket around eyes using duct tape and then pulled sleeves around the back of the bucket and duct taped the undersides one over the other to look like a hood.
Creating the Body
Took foam board and measured his body and cut to shape. Created shoulder straps out of duct tape and fastened to foam board on inside with duct tape. Used glue sticks to fasten red poster board to the white foam board and turned excess on sides under and taped with red duct tape. Used black sharpie to create line on chest to replicate wrap on front. Then taped black electrical tape to the front to replicate the ninja ropes and tie. Cut a dragon out of yellow foam and glued it over the electrical tape.
Kai\’s Finishing Touches
Dressed him in a red turtle neck and red jogging pants with black stripes on the side and black gloves. Wah-lah…. Kai the Red Ninjago Lego minifigure. He got lots of positive comments and other kids reallly liked his costume when we were out trick or treating that night.
His tall order for a Lego Red Ninja Ninjago mini figure was easier than I thought and only took about an hour to assemble from beginning to end.
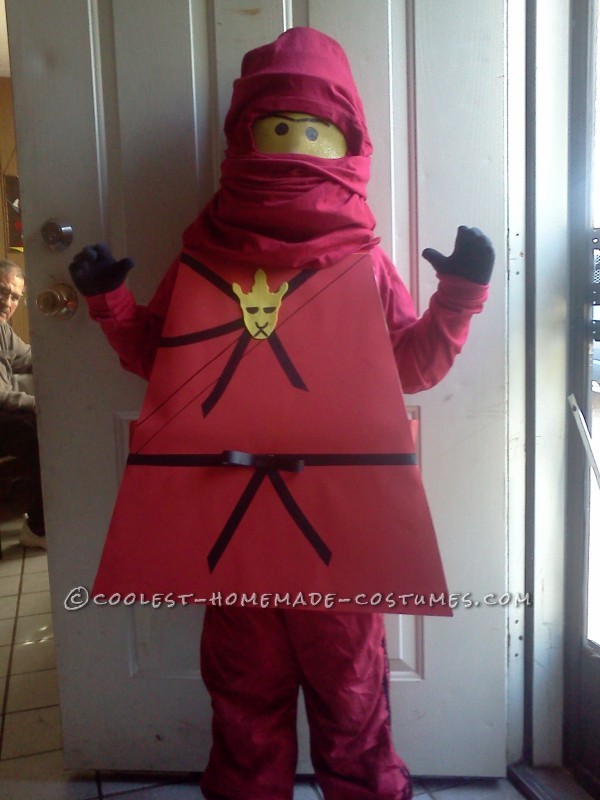
Kai Ready to Roll
Grammy\’s Lego Lady
My costume was a little more difficult. Finding the right bucket was key, so I went to Home Depot and found an orange Homer bucket for $2.97. I purchased two cardboard boxes, yellow spray paint, and a smaller blue bucket to finish off my big bucket. Went back to the dollar store for blue poster board, blue duct tape, and foam flowers and foam sheets.
Sawz-All Craziness!!!
I marked the bucket where my eyes would be with a sharpie so I would know where to cut, (ended up being the mouth). That was when the fun began. The bucket was too thick to use scissors like I did on the smaller cheapo bucket for Kai. So I used my husbands sawzall to cut the first ring off the bucket to get rid of the handle and then managed to cut the area for my eyes. The bucket kept bouncing away, and away, and away! But we got it done!
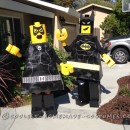
Then I used Gorilla Glue to glue the smaller bucket to the top of the Homer bucket. Once the glue was dry I spray painted the dear Liza\\\’s buckets with a hole, yellow. Cut cheesecloth with a strip of black electrical tape acrossed it to fit the hole in the bucket creating the mouth (replicating pearly white teeth). Used electrical tape for eyebrows and eyelashes. Shredded 10 garbage bags to create a wig with braids and used purple duct tape to create hair bows to give the wig a finished touch. Used duct tape to fasten to top of buckets. Used foam to create eyes, mouth, cheeks, and taped on using duct tape on the back side. Finished off dress using same format for Kai\\\’s costume, duct taping flowers to the blue poster board for a finished look. Put on a blue shirt, jeans, yellow kitchen gloves, and a scarf that matched to complete my look. My costume was featured online in the local media.
I Let the costume sit for about a week before Halloween.
However, would probably try to use a yellow bucket next time if possible instead of paint. The head was a little heavy and the risidual paint fumes were quite intoxicating and I came close to loosing my head in the moment a couple of times!
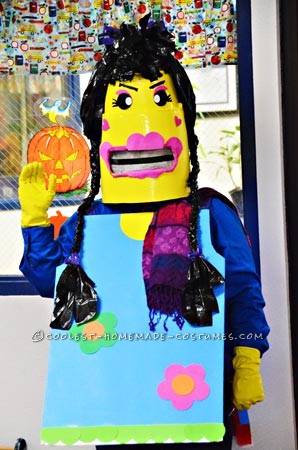
My Lego Lady

Your comment has been sent successfully.