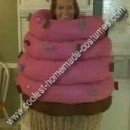
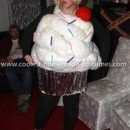
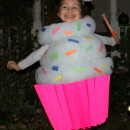
Last year I had a great idea for a costume. I love to make cupcakes and was trying out different recipes, taking them to work for my co-workers to give me their opinions. I thought it would be cool to be a cupcake myself!
I thought about it for a couple of days. I wanted it to look like a cupcake really looks. I bought everything I thought I would need. These are the things I used:
White Fabric (thick fabric, 2 – 4’x 4′)
Fabric Spray Glue
Fabric Glue in tube
Colored “puffy” craft balls
Pink bed sheet
Bag of stuffing
Foam Mattress cover for twin bed
Hula Hoop, wider than shoulder width
Needle and thread
Red Hat
Sheets of brown felt
Spray Fabric Paint, little darker than bed sheet
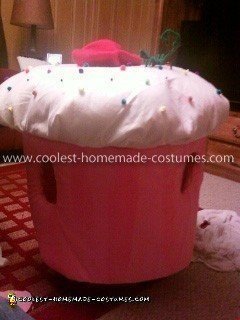
Step 1: Take one piece of the thick white fabric and lay out straight. Lay hula hoop on it, cut it round to be about 6-8″ bigger than the circle from the hoop. Cut second piece of white fabric and cut same size around as outside of hula hoop. Cut holes for head in same place in center of the hula hoop. Be sure to center the top fabric because it has extra space. Take Spray glue, spray around the edge of the fabric & hoop, then fold the bigger (top) fabric slightly around the hoop. Now, glue the other piece of white fabric on underside of hula hoop. Sit aside and allow to dry. This makes the top of the cupcake, the “icing”.
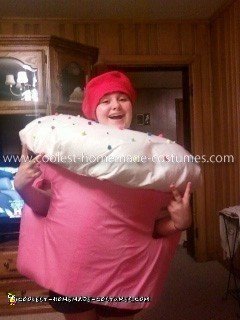
Step 2: Cut 2-3′ strip of foam mattress cover, it will depend on who the costume is being made for. This is going to be for the cupcake paper…it should be long enough to match the size of the hula hoop and wide enough to fit around body from shoulders to buttocks (not too long so you can sit down). Lay out the bed sheet, place the foam strip on top of it, fold the sheet over it, leaving a little extra, and cut sheet. Sew the sheet around the foam. Make the seams on the inside of the costume.. so they wont show. If you have a sewing machine, it may be easier, I sewed it all by hand. Adjust fabric so it looks even and straight. Cut and sew arm holes on the sides, wherever will be the most comfortable. Use spray fabric paint to look like pleats if you want to. This makes the cupcake paper look more real. Allow paint to dry.
Step 3: Use stuffing to fill in top (“icing”) of cupcake. Make it as full as possible, the “fluffier” the better. Sew the top and bottom icing fabric together where you made the hole for your head. NEXT: Sew the ICING and the PAPER together. Line up the bottom of the white fabric (at the hoop) and the fabric from the sheet (top of cupcake paper) and sew together. It took me a little while for this process. It will not be perfect, but the outcome is fine.
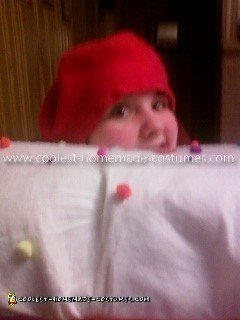
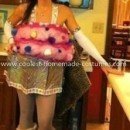
Step 4: You should now have what looks like a cupcake. Take the colored fabric balls and glue sparatically onto the icing for the sprinkles. Cut the brown felt to look like a stem. Glue or sew it to the top of the red hat for the stem. I used a pipe cleaner inside of the stem so it would stand up.
Good luck with this Homemade Cupcake Child Costume. This was the first one that I ever made by hand like this. It was definately a learning experience. Let me know if you have any other ideas, especially that may make it easier to make.




Your comment has been sent successfully.