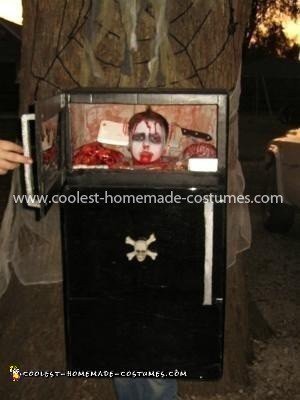
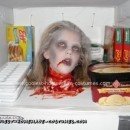
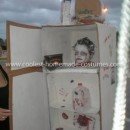
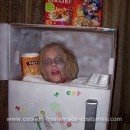
My name is Keith and this Homemade Frozen Head in Refrigerator Costume is my son’s costume. It started around November in 2010 when we decided to stop buying and start making. I used large pieces of cardboard, black, gray, and silver spray paint, spray adhesive, glue gun, dark window tint, small light socket, light, push button, speaker wire, battery.
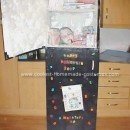
I started by measuring my son’s height and height of his shoulders. Then I took the cardboard about 6 foot wide, marked the front of the fridge in the middle of the cardboard. Drew lines from top to bottom, ran a razor blade over them and pushed back to create sides, repeated same process to create the back. Then cut the top according to measurements, put on top and hot glue gunned the front and sides only.
Went to the back and cut the cardboard to where the two pieces overlapped each other by an inch or two. Next I made the base of the freezer by cutting it to size and hot glued it, cut a long horseshoe shape out of the middle leading to the back, so when he puts it on it slides around his neck.
Now the opening to the freezer, cut the front just above the freezer base from side to side. Then up the sides and across the top creating an opening. Made front door by cutting more cardboard just a little smaller than the front of the fridge and up to bottom of the freezer. Glued it on.
When I cut the freezer opening I left a little width on the left side of fridge. Within that space I cut a slit the same thickness of the cardboard from top to bottom of the freezer. I took more cardboard to make the freezer door. I used a piece that was a lot wider than the freezer opening, but the same measurements from top to bottom of the slit.
Took that piece and drew a line from top to bottom located an inch or two the side, ran a razor blade over the line and folded it back. Placed the folded end through the slit and glued it to side. When dried I pushed the door to cut to size, just before the edge of fridge. Now I cut the opening out of the freezer door allowing my son to see where he’s walking. Painted it black all over.
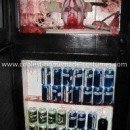
Next I sprayed the adhesive on the doors for the window tint, placed the tint on the doors, it dried, then took a razor and cut the tint to match the edges of the doors. The handles are thin strips of cardboard bent at each end painted silver and glued on. Magnets keep the freezer door closed.
The light socket is glued to the middle of ceiling and wired to handles inside that are used for costume control. The push button is on the right handle, he pushes it with his thumb.
So, that’s some of the ideas I used on this costume.

Your comment has been sent successfully.