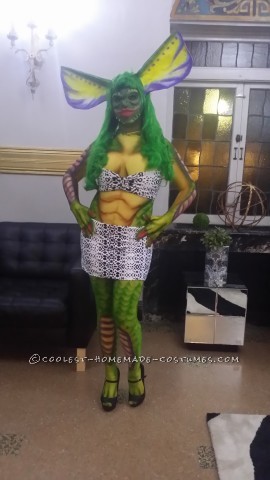
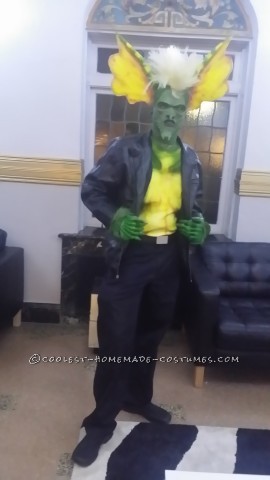
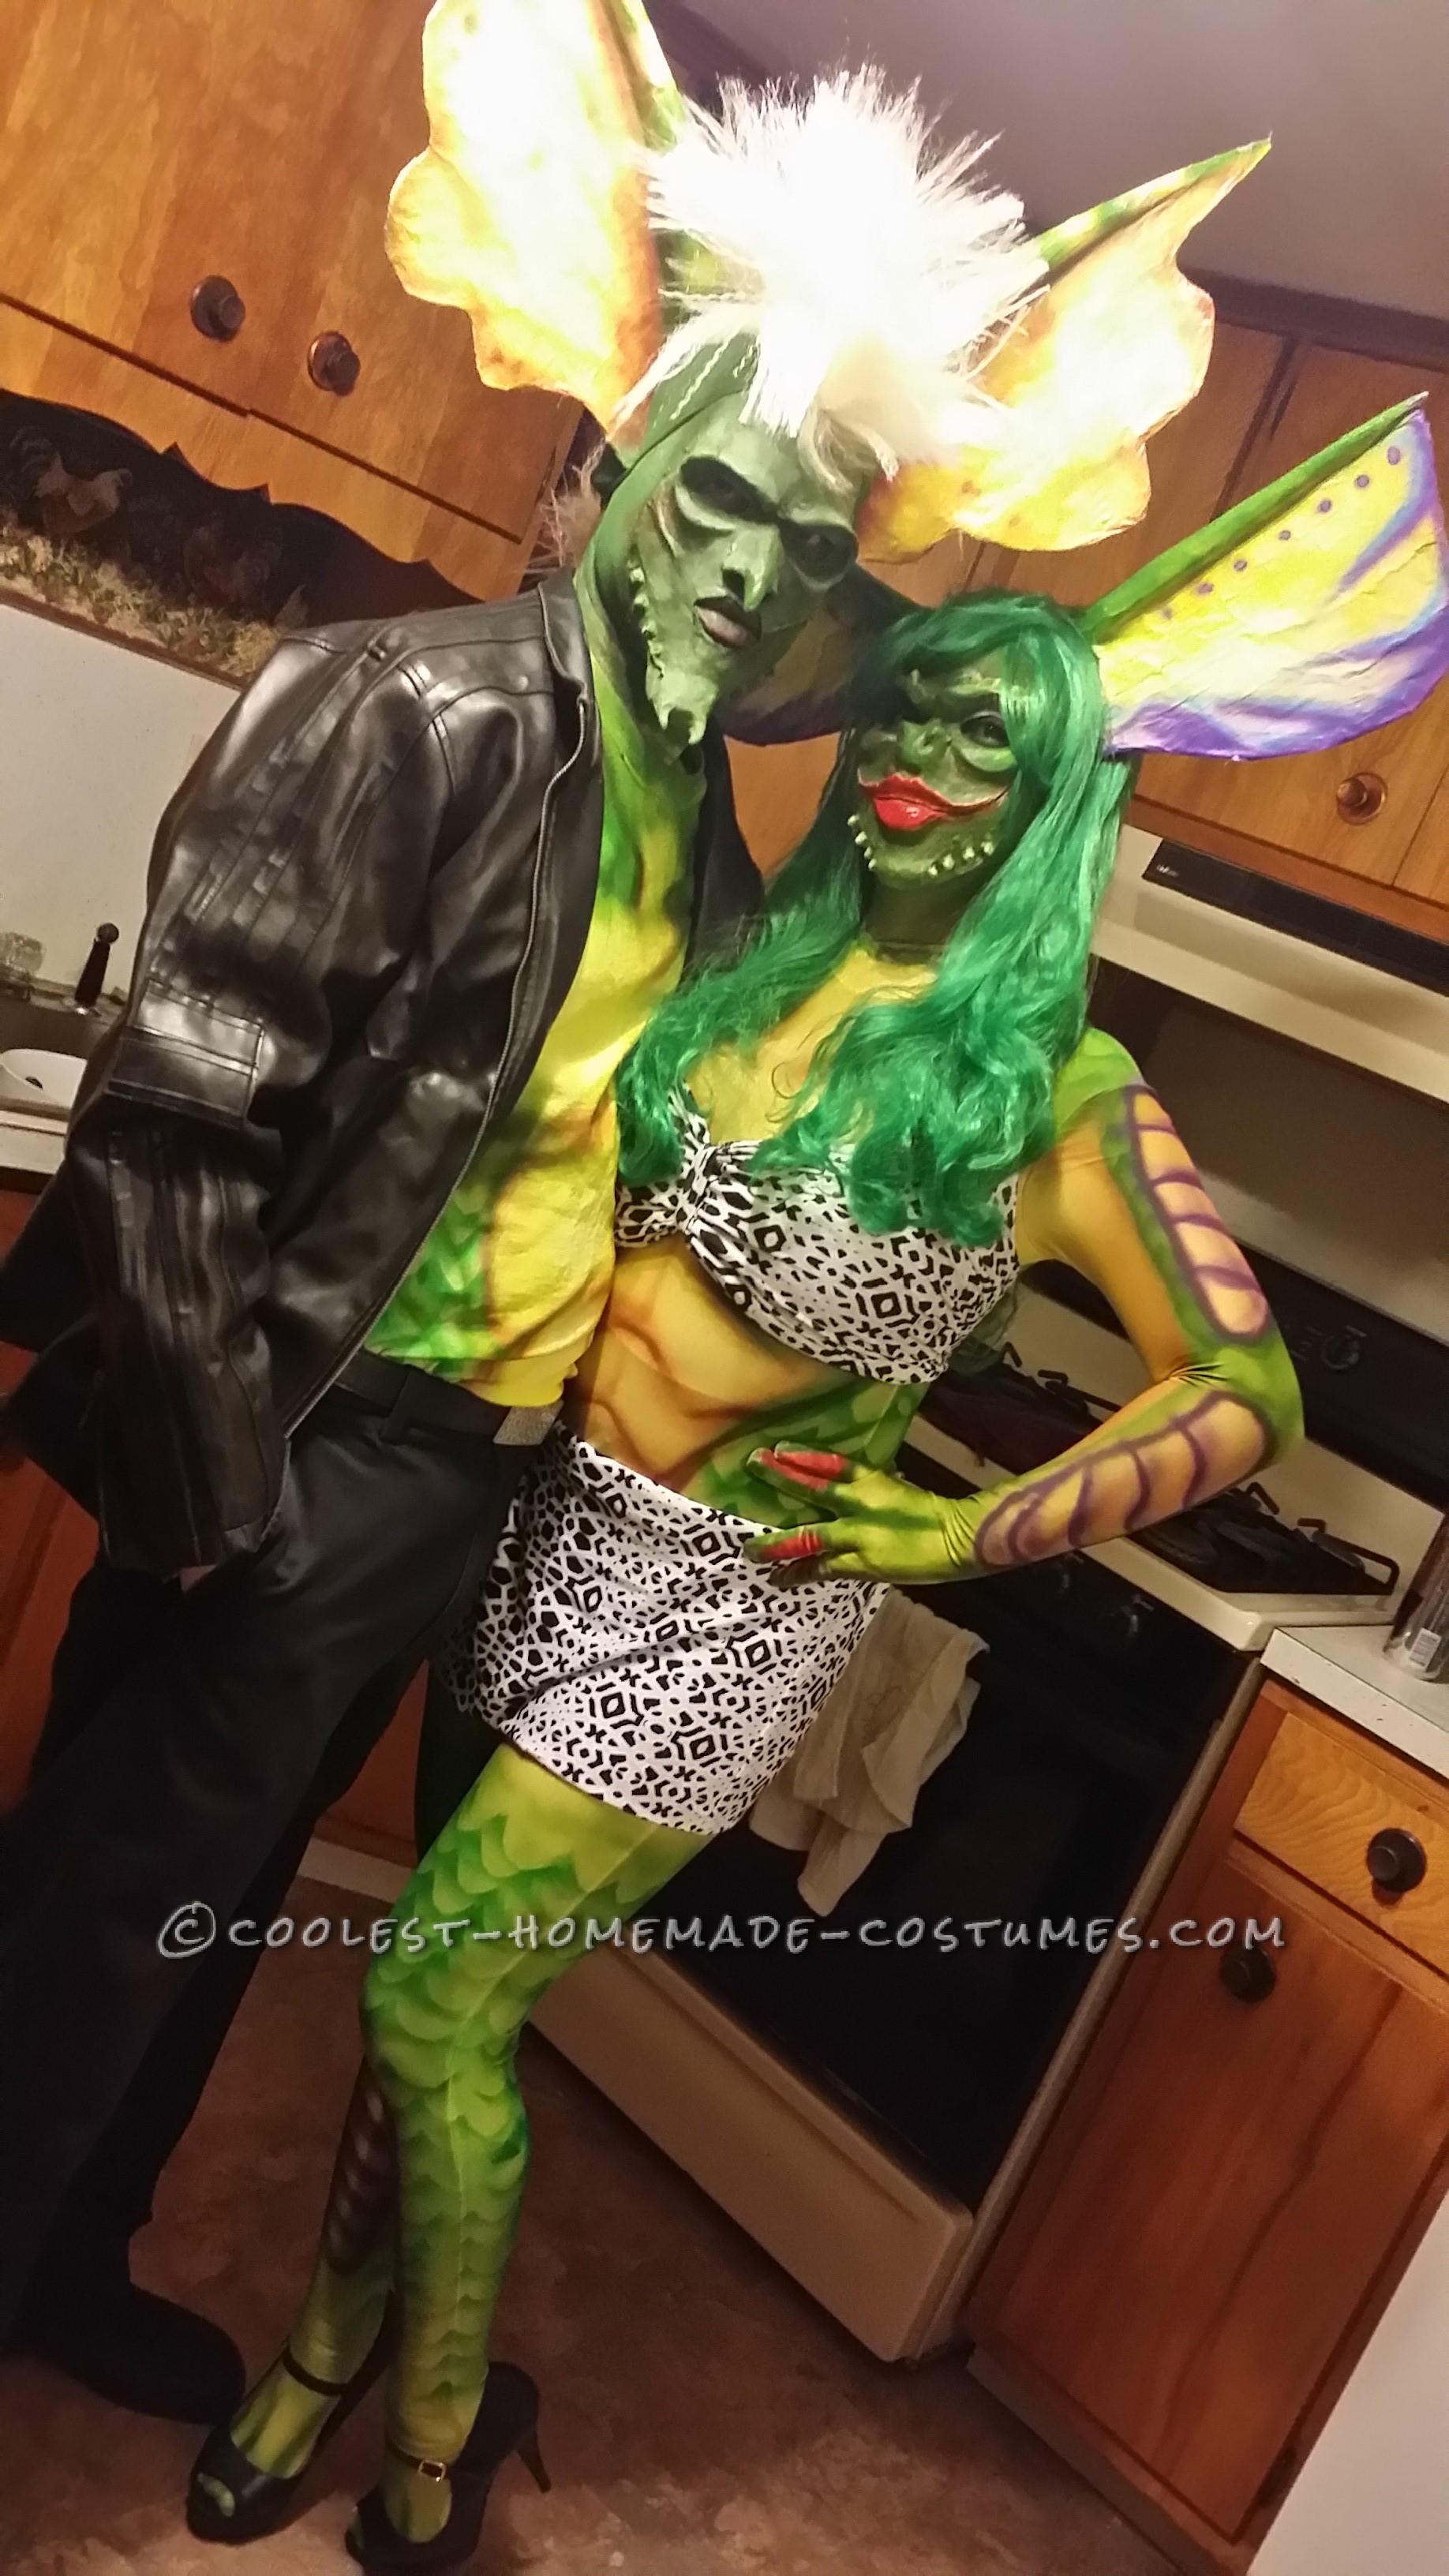
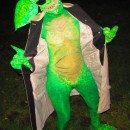
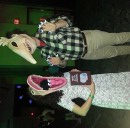
I was inspired to do Greta the Gremlin from Gremlins 2 after seeing several costumes online. Once I got the inspiration, my boyfriend and I decided to do it together and make it a couples costume. This is the first time we had done anything like this but we had so much fun doing this together. We combined my crafty skills with his artistic abilities and made one heck of a team.
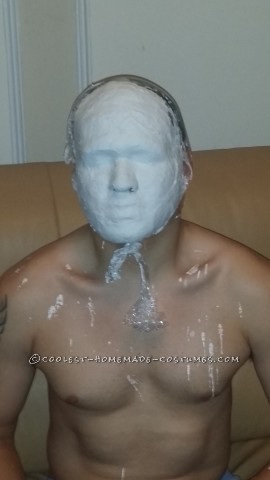
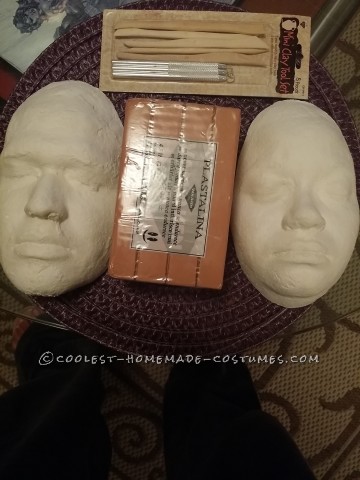
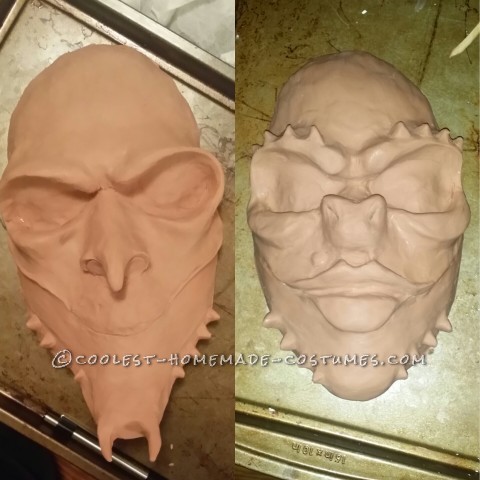
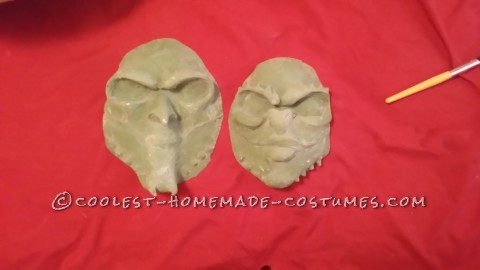
We started off by making a cast of our faces by using cut up pieces of plaster gauze. Once we had the cast of our faces we poured plaster of Paris in the cast to make the mold of our faces. Once we had both the molds done of our faces, we used oil based clay to sculpt the masks of the gremlin faces. This was my boyfriend’s first time sculpting with clay. He’s a talented artist but he’s never sculpted before. The turn out was better than expected.
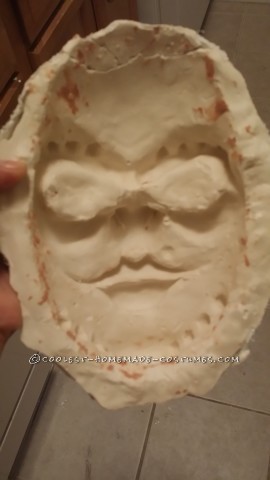
Once the faces were molded with our desired features I then used Vaseline and coated the clay. We then brushed plaster of Paris all over the clay mold until there was a thick layer of plaster on top of the whole face. We let it dry over night and the next day carefully pulled the plaster mold off from the original sculpted piece. (Easier said than done) we had a couple of cracks in the mold from doing this but we glued it together with crazy glue.
Once we had the mold of of the mask we than put a coat of pure liquid rubber latex. We added green acrylic paint to the liquid latex to give it a green tint. Let it sit over night, once dried, we had our initial mask. We later cut the edges, eye holes and breathing holes. My big lips were cut in two pieces so that I could talk and drink with a movable mouth piece.
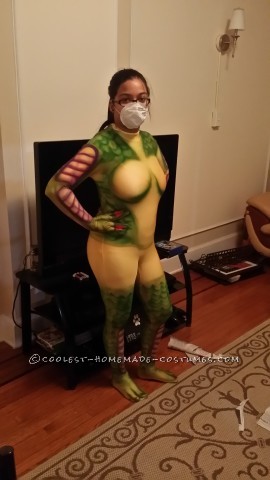
For my body piece I bought a yellow body morph suit. My boyfriend airbrushed my suit and made scales everywhere that would be showing on my body. He also airbrushed the front of T shirt for his body chest piece that would show out of his jacket.
The skirt and top of my outfit I sewed using my mom’s help. I bought the fabric at Jo Ann’s for 60% off. His costume was a leather jacket he already owned and black pair of dress pants. He made his claws by airbrushing an old pair of werewolf gloves he had from a previous costume.
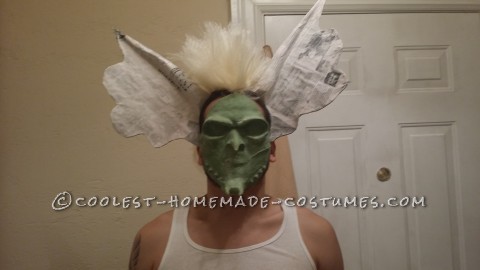
Our ears were a difficult task but we loved how they turned out. I found a huge pack of thick bendable wire in the home improvement section at Walmart for less than four dollars. We used the wire to make the structure of the ears and making it into a head band. It was so stable and and fit perfect on our heads. We used masking tape and newspaper to fill in and add details to the structure. Once fully covered, we made paper mache out of flour and water and put one coat on the ears. Once dried, we added a white base coat with acrylic paint, then airbrushed them to our liking.
Finishing touches: We used mehron liquid silicone adhesive to glue the mask and pieces to our faces. We used cream makeup to cover the rest of our faces and parts of our body that were exposed. We later airbrushed details and features on the mask while on our faces. I added a green wig that I bought online. His wig exposed more areas of his head since it was a generic Mohawk wig. We used a tan wig cap over his hair, put his ears on first than the Mohawk wig. I than sponged cream face paint all over the exposed tan wig cap.
We did all of these steps in less than a week! We were so worried of the outcome and whether we could pull it off; because we waited last minute to throw everything together. We were so happy with the outcome. We spent close to $150 for both of the costumes, which isn’t bad at all considering the price of regular unoriginal costumes. The masks fit perfectly on our faces. Unfortunately, there were no contests in our area but everyone wanted to take pictures with us. One day later we were literally the talk of the town and everyone proclaimed that it was the best costume they had seen all night. Don’t know how we will top this next year!

Your comment has been sent successfully.