Homemade Mummy Costume, Good Old-Fashioned Monster Fun!
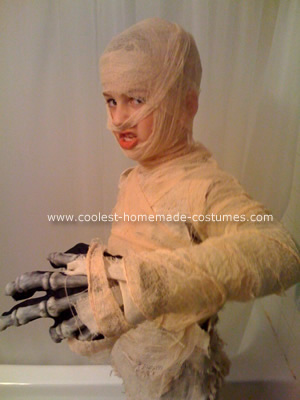
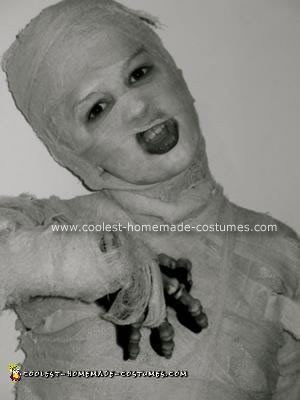
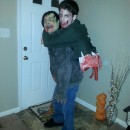
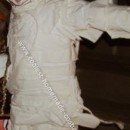
All the pre-made mummy costumes we found were crummy, looked like uniformly layered petticoats! This costume took 20 hrs to make (including the time to figure out what I was doing!) but he looked like a movie monster and got lots of compliments. Inexpensive. Minimal sewing in straight lines.
Materials Used:
tan RIT dye
3 yards of burlap material and linen-y material
3 grocery-store pkgs of cheesecloth (most $$$ item) or gauze
Skeleton gloves pre-purchased and recycled
(could use skeleton mask under mummy wrap but we opted for safety/visibility)
old pants and turtleneck and socks of light color
white or glow-in-dark makeup for face
dark grey/black eyeshadow for undereye and lip makeup
Fabric/craft glue
Sewing machine with light-color thread
Steps:
Dye all material to a uniform brownish color.
Cut material into 2-4 inch strips (most time intensive step).
Cut pants and shirtsleeves down inseam & lay flat.
Glue strips of burlap down to cover base clothing, ragged edges are a +; use some overlap but no need to be exact about it.
Glue some linen-y strips over that, loose & messy for some stray ends, not all left-to-right, do some x’s & strips over the shoulder, around armpit, and just 1 inch up the neck area. Leave some gaps to show burlap beneath (or you’ll spend too much time/money on linen!).
Save a few linen strips to wrap around neck, hands, and feet.
Once glue is dry, stitch with sewing machine over some of the strips so they don’t pop loose, some left-to-right and in big x over the torso/back. Basically, you’re just tacking it down but not uniformly stitching.
Turn the now fabric-strip-layered base clothing inside out and re-sew the arms and legs closed, with only 1 inch seam. This is the only sewing!
Apply splotchy face makeup for deathly pallor; we used grey shadow on lips and around eyes.
Put on gloves and dark shoes and socks and glued/sewn base clothes.
Wrap the last linen strips around neck, hands, feet; tying off as necessary.
IMPORTANT last step to be done 30-60 minutes before you go out, wrap the gauze strips all over and around. You really need a second person to do this as the stuff wants to stick to itself! You can tuck the ends in under a strip and they’ll stay put. Don’t stop at the wrist/ankle; get a strip or two over the hand and foot.
Go scare ’em!
Helpful Hints:
The cheesecloth sticks well to itself but not to skin, so get a good wrap or two over the top of the head before going side-to-side over ears and around chin or nose.
Also, put the turtleneck and socks up over skin so that the fabric layered over it doesn’t slide out of place from body movement.
Using only cheesecloth (or inferior TP) won’t give you enough coverage over your base layer.
Put something under the material when glueing, it will “bleed” though.
Note that ease-of-bathroom-use is why we constructed it with a separate top/bottom, but I’d still suggest going the the bathroom before putting on that last layer of gauze!
Don’t use TIGHT old clothes for a base, or you’ll end up walking stiff-legged and have to cut the costume off like we did! Now it’s gone forever.



Your comment has been sent successfully.