When designing my son’s robot costume “functionality” was key for me. I wanted lights, sounds, and moving parts and that is what I ended up with. Here is the run down of what we did.
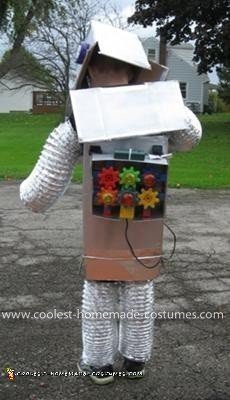
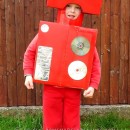
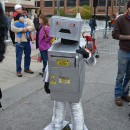
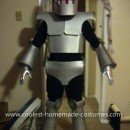
Our son loves robots and he was the one who would dress up in boxes and go around the house. When doing this we noticed how well his Pediasure box fit him and so that became the body of his costume and was held up with Velcro straps over his shoulders. We also bought 2 other small boxes for the head and shoulders and spray painted all the boxes with silver paint.
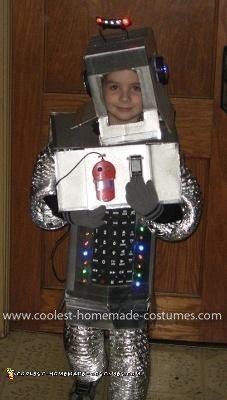
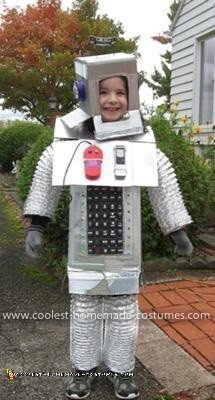
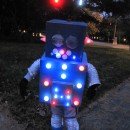
I used shiny duct tape to line all the edges of the boxes for comfort of wearing and durability, but it also looked great. We also used duct tape on any area where we wanted to poke holes to add extra features like the battery operated Christmas lights we used in two rows vertically on the main body on either side of the key pad we took from one of those over sized remote controls. Then we used lots of duct tape on the inside to hold the lights in place and to squish the wire down to where my son could wear it comfortably.
The gear box on the back consisted of a shoe box that was spray painted and a toy called “Gears Gears Gears.” I put enough of the toy together to fit and then zip tied it into the shoe box as secure as I could get it. We then zip tied the shoe box to the back of the Velcro straps that held up the main body.
Finally, I took the remote to the gears and zip tied it onto the front panel that covered the shoulders. We added a digital recorder,also zip tied to the panel, that played a “Backyardigans” song called “Like a Robot”. Then we just added several lights to the helmet box and dryer tubing for arms and legs.
What you have now is a robot cooler than any Buzz Lightyear toy with lights, sounds and movement!

Your comment has been sent successfully.