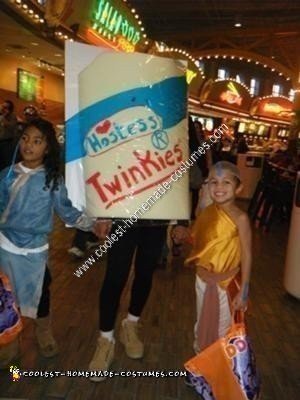
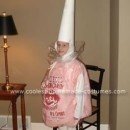
I wanted to enter this contest that called for contestants to dress up as processed food. When deciding on a costume, I figured, what better costume than America’s favorite processed snack cake — the Twinkie!
My motto is to spend as little as possible by recycling and seeing what’s around the house, and put forth as little effort as possible. This Homemade Twinkies Unique Halloween Costume Idea met the criteria as it was cheap (under $40) relatively easy (about 2.5 hrs — including more-than-ample foam to foam board drying time) to make.
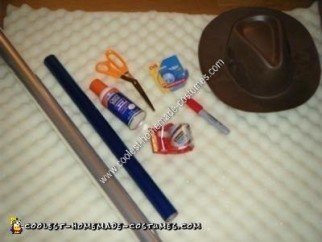
Materials needed:
– Clear cellophane (AC Moore: $10)
– Blue cellophane (AC Moore: $4)
– Spray Adhesive (AC Moore: $4)
– Foam Hat (AC Moore: $4) [optional]
– Mattress Foam (Fabric Store: $15)
– Scissors
– Foam Board (mine was a board I recycled from work, but AC Moore sells these for about $5)
– Red Sharpie
– Felt-tip pen
– Tape
Step 1. Lay down and loosely wrap the foam in a semi-circle around you.
Step 2. Cut the foam.
Step 3. Fold about 2 inches off one side of the mattress foam, adhesive spray the folded side, and stick the foam to the foam board. You might have to lay on the foam just to help it set.
Step 4. Repeat Step 3 on the other side.
Step 5. Round the top corners of the Twinkie by either cutting round corners with your scissors (which I did), or fold the top and adhesive spray the top side to the board.
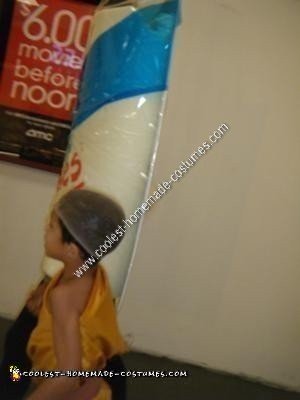
Step 6. Slide that bad boy over your head and figure out where the eye holes need to be. Use scissors to cut eye holes from the inside. Mattress foam is kinda hard to cut when the scissors are perpendicular to the foam, but just keep at it with little snips at a time and you’ll eventually make headway.
Step 7. Tape the clear cellophane to the backside of the board.
Step 8. Bring the cellophane around so that it covers the Twinkie
Step 9. Cut and tape that end of the cellophane to the back of the board. Your Twinkie should now have its protective front wrapping on. Optional: Fold the top of the cellophane down and tape on the backside of the board at the top.
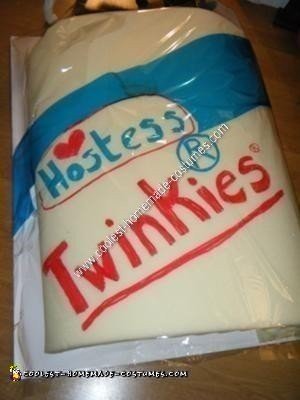
Step 10. Cut a strip of the blue cellophane out and tape it diagonally across the Twinkie.
Step 11. Cut an arch out of the blue cellophane.
Step 12. Use the felt pen to trace out the word ‘Hostess’ on that cut out piece of cellophane.
Step 13. Cut out each letter in ‘Hostess’ and tape those letters onto the clear cellophane, beneath the arch you just cut out of the blue.
Step 14. Use a circular object to trace a circle onto the blue cellophane, and cut out. This will be your trademark, ‘circle R’ symbol.
Step 15. Fold circle in half and cut a ‘smile’ so that you’re left with a blue cellophane ring that you will tape to the clear cellophane. This will be the circle that surrounds the ‘Registered trademark’ symbol.
Step 16. Use the felt pen to draw on the discarded blue cellophane an ‘R,’ which you will tape in the middle of the trademark circle.
Step 17. Use the red sharpie to copy the remainder of the package design (the hostess heart; the underlined word ‘Twinkie’, etc.) onto the clear cellophane.
Voila, costume is DONE!! For full Twinkie (the kid) effect, you can wear brown cowboy boots and walk around holding your signature brown cowboy hat.
This costume received so many ooohs and aaahhs, compliments, laughs, and people requesting photos when we were out and about.

Would you be willing to make one of these and sell it to me?
Ann, I’m flattered that you like this enough to want to wear it. Sure I’d be interested. We can work out the details via my e-mail: deepseasandy[at]hotmail[dot]com. :-)