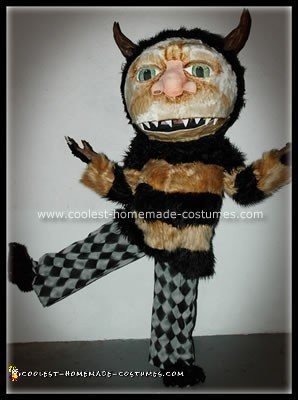
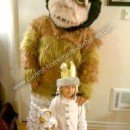
I’ve made many Halloween costumes before, but when I decided this year to make the Where the Wild Things Are costume, I was not really sure what I was getting into. I knew it was going to be larger and more elaborate than anything I had built before. I made this decision a little more than two weeks before Halloween, so it left me very little time. I just had to dive in and hope for the best.
I started with a design based on the Carol character from the Spike Jonze’s movie. I made a sketch and began that night. I needed a large base to start with so I used paper mache over a large exercise ball. I did several layers with newspaper and several with craft paper. When I was finished the sphere was very sturdy but still light.
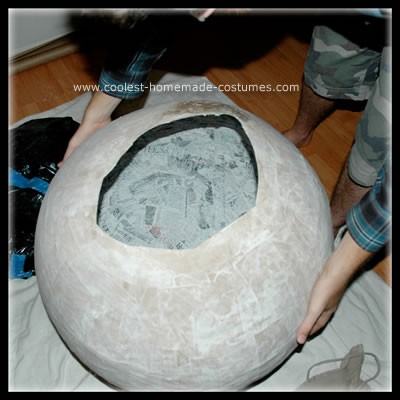
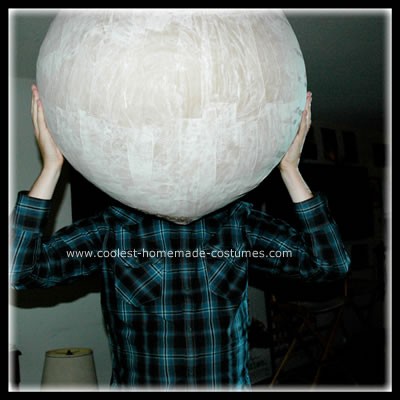
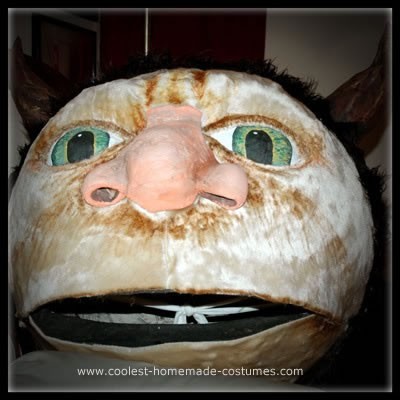
I sketched the face onto the sphere and began to build out the features with more paper and foam core supports. I traced a bowl around where the eye sockets would dip in, carefully cut those areas out and simply turned them backward sunken into the sphere. I knew the most important part was to give the face depth. It couldn’t look like scraps glued to a ball, it needed to curve in and out like a real face.
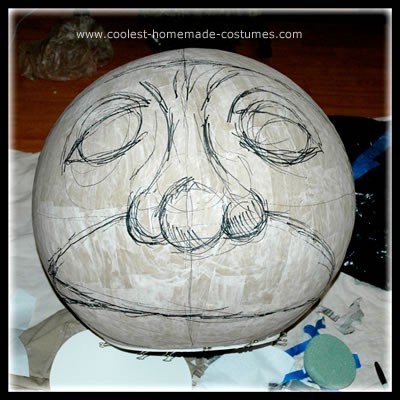
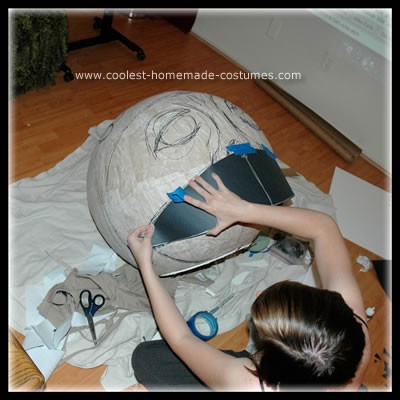
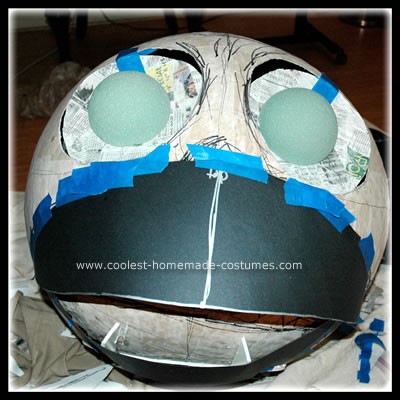
I paper mached all the new features in place, including a nose and eyebrows I built up with crumpled paper. The eyeballs and horns were made in the same fashion. I shaped crumpled paper and taped it in place and paper mached over it until it was strong. It was frustrating since I generally had to wait overnight for all the new additions to dry.
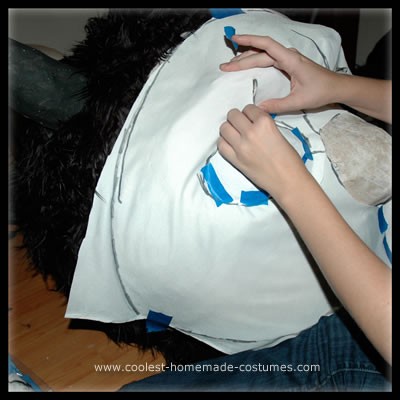
Once the structure was complete, I used cheap white fabric draped over the head and face to map out how the fur would be cut. By laying the fabric as straight as possible, I traced and trimmed all the overlaps to make the seams. I traced that pattern onto my fur and used spray glue to apply it to the head.
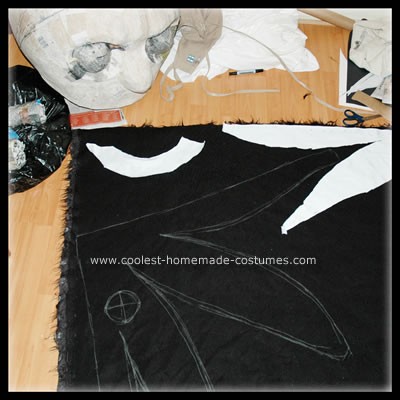
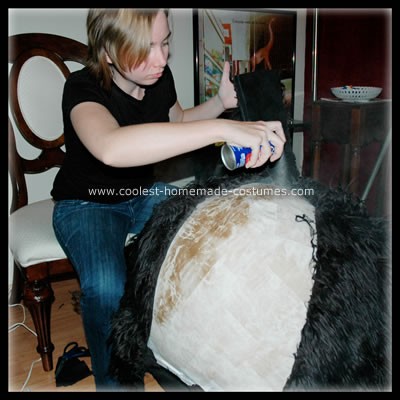
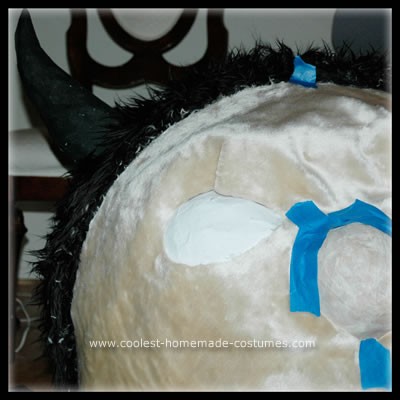
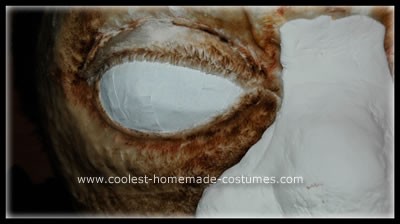
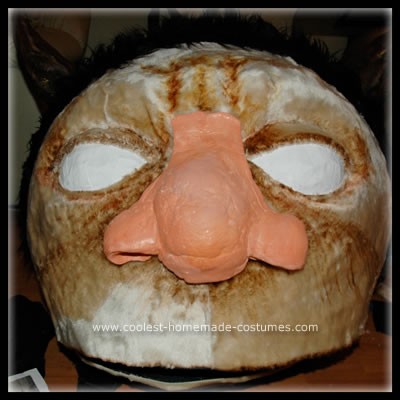
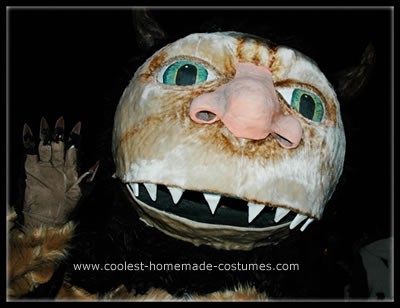
I used model magic to create the fleshy looking nose. I also used it to make the teeth. It was a great material because it made them look nice and sharp but they were soft foam and not dangerous. I added more dimension to the fur on the face just by using brown markers in the crevices. The eyes and nose were hand painted.
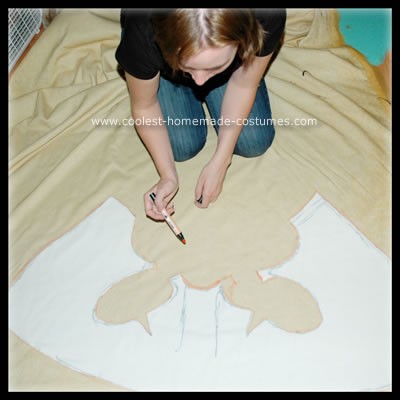
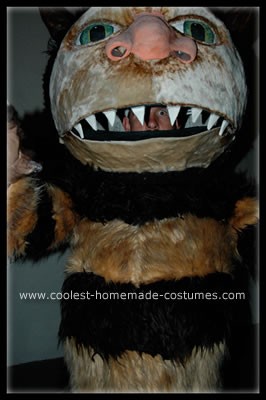
The body was strips of fur sewn together and was stuffed with pillows. I did try to use a hula hoop for the waist of the body, but it really didn’t look as nice as pillows. The legs were felt sewn into pants and spray painted with a stencil I cut out. The hands were cheap garden gloves with fur glued to the backs and plastic (carved from the unused hula hoop) glued to the fingertips for nails. The feet were bear claw slippers I bought.
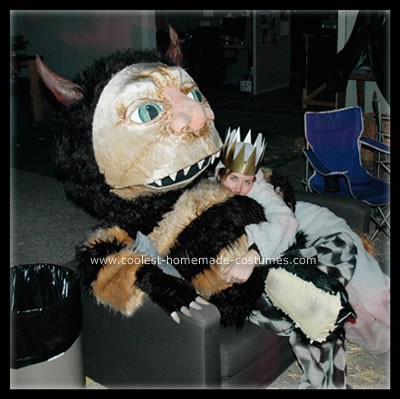
I sewed a Max costume for myself to wear while I escorted The Wild Thing around. The costume lacked peripheral vision so some help was needed especially in doorways and tight quarters.
The total cost of the costume was around $200 give or take. I already owned a lot of the supplies so most of the expense went towards purchasing the fur.
Our costume was a huge success on Halloween night and I think it will live on as the best costume I will ever make.
This is by far one of the best homemade costumes I’ve seen so far…..you totally deserve your win of the Grand Prize!!
I agree…..you deserve this win. I saw several of these this year even on the TODAY show….yours was by far the best! Congrats!
I read through your whole process, and I watched the videos… and I got to say, you are an incredibly well-deserved winner. Your hard work clearly shows and the costume came out fantastic! Great crafting! Congrats on the win!
Funny – I went through almost the same process to make my costume!!!
You are a magnificent artist! The costume is absolutely amazing!!! GREAT job!
Wow, you really deserved to win! That was amazing! All that detailed work! Amazing! I just watched all your videos and read through the whole thing! GREAT JOB!!
Its amazing what you can do with paper mache! Almost anything you think of can be possible! I admire your creativity and skill!!! I have been following the costumes on this site for 3 years, have submitted several, and was a 3rd place winner in the 2008 contest. Its amazing to see how the quality and variety of the costumes seemed to have flourished in a small amount of time. I guess this website really does help people with their ideas and creations!
I am speachless, you are an artiste!
my mom LOVES the book.
I had to comment…you did an AWESOME job!!!
Currently making one of these. What did you use to attach the helmet to his head? I have a lumberjack helmet that I was thinking of attaching. I tried stuffing it with pillow but it get heavy, awkward and not very good control over movement. I can see some rope of some sort in one of the pictures but would love details on how it was attached, how it was worn, and how well it held up.