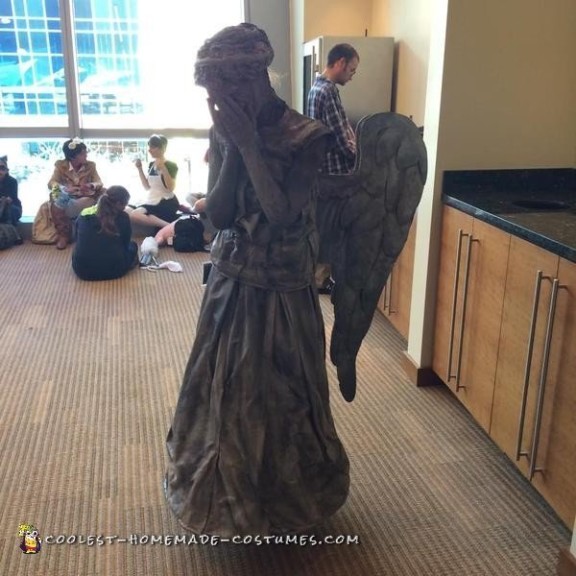
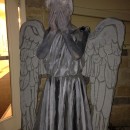
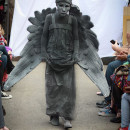
I am a big fan of the TV show Doctor Who. I wanted to make a costume/cosplay that would get a big reaction at comicon, and so I chose a difficult, but fun, subject: a weeping angel. Weeping angels are beings who have a perfect defense system. When you see them, they turn into stone. And you can’t kill a stone, but once you turn your head or blink, they can come after you.
Scary Weeping Angel Costume Instructions
Obviously this wasn’t the easiest costume to make, considering the wings, unique hairpiece, and the fact that I only had a couple of months to make everything. So I started simple, and took on the mask.
How To Make the Mask
I wanted it to fit me perfectly, so you couldn’t see a big seam where it goes into my neck. So, I made myself a mask with paper mache by putting tin foil over my face and then adding the paper mache on top of that. It turned out very well, so I went ahead and bought some clay to sculpt on the face. It took several hours of work to get it perfect, but I was very happy with the results when done.
I eventually painted the mask with some of the quart of Earl Grey paint color I bought at Home Depot, and mixed it with black and white to get various shades for worn spots and such. I spent a lot more time on this than on any other painting, so it looked more than passable for stone. The strap is just elastic hot-glued to the sides of the mask. Simple, but effective.
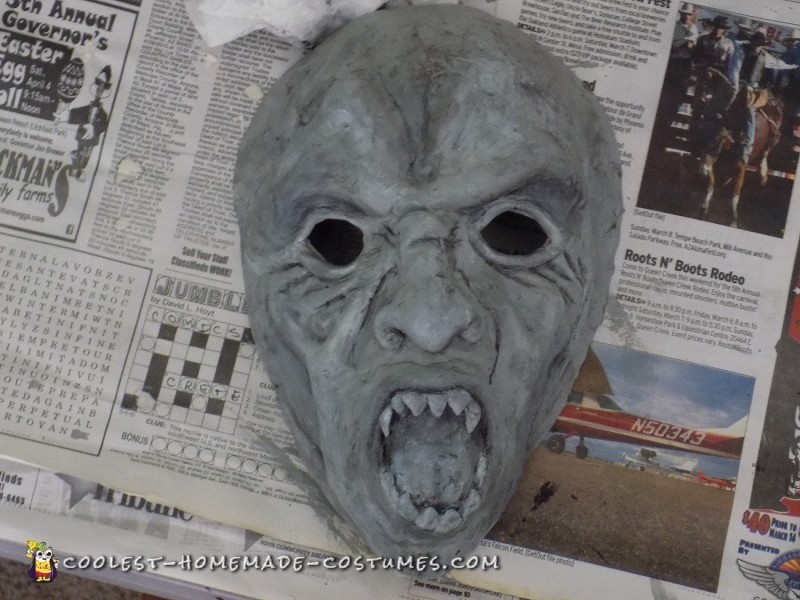
Mask when painted
Sewing The Arms And Head
Next was the covering for my arms, head, and neck, which were all connected.
I got two pairs of tights, small and large, and sewed fingers into the feet of the small pair. Make sure to turn them inside out before sewing so the seam doesn’t show.
I then cut a hole for my head in the crotch area of the tights, and sewed a hood with the other pair. That was a tricky job, because it’s very hard to see what you’re doing when the seam is by your neck. I pricked myself a fair number of times, but it turned out nicely.
One thing I regret not doing is buying stronger thread. I had to re-sew the fingers-wrist area a couple times from breakage.
When painting, I used the same shade for everything, but when painting fabric it’s necessary to use fabric mixture so that it stays nice and flexible. You don’t want to be like an actual statue.
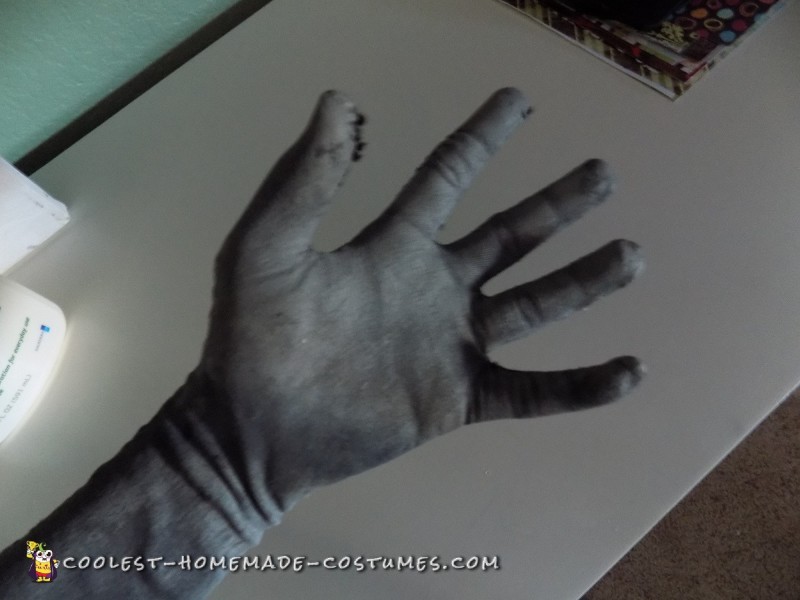
Hand after painting
Sewing The Shirt
For the shirt I just used a normal t-shirt as a base, and put it on my dress form. I had earlier gotten three yards of polyester suiting, and I pinned a swath of the fabric to it for the folds. I did have to hand-sew it. Considering my inexperience with sewing machines, it seemed best.
It took forever, and you could say that this project took over my bedroom for a few months. At one point I made it too tight and was sitting in my room trying to get the thing on. Eventually I had to cut a bit off to get my head to go through the hole.
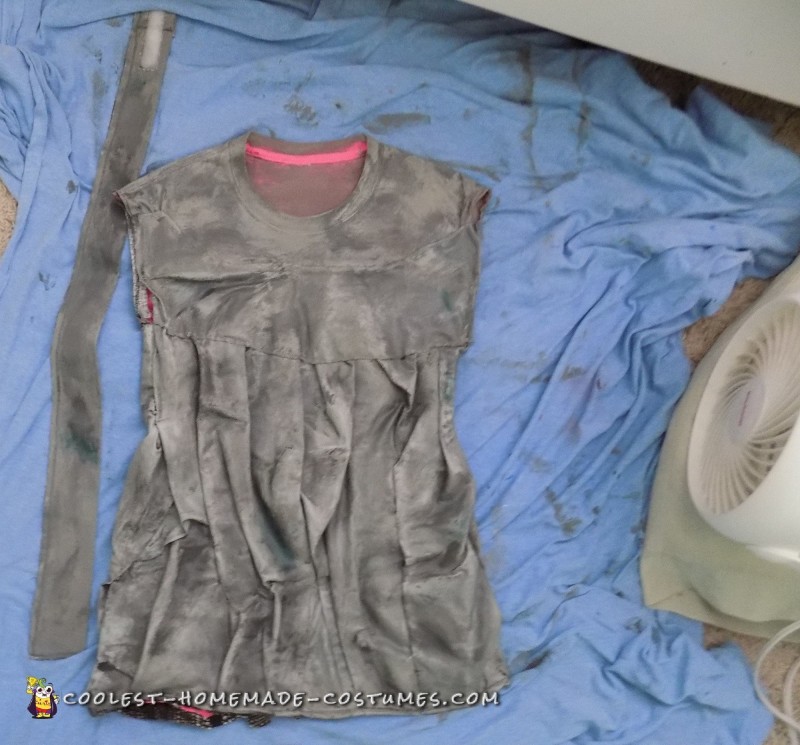
Shirt during painting
Sewing The Skirt
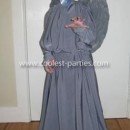
As for the skirt, I ordered an adjustable hoop skirt from eBay, which turned out well, if not a little short. As with the shirt, I pinned fabric to the hoop skirt and hand-sewed the ruffles on. Luckily I had a nice audio book to listen to while I worked, because this took longer than the shirt! :)
When painting I used lots of different shades in the crevices and peaks, and painted a “run” message in the back in Gallifreyan, as an Easter egg. Unfortunately nobody noticed, but oh well, such is the life of an artist like myself!
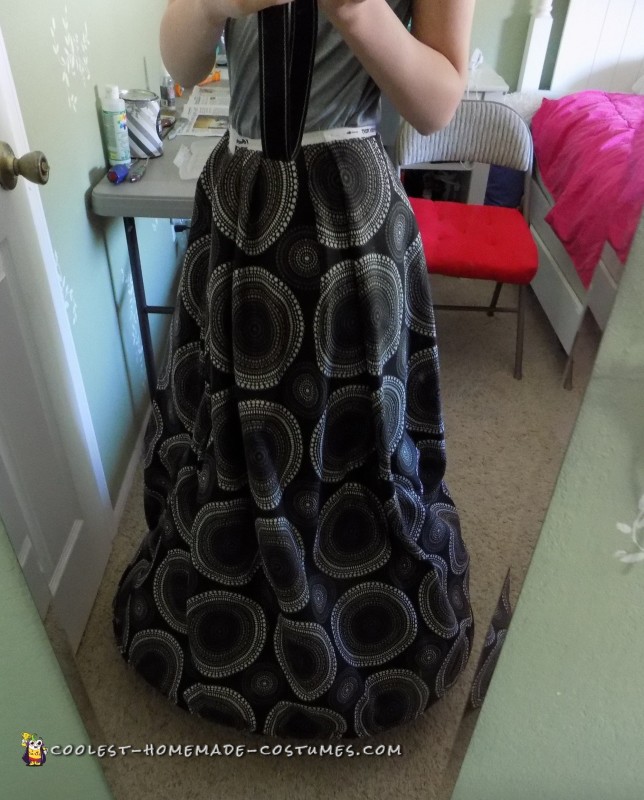
Skirt before painting
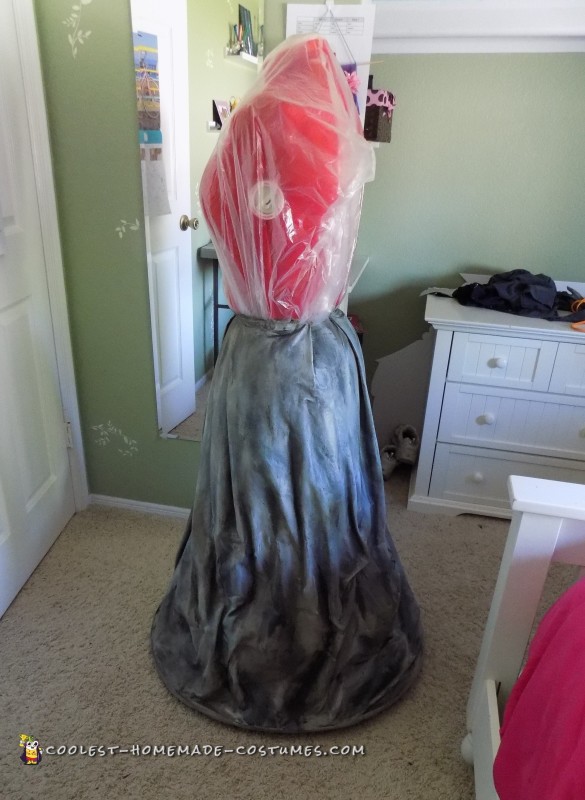
Skirt after painting
Making The Headpiece
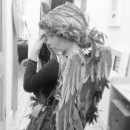
The wig was an interesting challenge, since the most accurate medium to use would be clay, but there was no way I was wearing a heavy clay headpiece around all day. Yarn seemed like the best substitute, and so I bought myself a foam head and got to work sewing a cap with the discarded remnants of the tights I used for the hood.
I glued on the yarn with fabric glue and tried to make it as accurate as I could. I’m not totally satisfied with my results, so I might try a different method if I ever redo it. At one point it got absurdly large, so I had to cut it down to size again.
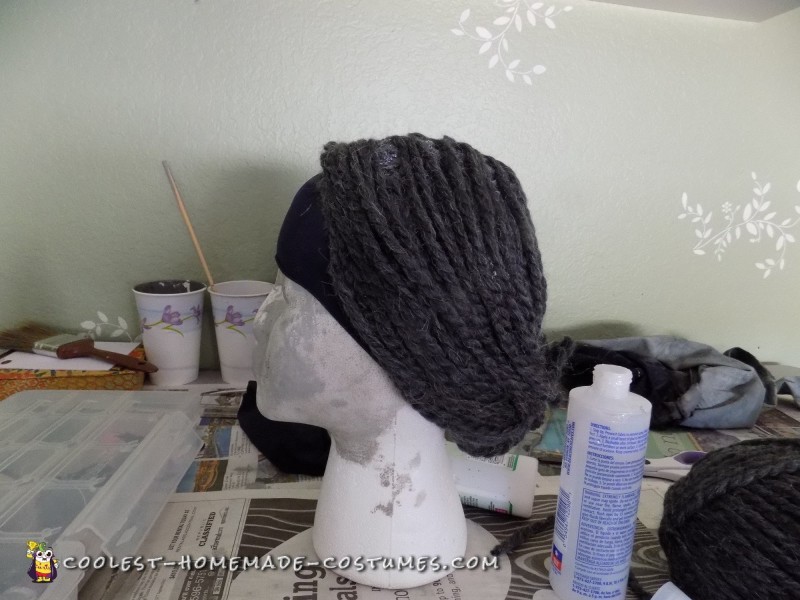
Headpeice in construction
Wings And Comicon
The most technically difficult piece to create was the wings. I cut four Foamcore boards in the wing shape I needed, and got four more to cut feathers from. By looking at photo references of the television weeping angels I could try to recreate the pattern of their feathers, but I also gave myself some license on this one. There’s no real “right way”.
By far the most difficult part was the system by which I would attach these wings to my back. I cut up my old backpack and used the backplate and straps to start out. My father helped with this step. He has more experience making things. :)
We glued foam to the backpack plate, for a stronger base, and then set one side of the wings in the preferred angle. I hot glued that on, and attached a metal piece to the base and the wings. Connected to the piece was strong fishing wire. Invisible, but can take a lot of tension. That was the critical thing in holding the base and the wings together, in addition to the hot glue.
Once the wings were attached I painted the backpack base, since my old backpack happened to be a really bright pink. As for actually getting the backpack part on and hidden, so that the only thing you could see of it was the wings, I cut a panel out of the back of my shirt, so that the base could be hidden under the cloth flap.
In the end, I had to cut the backpack straps and use buttons because I couldn’t get the straps around my arms. The wings only took five minutes or so to get on alone, which wasn’t that bad.
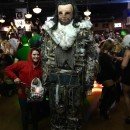
I got a huge response at Comicon, which was really cool. The first person to take a photo with me was a little boy, five years old, who wasn’t scared of me at all. He turned his parents around and pointed, “Look daddy!”
Several people, including a joker, an Elsa, and several Doctors, said they thought I was stone, and that was very rewarding to hear. There were some kids that were frightened of me, so I took off my mask for a few, just to show them that I wasn’t a “real” weeping angel. There were definitely a lot of blinkless stares.
At one point I stood still and pretended to be a statue and then moved suddenly to startle people. I got several people to jump away. :)
Three hundred or so people wanted to take photographs, and that might have been the best part. Meeting everyone was worth every hour of work put into my mask, wings, and skirt. My only regret may have been not taking more photos!
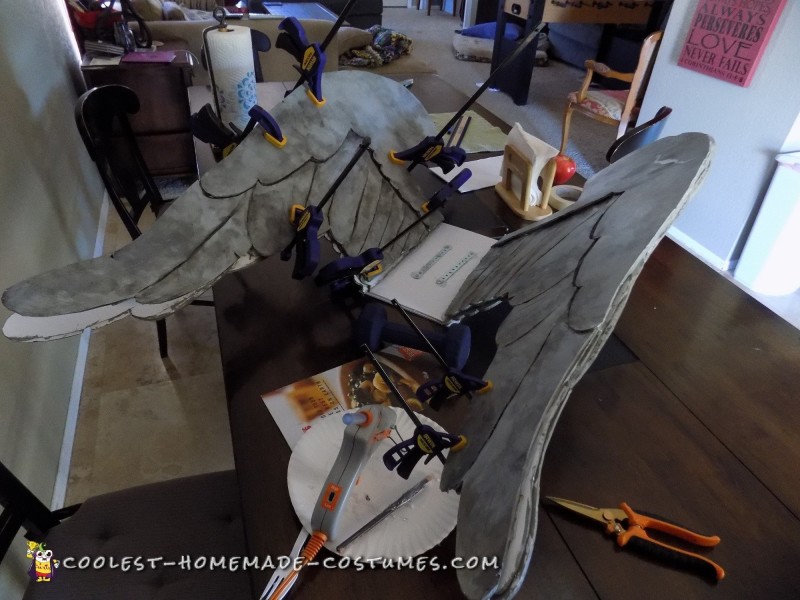
Wings during construction
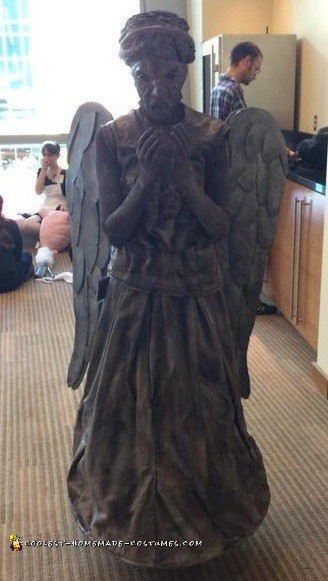
Finished product!
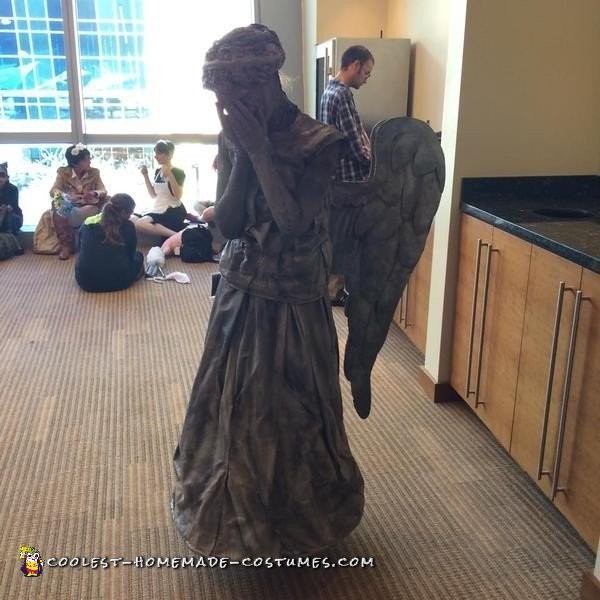
Scaring people!
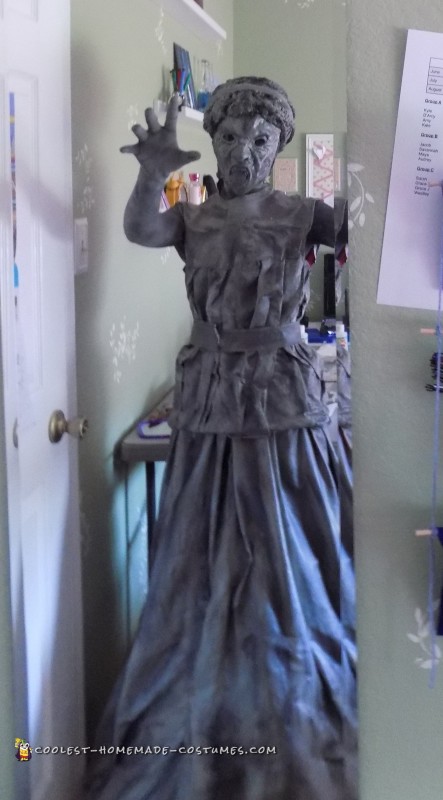
Don’t blink
