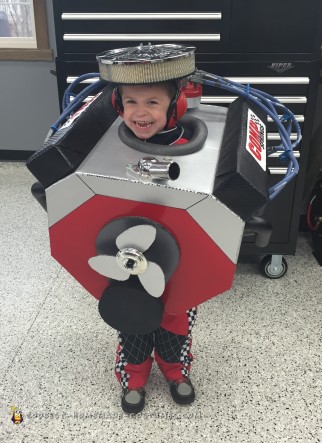
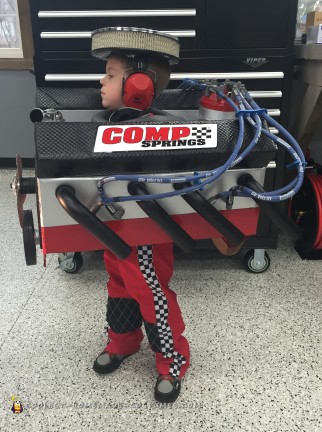
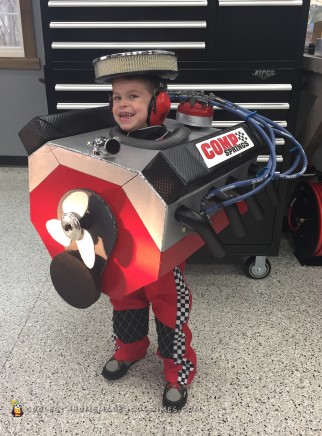
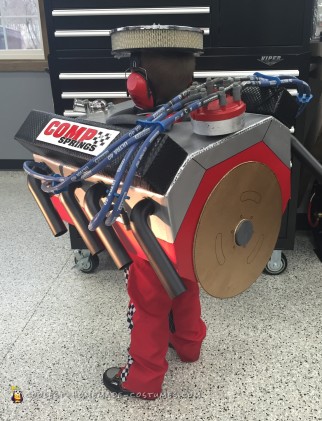
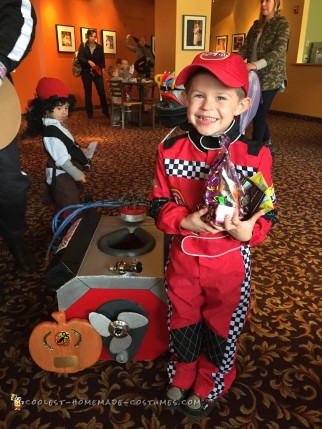
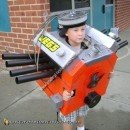
Tanner, our 4 year old son is a car enthusiast. A day doesn’t go by that he’s not driving cars around making engine noises. He was a racer last year for Halloween and was gonna be it again but we needed to jazz it up some. So we, his parents thought why not turn our little motor head racer into his very own engine! We asked him if he’d like us to build him a car engine to wear for Halloween, the glowing grin on his face said it all! So we got started making our boy his very own Small Block Chevy V8 Engine!It was great seeing this costume come to life as we were making it. When we planned to make this we had about 3 days to construct it for a local car show Halloween costume contest. Since we were taking it to bring to a car show, dad being a car guy said,” it needs to be perfect, these car guys will know if it’s not right.” So perfection it got! Walking into the car show you could just hear everyone around commenting on how real it was, all the details and hear look at that kid! I think dad had succeeded! Tanner ended up winning 1st place for the boys by the loudest crowd cheers. He was one excited kid with his trophy! Glad to say that everyone just loved his costume.He was getting asked to take his picture constantly which he loved posing for. It also helped that our son was quite the actor in it, he’d start his engine and race around as if he were driving. By him role playing this way added to everyone’s reactions to seeing it which made them just fall more in love with it. I had also found a local preschool costume contest in the “Halloween Capital of the World” Anoka, Minnesota (about 20 mins from our house), so of course we had to enter. There were a lot of great costumes (32 total), we didn’t think he had a chance. Well I was wrong, he won 1st place again for the boys. He was just beaming running down to get his Pumpkin Plaque. The winners also got asked to be in the Halloween parade! On Halloween day we of course had to take him to a few automotive businesses trick or treating. They all couldn’t believe how much it resembled a real engine. Of course they took pictures and one business called all the employees up front to check it out.Our son Tanner felt like the luckiest kid in the world wearing his Small Block Chevy V8 Engine! I think we as parents succeeded in making this a Halloween we’ll all never forget. The Small Block Chevy V8 Engine costume is now displayed in dad’s garage! The best part of taking the time to make this costume was seeing the joy on our son’s face! We hope you all enjoy it as much as us!
Below are the materials we used for costume, I also added what one could use instead if didn’t have on hand.
glue(can also use tape)hot glue gunscissors (or any cutting blade)spray paint(around 3 different desired colors)permanent marker2 large cardboard boxes(1-engine body,1-making extra parts)2 smaller cardboard boxes(for top valve covers)8 to possibly 16 pieces of 2 inch wood dowels(as spark plugs)8 pieces of PVC sink piping 8-10 inch length or use empty paper towel rolls(as exhaust pipes)real plug wires or 8 pieces of tubing 2 ft long each real distributorcap or jar lids/woodreal thermostat housing unit or small PVC curved pipe/tubecircle piece of wood or jar lids(as crankshaft)black foam pipe insulation
Logo stickers or could print off of internet
air filter
safety ear muffs or a hat
Most of the items to make this engine we had on hand. Being a car family we only had to purchase a few items which was nice. The items we purchased were 8 pieces of PVC piping @ Lowe’s ($2.19 each), a bag of black foam pipe insulation @ Lowe’s ($1.18) and an air filter (found one @ Wal-mart for $4.97 but dad had to get nicer Edelbrock filter @ O’Reilly’s that costs around $30.00).
Assembly directions are below, it may sound complicated but really isn’t. Just giving lots of details for those that would like to recreate. It tookaround 2-3 days to construct, working on it here and there.
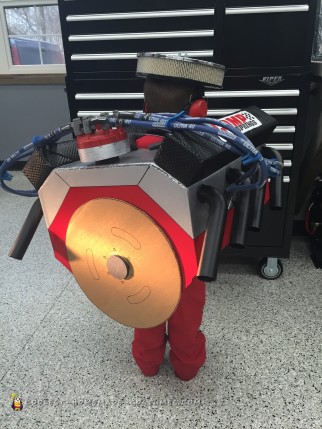
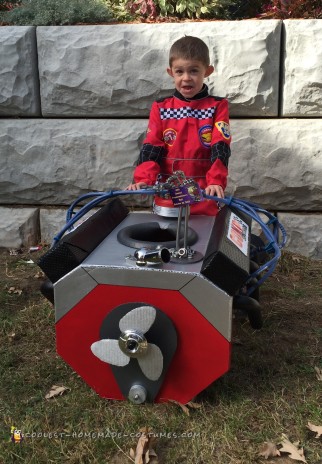
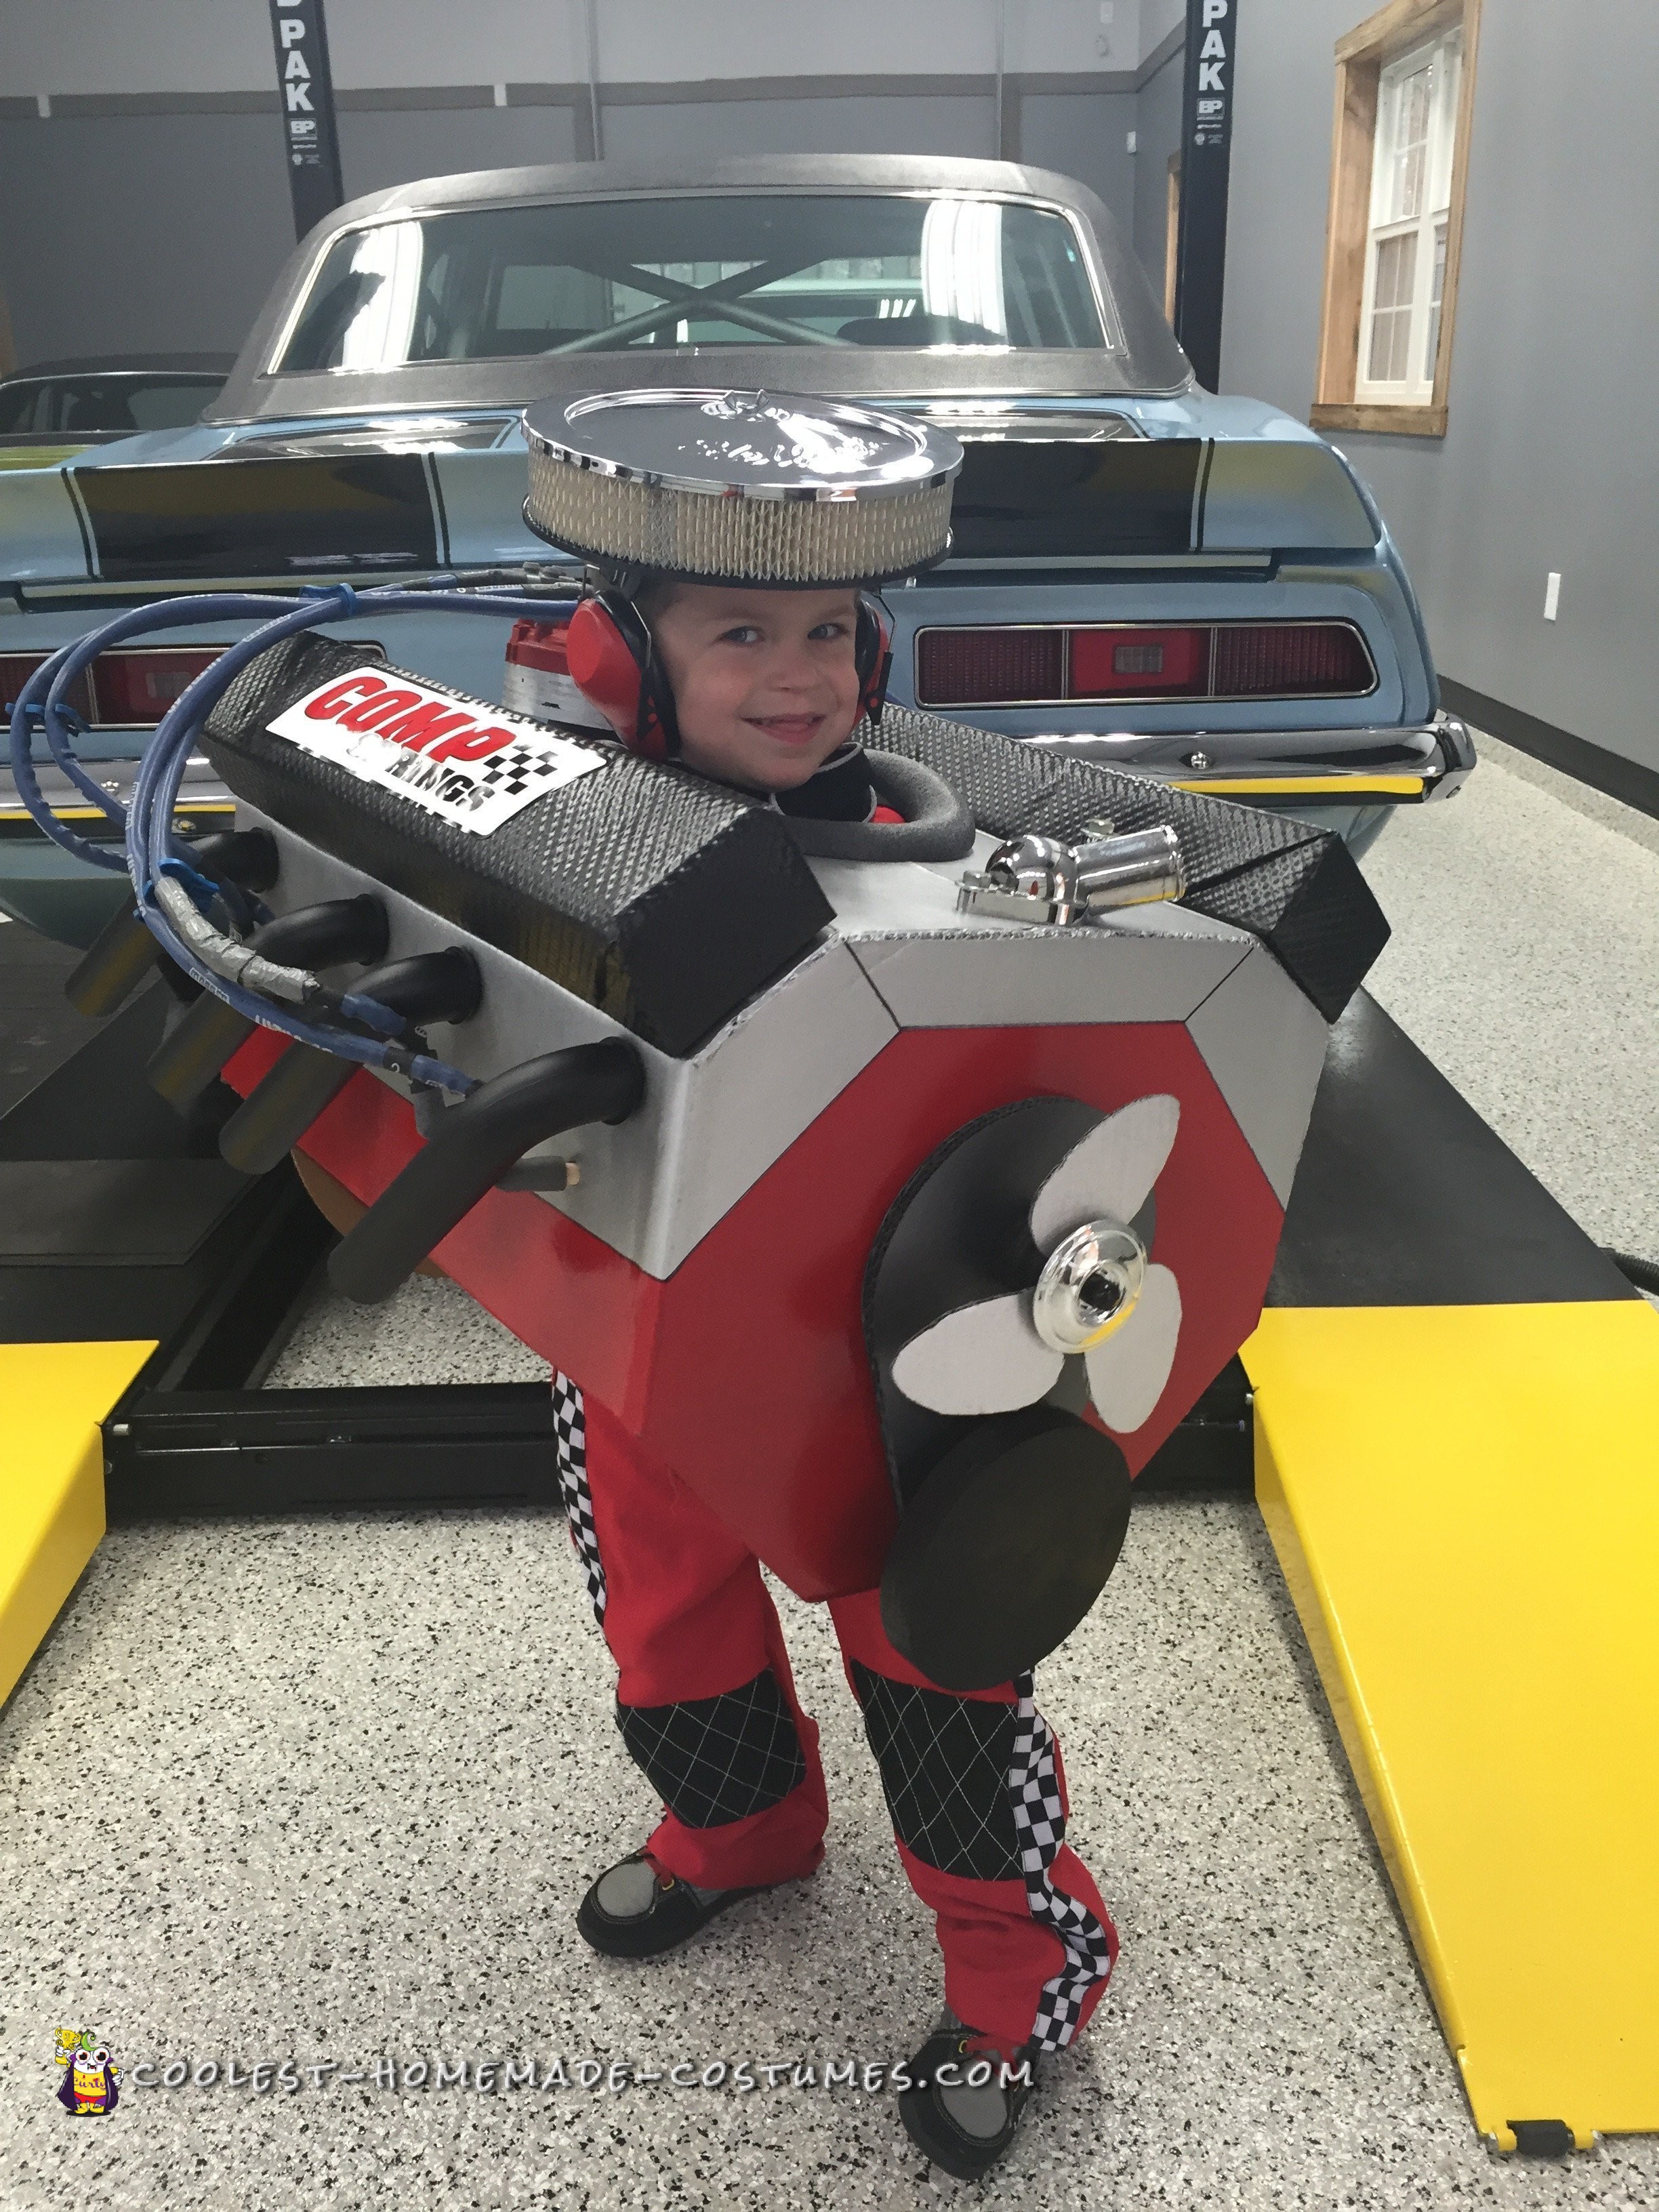
We started by taking a large cardboard box suitable for his size. Cut off the bottom 4 flaps, cut bottom sides to angle like a true V8 engine. On top, cut off shorter 2 flaps, then cut about 4-5 inches down on each corner. Next bend each side inward to form top sides. With bent sides formed, close the 2 flaps and cut so that the flaps will just touch one another when closed. Then glue/tape all the ends and sides on top of box. Now trace a circle on top just big enough to fit head through and cut. Next, spray paint the box to your desired colors. Add engine detailing with marker when dry. For on top of the folded sides, spray paint the 2 smaller cardboard boxes desired color and glue/tape it on. Then we added Comp Cam stickers that we had, if don’t have could print logos off of internet. The back of engine is the Flywheel made out of cardboard. Trace the size of circle you like, cut out, spray paint desired color and added details with marker to replicate a real Fly Wheel. We glued/taped a round piece of spray painted wood(to act as the crankshaft) to back of box(could use cardboard instead of wood) and the Fly Wheel fits right over it. The front part behind the fan is a timing chain cover, hand drawn from cardboard, cut out, spray it desired color and glued/taped on. The fan is hand drawn from cardboard, cut out, sprayed silver and glued/taped to timing chain cover. We ended up added a silver cover in middle of fan that we took off of son’s toy engine. Below the fan is the harmonic balancer made of a rounded piece of wood, spray painted desired color, glued/taped(one could cut out a cardboard circle instead).The top front piece is a real thermostat housing unit, we screwed it in (one could use PVC pipe glued/taped oninstead).The piece on the back top is a real distributor cap glued/taped on (one could use spray painted jar lids or wood to make their own and add dowels on top to attach tubing on next step). Attached to this are real plug wires (one could use any tubing about 2 feet long each).The wires are attached to dowels that are glued in halfway down the sides to act as the spark plugs. For the exhaust pipes, use PVC pipes that are spray painted. Cut holes just above spark plug dowels, then glue/tape pipes in the holes. Around the neck we attached black foam pipe insulation to protect neck and help support the shoulders when wearing it. For the head wear we had an Edelbrock air cleaner, we taped some of the black foam pipe insulation inside so the air cleaner would fit head better and then velcroed it to safety ear muffs. On the inside we hot glued cupboard handles to the inside front to help hold up the costume. We also thought that this engine needs to make noises besides just from him making car noises. He had a toy engine that has a key you turn and it starts like a real engine, so we took that out of his toy and attached it on the inside front for him to turn. It was perfect! Finally he wore his racing suit from the previous Halloween and his car shoes to give it that extra touch!
