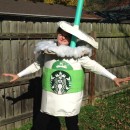
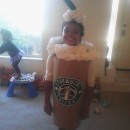
The idea for a Starbucks Drink Cup was brewed up last year. Every year when we win the local costume contest at a Recreational Center, on the drive home we brainstorm our next big winning idea. Although we knew we wanted to make a Starbucks cup, we didn’t actually start constructing it until the last 2 days leading up to the Costume Contest this year. We probably spent a total of 4 hours on this costume, but we made 3 costumes total which took the better part of 2 days.
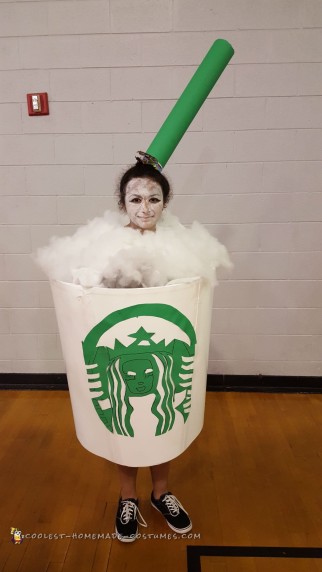
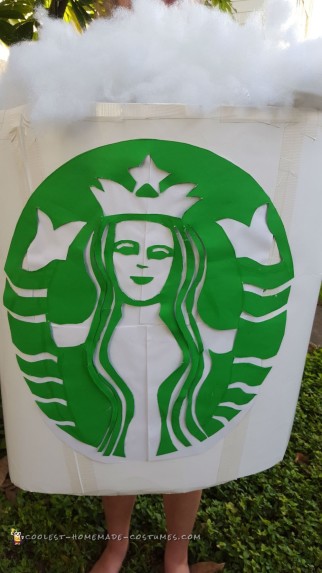
The funny thing is, we ended up changing the Starbucks logo after it won. Although the 1st logo was recognizable it was not accurate. We let a child friend wear it to win the costume contest. Then the following weekend was Halloween and I decided to make a better looking logo of the famous green mermaid so my 13 year old could feel proud.
The supplies are:
- 5 white poster boards.
- 2 green poster boards.
- White Duct tape roll.
- Glue sticks and hot glue gun.
- A 40″ hula hoop.
- Flat white rolled batting.
- Fluffy white batting.
- Fishing line thread.
- A paper cup.
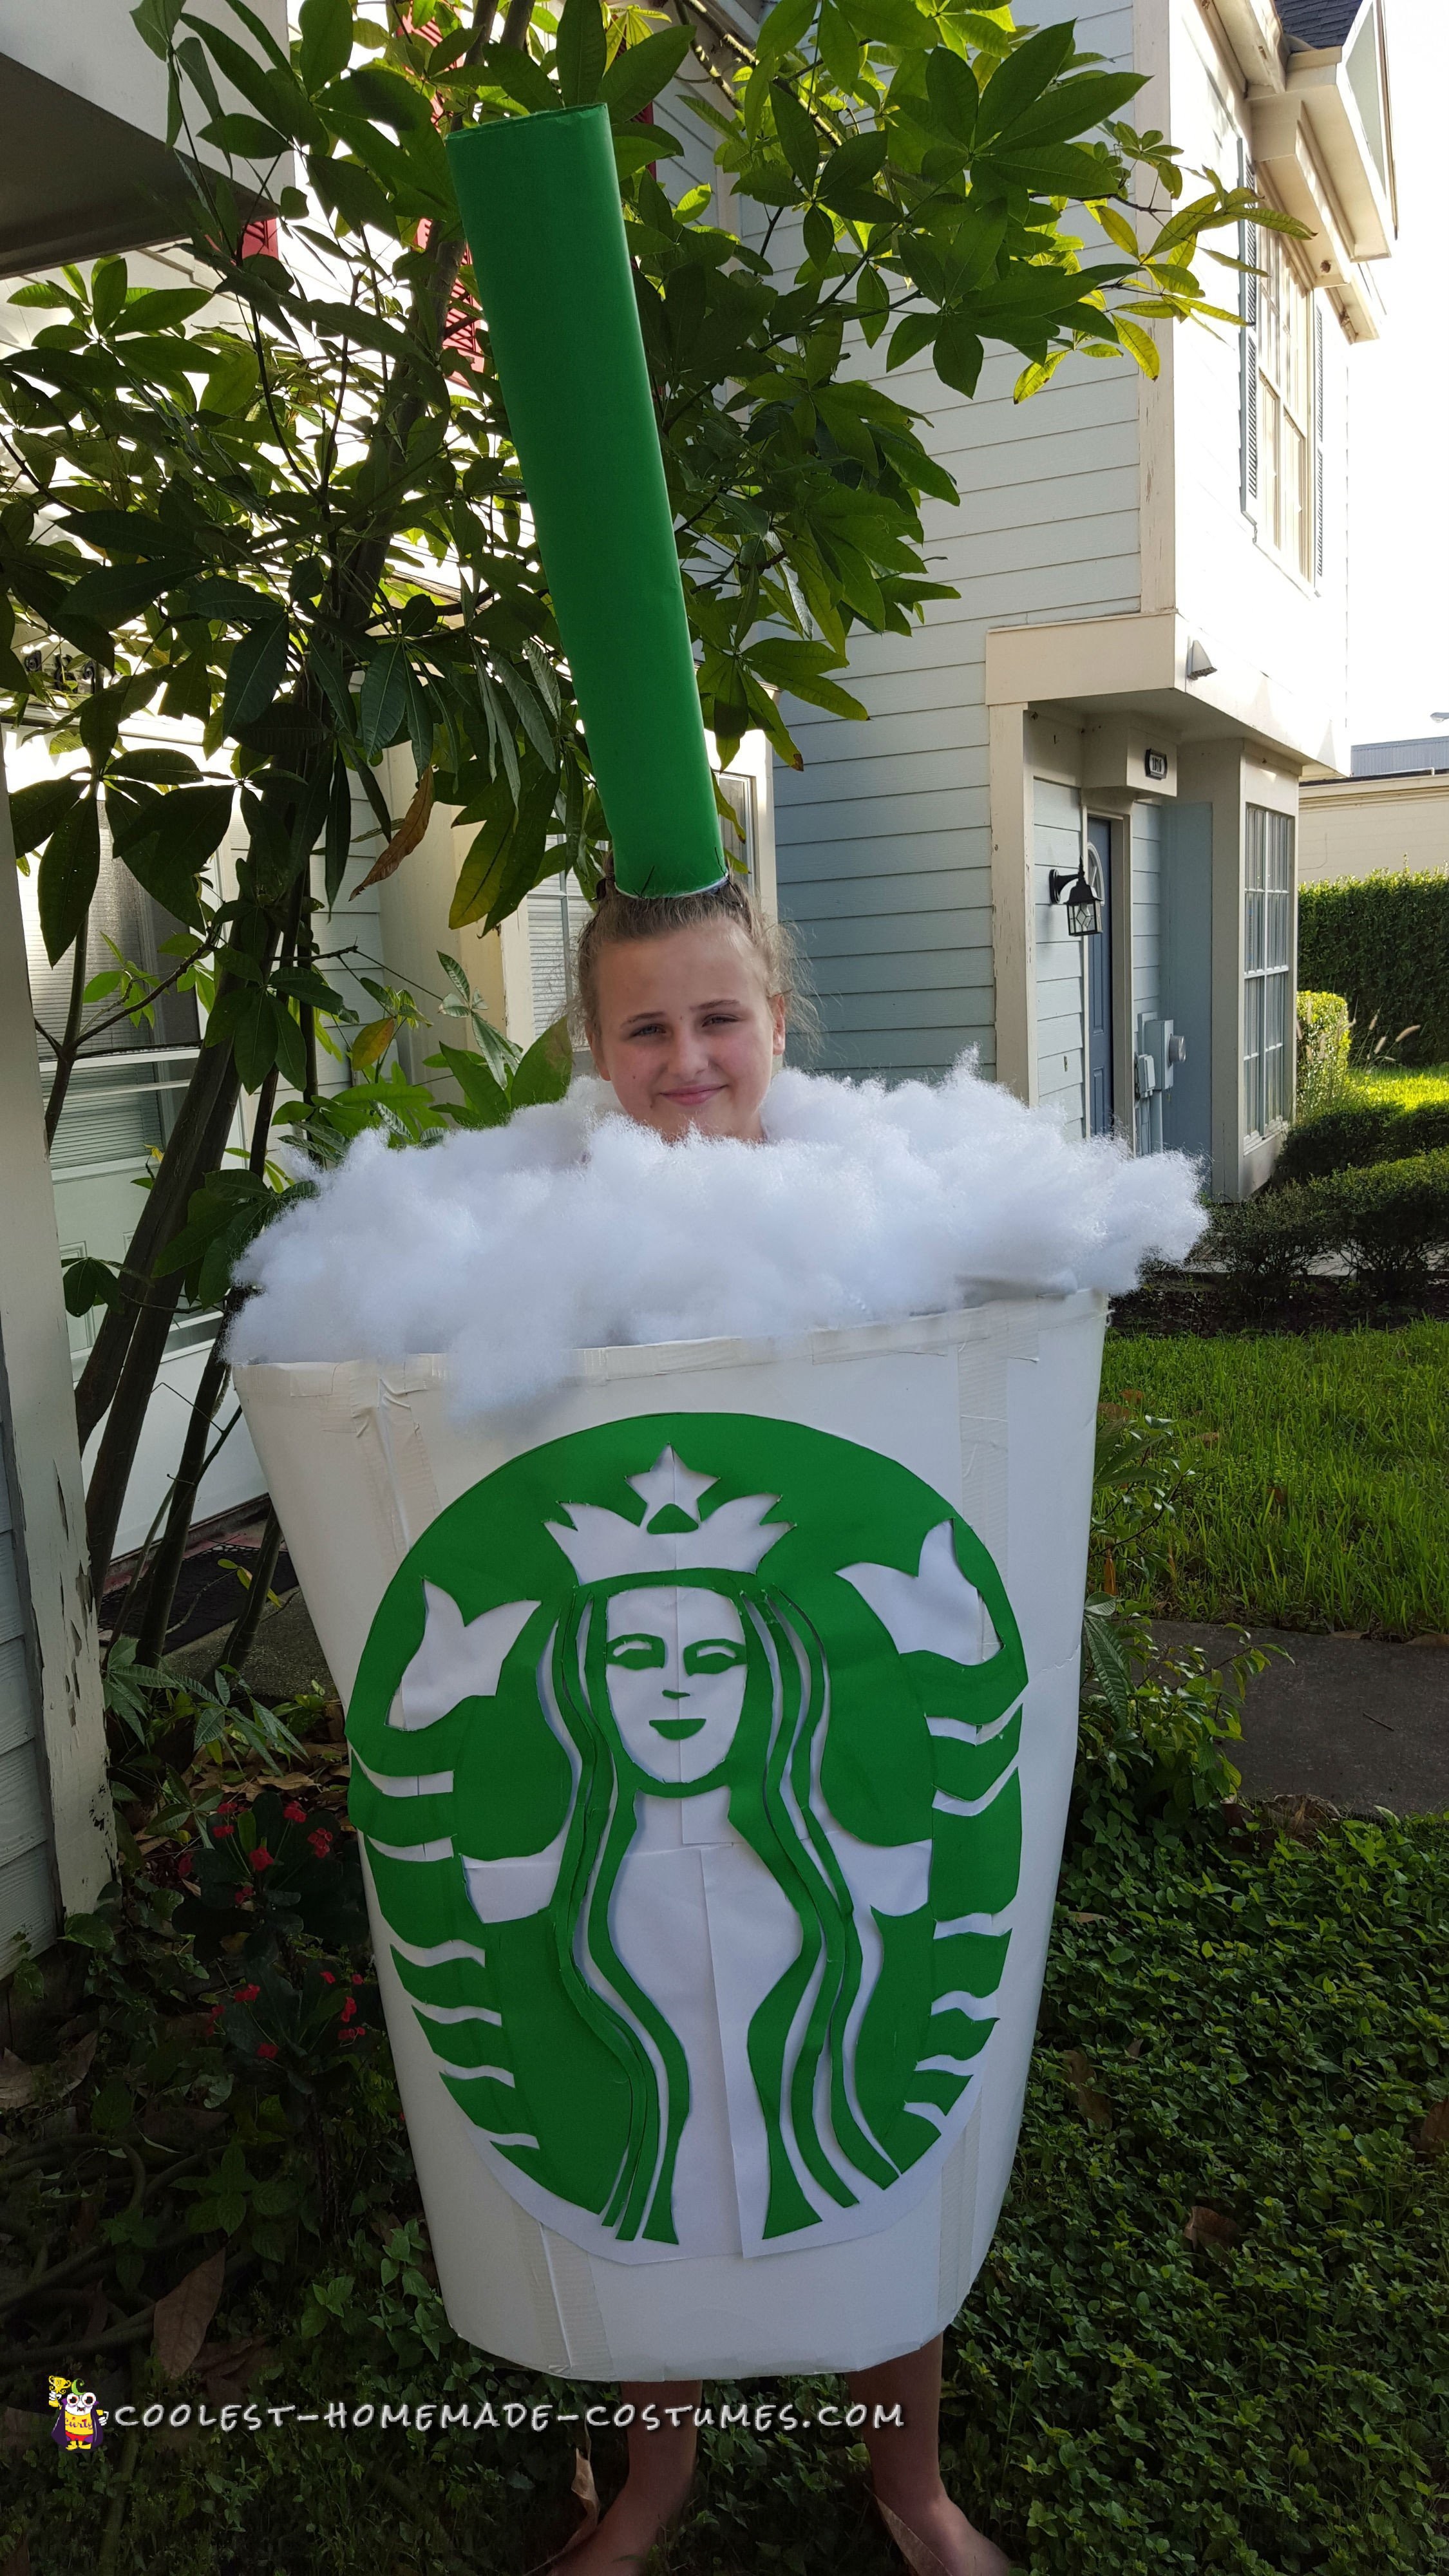
I started by shaping the white poster boards length-wise around the hula hoop and taping it with the strong white Duct tape. It was a challenge to shape the cup and tape by myself as I had to use my teeth and elbows as well as my hands to grasp and shape it. I had to cut out triangular pieces toward the bottom of the cup to make the shape come in like a real cup. Then I taped it even more to stay in place.
I used the 5th white poster board to make a top for the cup and allow for arm holes and a head hole. I shaped it so it raised up instead of being flat. This required more tape and hot glue. I cut a round shape out of the flat batting to make the “whipped cream”. I cut a hole for the head to come through. I then sewed the fluffy batting all over this flat batting with the fishing line thread. The whipped cream was not attached which worked out better because you could remove it and fluff it and re-shape it.
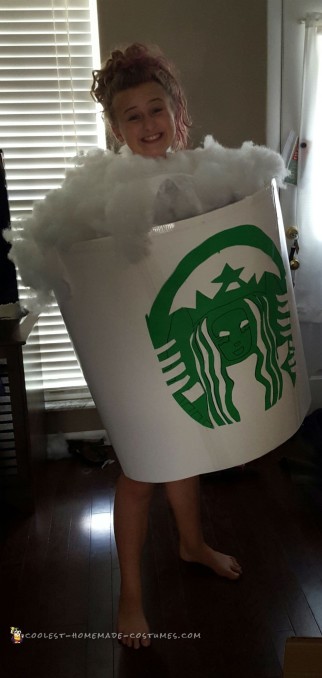
My daughter drew the 1st green mermaid logo, which I will include a picture of it. She hot glued it on the cup. I made the 24″ straw out of the rest of the green poster board by shaping it around a paper cup and hot glueing it. The paper cup helped to sturdy the straw on the kid’s head, but I also used string to secure the straw atop the head, like a birthday hat.
Along the way, the huge green straw would not stay put, so we secured it with hair pins and hair clips. The following weekend was Halloween so I decided to make a better green mermaid logo. I used a huge metal musical drum circle to draw the round shaped logo. I then used free-hand to sketch the green mermaid. My daughter helped me cut it out and shape the logo. We had to think fast when we removed the 1st logo and had remnants of green glue that would show through the open cuts of the new logo. We decide to cover it and make a blank canvas with white printer paper. It worked but this costume looks best when you don’t scratch the surface. Which means from 4 feet away it was beautiful but upon closer inspection you’re going to see some homemade mistakes.
The costume was a huge it. People stopped the drink and asked to pose for pictures. Ladies would say the Staarbuck got their vote. Children were in awe. It was a nice success and such an inexpensive costume.(probably $15 or less to make)



Your comment has been sent successfully.