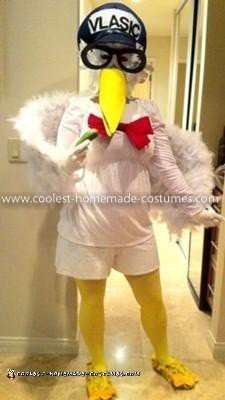
My costume is of the Vlasic Pickle Stork. It was extremely easy and cheap to make, just a little annoying with all the feathers. Most of the items were things that I already had around the house or they were items that I reused from past costumes. Here is how I created the homemade costume:
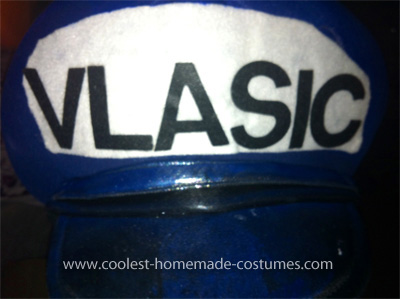
Hat: The cartoon hat was an item I reused from a previous costume. I spray painted it royal blue and then cut and glued a piece of white felt in the shape of a half octagon for the front of the hat. I then used black foam letters that were sticky on the back for the word VLASIC. The spray paint, felt, and foam letters were items that I had in my craft box from previous projects, so it cost me no money to create the hat.
**Helpful tip: If you don’t have a cartoon hat and don’t want to spend the money on one, you can easily make one by using an old baseball cap, news paper, cardboard, and felt. Take the old cap and vertically glue or sew one edge of a piece of felt to the edge of the inside of the cap, leaving the rest of the felt loose. Continue to glue as many pieces it takes to cover the whole inside edge (normally about 2-3 pieces of felt). Then take and shape the felt around to the outside of the cap. You may shape it in any way you would like (if you want you can add more felt onto the pieces already attached to the cap). Once you get the size and shape to your liking, start sewing the pieces of felt together, but leave the top open. Remember, feel free to cut your felt in any shape you like to form your hat. Once all pieces are sewn together fill the hole on top with crumpled new paper to hold shape of your cartoon hat. Cover the bill of the hat in felt by gluing the felt to the inside and outside of the cap and by cutting off excess fabric. If you would like to extend the bill of the cap you can cut cardboard to the size and shape that you would like the bill to be and then glue it to the top and bottom of the bill on the old baseball cap. Then either cover the cardboard in felt or paint it.
Mask: The mask was an old Mardi Gras mask that I painted white and then glued feather all over. The mask already had an elastic string that wrapped around my heads, so it was easy to put on and take off.
**Helpful Tip: Make sure you thoroughly trim around the eyes and nose so you can see and breathe easily.
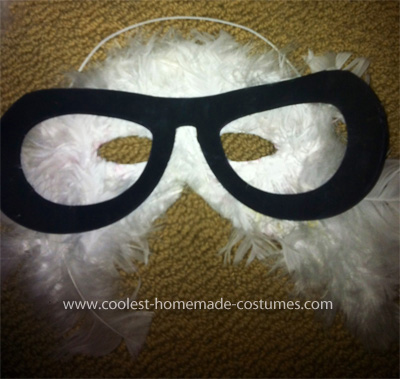
Glasses: The glasses are a piece of cardboard that I cut to the shape of the glasses and then painted black. I then glued the glasses to the mask on top of the feathers.
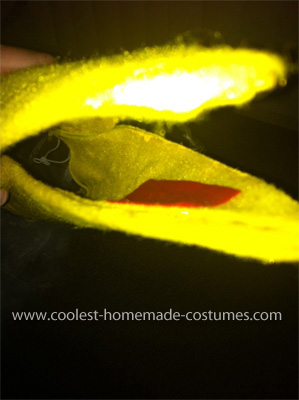
The Yellow Beak: The beak was a bit tricky to make. At first I tried using cardboard but couldn’t get it to form correctly, so after about five different tries I finally gave up and went to the local craft store to hunt down something that I could use to form the beak. After searching through all the isles I finally came to the clearance isle where I found two foam flags that I figured would work great. I took the flags and curved the ends together to form a cone shape overlapping one of the flags over the other closer to the corners on the flat part of the flag. I then used 1” brass fastener pins to secure the two pieces together. I put three at the base on each side making sure to poke through both flags and then also added one in the middle on each end to help keep the cone (beak) shape. At first I tried painting the flags with yellow paint, but the paint wasn’t taking to the foam, so I cut felt to the shape of the beak and cover each side inside and out with felt. I then on the inside bottom part of the beak glued a small piece of red felt to look like a tongue. To get the beak to stay on my face I took a hole-puncher and poked a hole on each end of the beak and tied elastic string through the holes. I then took the elastic and adjusted it to the right size so that it would wrap around my ears so the beak rested on my face right under my mask.
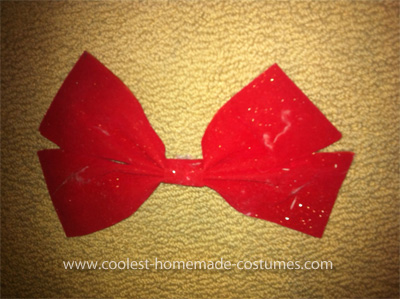
Red Bow: The red bow is simply an old Christmas bow that I pinned to my shirt.
Shirt and Shorts: The shirt and shorts are thrift store finds. I was going to buy a pair of velvet white biker shorts and a velvet long sleeve dance leotard so that it was more fitting to my body, but once I looked into the pricing of those items, I decided to head straight to the thrift store. I found a pair of white gym shorts that I turned inside out for $2 and the long sleeve velvet shirt for $5.
Tights: The tights were an item that I had from a previous costume.
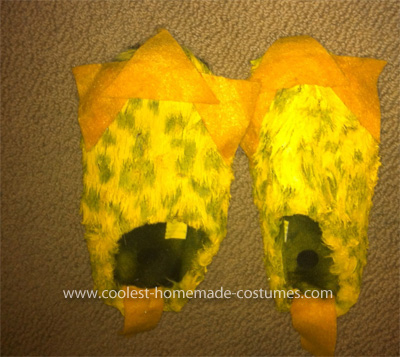
Slippers: The slippers were an old Christmas present that I spray-painted yellow and then cut and glued triangle shapes from felt to make the claws.
**Helpful Tip: I would suggest white or solid light colored slipper to pain since the black on my slippers were hard to cover with the paint.
Gloves: The gloves were reused from an old costume but can simply be bought at a Dollar Store.
Wings: The wings were made from two wire coat hangers, four Trader Joe’s grocery bags, loose feathers, and elastic string. I took the hangers and untwisted the hangers from their original shape, straightened the hooks, I then took the now straightened hooks and twisted them together so that the hangers were linked together. I tightly twisted them five times to form a small line and then took the ends and folded them up to the loose ends of the wires and twisted the end to the loose wire on each side. I then shaped the end of the loose wires to form the wings with the line from the two twisted parts facing down. To protect myself from getting poked by the wires I wrapped the sharp ends of the wire with felt and then taped around the felt several times so that the wires wouldn’t poke me. I then took two pieces of elastic and wrapped them several times around the wires and then tied the two ends on each side in a knot forming a loop on each side so that my arms could fit through them and the wings sit easily on my back. (You may need to adjust the elastic a few times to get the right fit) I then took the paper bags and cut the bottoms out of each of them and then took the bags and cut them once vertically at the middle crease on the side of the bag (one of the smaller sides). The best part of using a Trader Joe’s grocery is that they have handles on them. Make sure you keep at lease one of them attached on two of the bags. Remove the handles from the other bags. Starting at the inside edge of the wires, take one of the bags that has the handles removed and at the opposite crease from the one you cut lay it over the wire of the wings, having the crease meet right at the wire. Glue the two ends of the bag together so that it stays on the wire. Then take a bag with the handled still on and do the same thing covering the rest of the wire. Make sure the handle is at the end of wire. I then painted the bags and handle white. Once the paint is dry I glued feathers all over the front and back forming the wings. Repeat on the other side to fully create the wings.
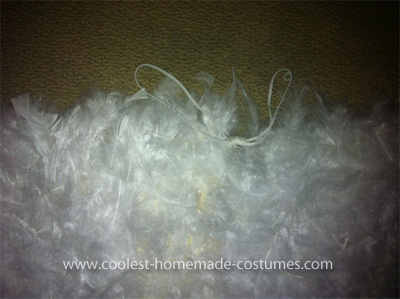
**Helpful Tip: I took the feathers from two old pillows and an old feather boa that I had, but you can easily buy feathers at any craft store.
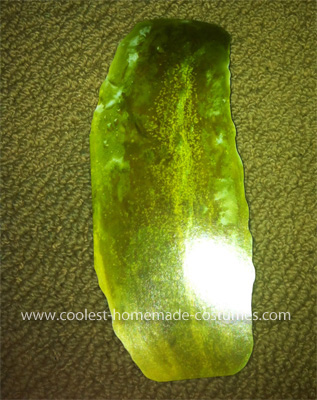
Pickle: The pickle was a rubber stress reliever that I borrowed from my brother. It was a gift he received when he was younger since he loved pickles. The second night I went out I used a large pickle, which was a birthday card that I gave to my friend.
My costume was a huge hit on the nights that I wore it out. The first night I helped a friend out by working the door at a musical show he was running. People loved the costume and I got many laughs as I collected the entry fee to get through the door. I received several compliments for all those who attended the show.
The second night I went out with a few friends to a bakery/bar in the local area. Since we were at a bar, most of the other costumes were sexy costumes. Several people complimented me on my non-traditional costume. The owners loved my costume so much that they even gave me a free cupcake for the night since they didn’t have a costume contest.


this is such an amazing costume
Absolutely adorable!
Gonna try this Halloween
Are you willing to sell this costume?