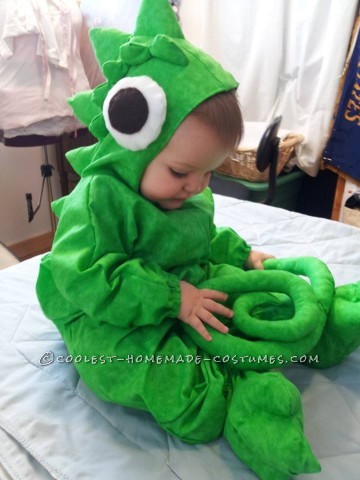
A neighbor sent me a photo of a costume and asked “can you make this for my baby?” (It’s a character from a movie)
Sure, I can do that :) (Probably?! although, I still haven’t seen the movie)
Make a plan
For a fitted and detailed costume, Choose a basic pattern as a guide
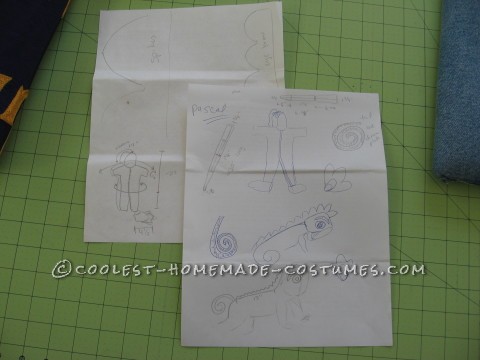
I went looking for a baby pajama pattern, most any pattern would work, but simple is usually best. I was hoping to find one with feet… but the only place that has patterns in our small town is the thrift store, so I counted myself very lucky to find a pajama pattern in the right size range and with all it’s parts! I would need to add a hood, spikes, eyes, eyebrows, tail, and feet! Sketch the approximate shape of the additional pieces and try to visualize the size.
Next, think about types and colors of fabric. A knit fabric would be more comfortable and more forgiving on fit, but more difficult to shape than a woven fabric. The weight of the fabric needs to be thin enough to easily turn, but thick enough to hold the shape. A tonal or variegated fabric allows the costume to have dimension and texture and use only one cut of fabric for the main parts.
Make a shopping list. Estimate the amount of fabric and notions to make the additional costume parts. Living far from easily available fabric, I estimated high. It could be very helpful to have a little extra fabric, just in case you have try again with a costume part that didn’t quite work the first time.
We selected a tightly woven, tonal green quilting fabric for the body and all the parts, except the eyes. A thick craft
felt worked perfectly for the eyes.
Cut & Assemble
Examine the pattern pieces. Are the proportions right? How and where will the additional parts be attached? Check
actual measurements against pattern size indicators. The baby had just fallen asleep in his car seat when we needed to measure him and his little bare feet were ticklish, so taking his measurements was a combination of measuring and estimating.
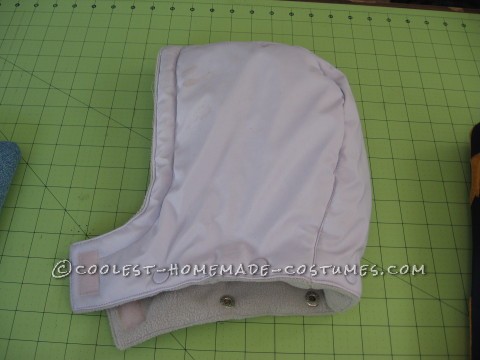
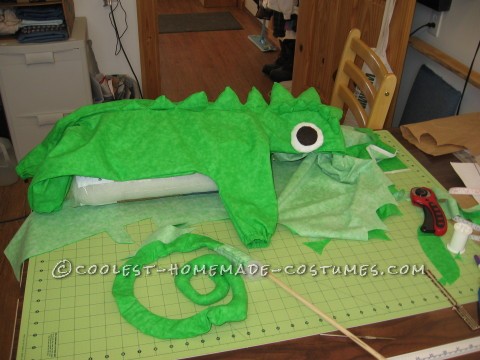
Lay out pattern for the main body on the fabric. I had to add several inches to the arms and legs of the pattern to get the right length – use a ruler and a fabric marking pen to make the adjustments. Using some large sheets of brown paper, I drew up pattern pieces for the hood, eyes, and feet. I used a detachable coat hood as a guide for making the pattern pieces for the costume hood. Several sizes of cups from the kitchen provided the circles for the eye patterns.
Always sew the zipper in first! Then continue cutting and assembly. Attach hood to body.
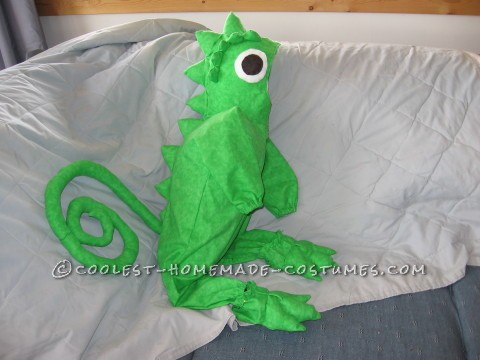
I chose to insert the spikes into the seam down the hood and back of the body, but they could just as easily have been attached to the outside. After measuring the approximate distance I wanted the spikes, I sketched the spikes on the fabric using a pencil and a plastic curve, gradually making the spikes smaller toward the tail. I had planned to leave some extra fabric along the bottom for adjustments, if needed, but forgot to. Getting the spikes sewn smoothly into the hood turned out to be trickier than I anticipated. Be prepared to do a lot of hand sewing. Don’t over-stuff the spikes and sew them closed from the inside as you go.
The eyebrows are smaller versions of the spikes and more rounded. Lightly stuff and hand sew in place before attaching the eyes.
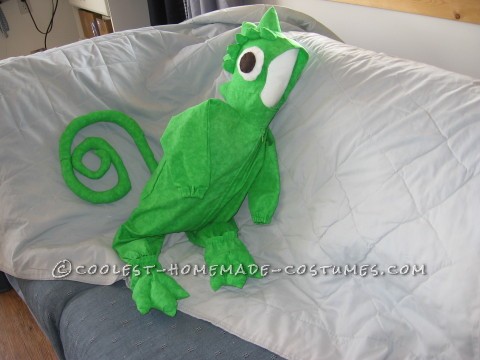
The tail: I do not recommend using wire to get a curly tail with a baby costume – avoid anything that might be sharp or toxic! So then the challenge is how to make the tail curly. A simple solution that is less simple to actually do. Spread 2 layers of your fabric faces together and draw a large circle. I used a dinner plate as a guide. Choose a beginning point and use a seam gauge or small ruler to draw a second line about 1.5 to 2 inches inside and keep going around toward the center (this is your cutting line, but don’t cut yet) Now draw in your sewing lines (about 1/4 inch on each side of the cutting line). Use different colors, if it helps keep track of which seam of the tail you are doing. The center (or end of the tail) may be the trickiest part. Taper the tip slightly to a blunt round. Sew, then cut. Turning the circle right side out may seem difficult, until you start stuffing. Go slow and be patient, take only a small piece of stuffing at a time and push it all the way to end. Continue until you have filled the tail, stuffing firmly as you go to make sure it will hold it’s shape. Turn in the end and attach at the end of the spikes, this should be at approximately the point where the back of the costume begins to round over the diaper, for a 6-12 mo. size it was about 5-6″ from the crotch seam, if I remember correctly. Now the main body should be complete.
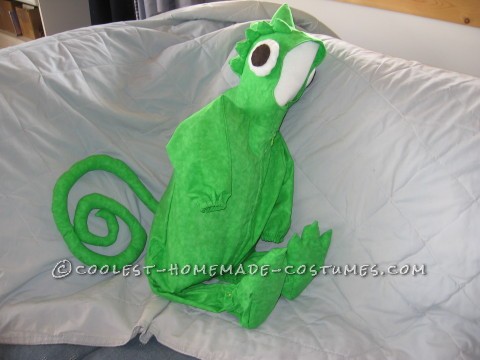
The final step is feet. I used a bootie pattern as a guide. There are several ways to do this, but essentially, you will draw on 3 toes to the top and bottom of the foot, stuff them lightly. I added some loose hand quilting to emphasize the shape of the toes… and we’re done!
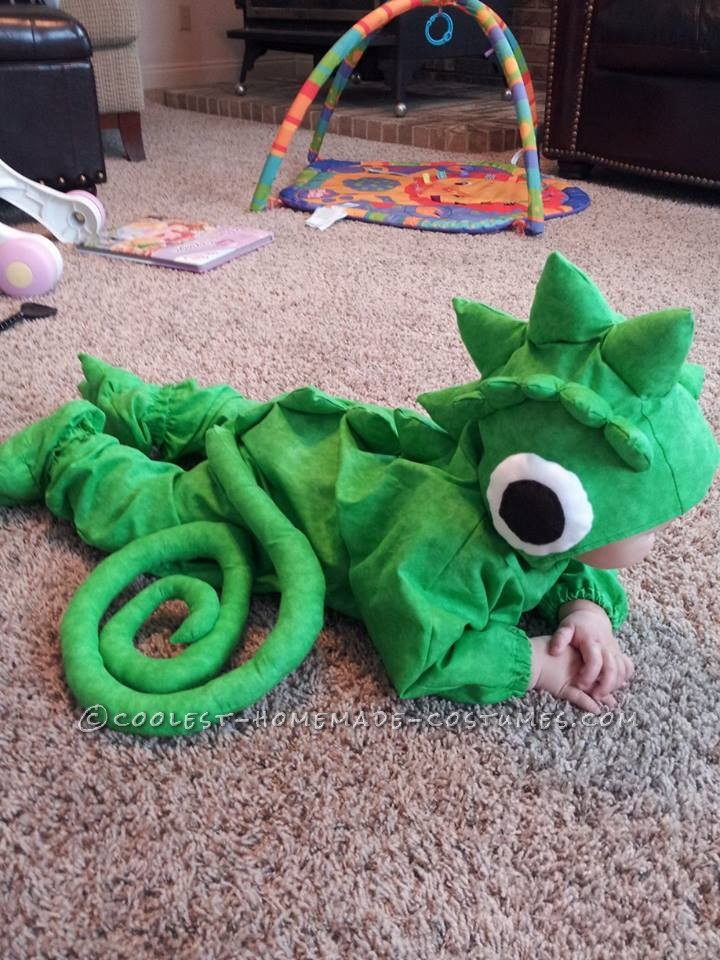
Check the fit and take a picture!
I emailed a photo of the costume. Even though it just looked flat without the baby in it, she said
“Oh my heck! Haha I love it! He is going to look so cute!! I can’t wait to see him in it!!!!
It turned out great!! Thank you thank you!!”
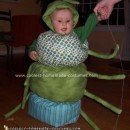
And then we tried it on him. It fit great and he looked so adorable. The first thing he did was grab the tail and start chewing on it!




Do you make and sell this costume?
i am trying to make this cotume.. or find one I can buy too. Have you had any luck? id love to hear.. anything would help!
Do you make and sell this costume?
i am trying to make this cotume.. or find one I can buy too. Have you had any luck? id love to hear.. anything would help!