I started with reference photos of the character, from there I made templates after taking my measurements, I made the templates out of construction paper, making sure I got the sizes correct before I started cutting the foam.
Once the templates were made, I started tracing them on the foam. Using an exacto knife, I cut the foam out in pieces. I then glued the parts that needed to be glued together with a High temperature glue gun. Making sure to keep the edges clean and reinforcing the glue on the backs of the foam pieces, I then lightly drew out where the colors for the paint would go.
I used a rotary tool (dremmel) with a sand paper bit, to start putting gouges into the foam for battle damage.
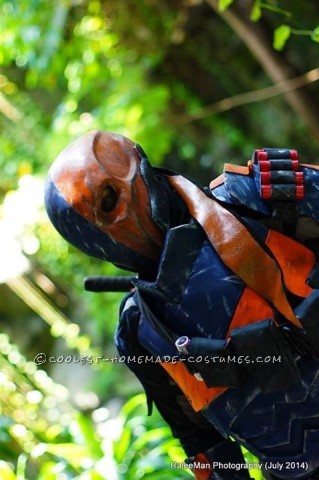
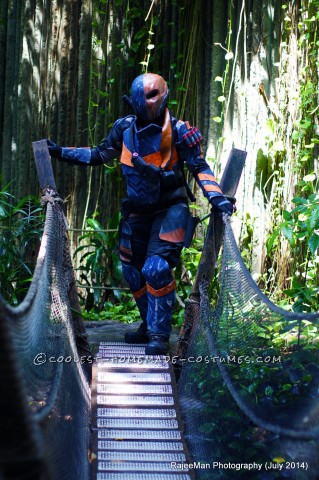
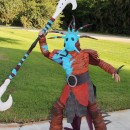
Deathstroke is Blue and orange, so the orange parts I had to Prime the area’s because the foam is Black.
I used spray paint to paint the blue and orange. I started with Orange because its a lighter color and then I used tape along the edges to get a straight clean line. Painters tape will do.
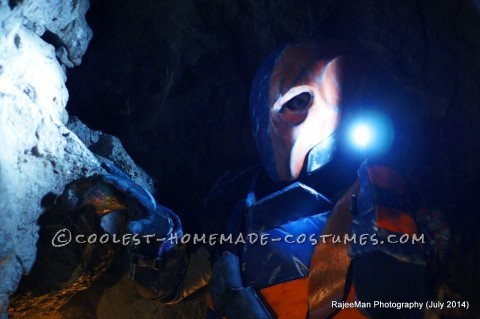
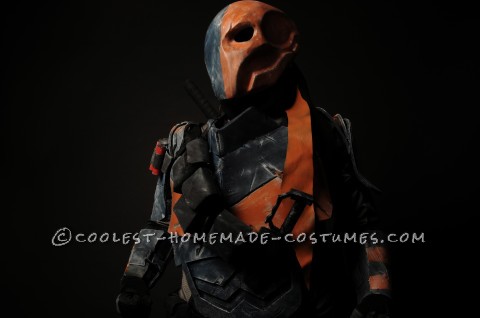
After all the pieces were painted, I then started going in with a dry brush with silver or white or black(for the orange) and started worn and “battle damaged”. Each piece was painted with damage by hand. with a dry brush to give it that metal/metalic look. I used the black to make it appear dirty and worn.
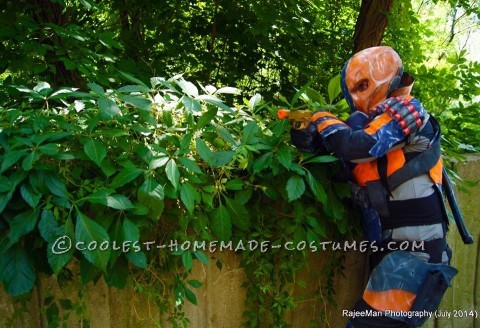
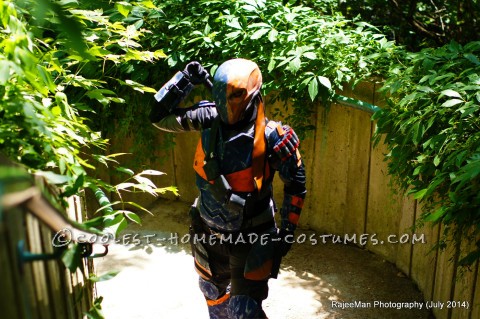
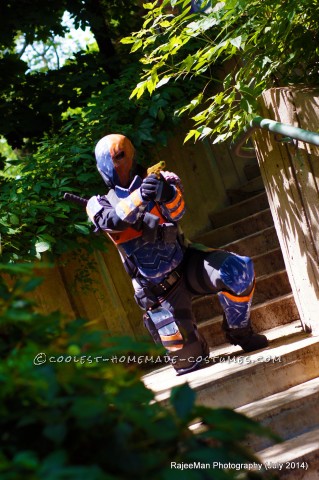
Once that all was done, I started to gather straps and Velcro to start putting the pieces together to be able to wear. The Velcro is a quick and easy way to get the armor on and off. In total there was a torso piece, belt, thighs, knees, shins, shoulders, forearms, gloves and helmet.
For the one shoulder I had to use a dollar store hockey net for the “shotgun shells” I cut the plastic red tube into equal lengths, and then covered the ends with black foam to give that shell look.
For the sword sheath I just used the one that came with it and attached it to the back.
The pouches on the belt I made out of craft foam and backpack fabric. I made templates out of foam, which I used an old template from a paper cube/rectangular prism, and then covered the foam with backpack fabric and then glued the edges together with a hot glue gun. The belt was from Canadian tire its just a simple tool belt. for the side strap I did the same thing, I made a long strap out of foam and covered it in backpack fabric, adding in details and pouches so I could put things in them. I used Velcro to open and close the pouches. i did the same thing for the pistol holsters. its foam template I drew out and then covered with backpack fabric.
the helmet I bought, it was an unfinished shell, I painted sanded and smoothed it out added in straps and details, put in foam on the inside to make it more comfortable to wear. to make them from scratch you can use this technique called pepakura its paper folding you can find files for any helmet online.
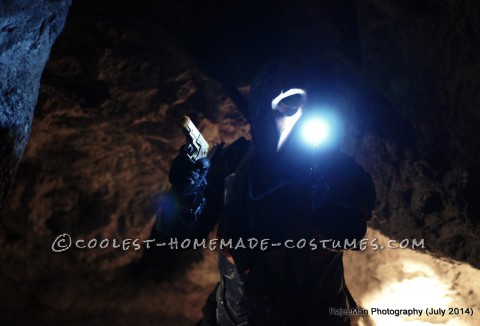
after all was said and done this costume took 4 full days to complete. This specific costume is the costume I am most proud of because its the first full suit of armor I ‘ve made for myself. I had a lot of fun making this costume and I feel really good confident and strong when I wear it.
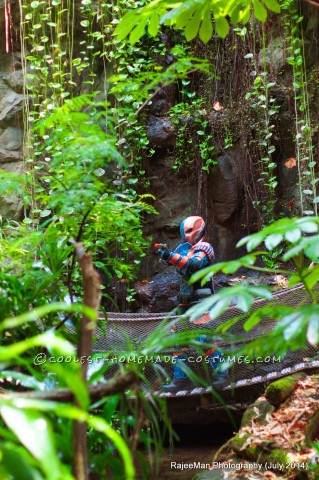
Costume worn by Jennifer Maillet
photos taken by Rajeeman photography and Droo photography
Your comment has been sent successfully.