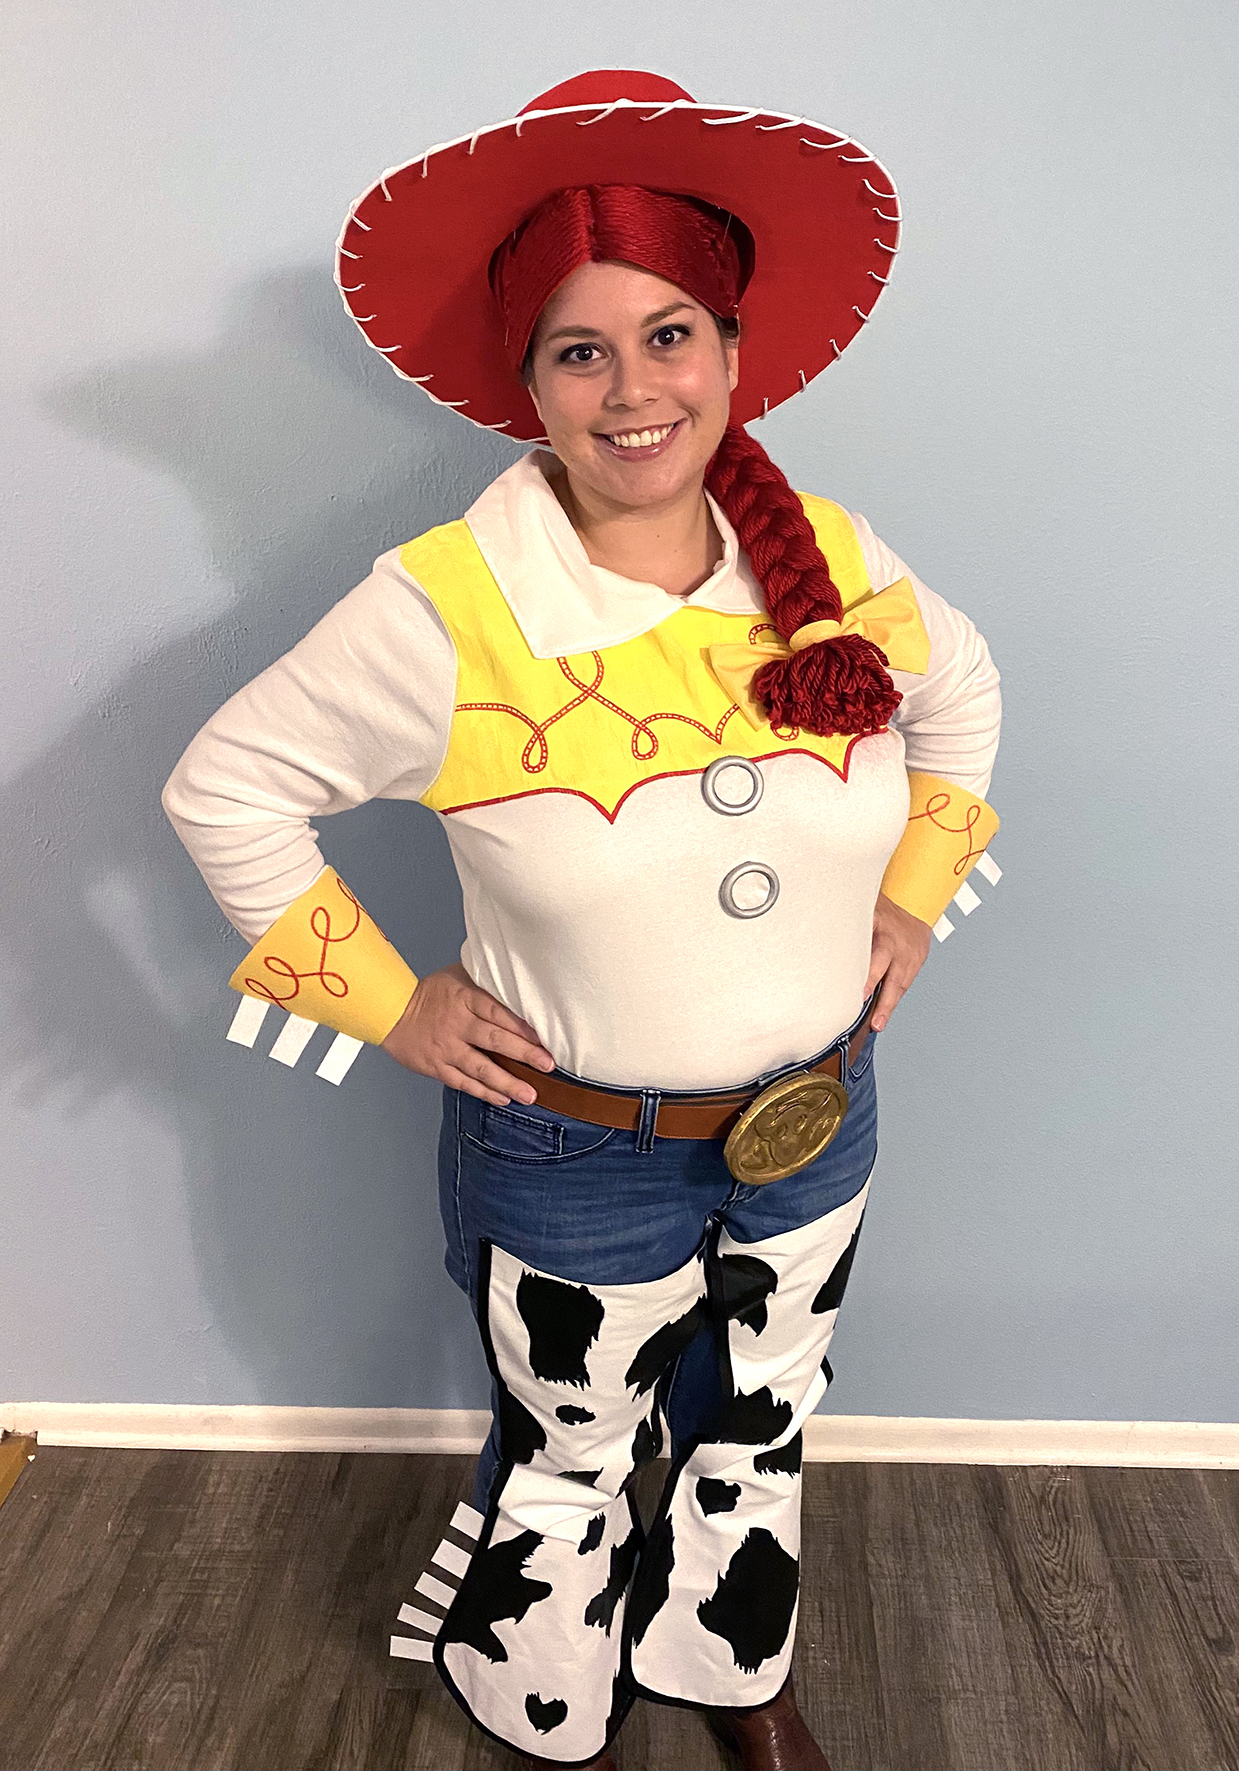
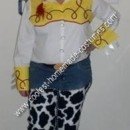
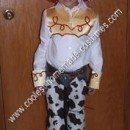
This DIY Jessie costume was a super-quick turnaround costume, but I had a lot of fun making it! First, I made the hat out of some red stiff felt. I had to combine the pieces a bit to make the brim wide to match Jessie’s. I used white cording to glue between two pieces of the brim to create the white edge and then looped the white rope after punching equally spaced holes around the brim.
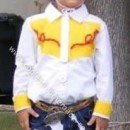
Then I bought a white-long sleeved shirt (on sale) from Kohl’s and painted the yellow area first on the front and then on the back. While that was drying, I cut out the shape of the chaps from some thick, canvas-like material and sewed on the black bias tape along the edges.
I took those to a friend’s house to paint on the cow-print while we watched Over the Garden Wall – which is such an appropriate show for October, don’t you think? I glued the chaps onto an old pair of jeans after the paint was dry.
Then for the buttons and the pull-string, I used wooden rings and spray-painted them silver. I hot-glued white fabric into the middle of the buttons and attached the same white rope I used for the hat to the pull string.
For the shirt cuffs, I used yellow stiff felt and shaped it into a cone. Then I stuck Velcro so that the cone would open and close and cut an opening for my wrist and cut the excess off the other end. I used white stiff felt for the bits sticking out of the cuffs as well as on the chaps. Then I used a paint pen to draw in the red designs.
By now, the shirt was dry, and I went back in and sketched with a pencil where I wanted the designs to go, and then I went back over everything with paint and a paint pen to fill in the detail. I also sewed on a collar I created with some excess white fabric I had from a previous project.
For the belt buckle, I used a couple layers of craft foam. I cut out an oval for the base layer and then cut out the bull and hooves and border for the secondary layer and glued that on with hot glue. Then I beveled the edges with my Dremel. I then painted it gold and glue on some wire on the back so that it would “clip on” to my belt.
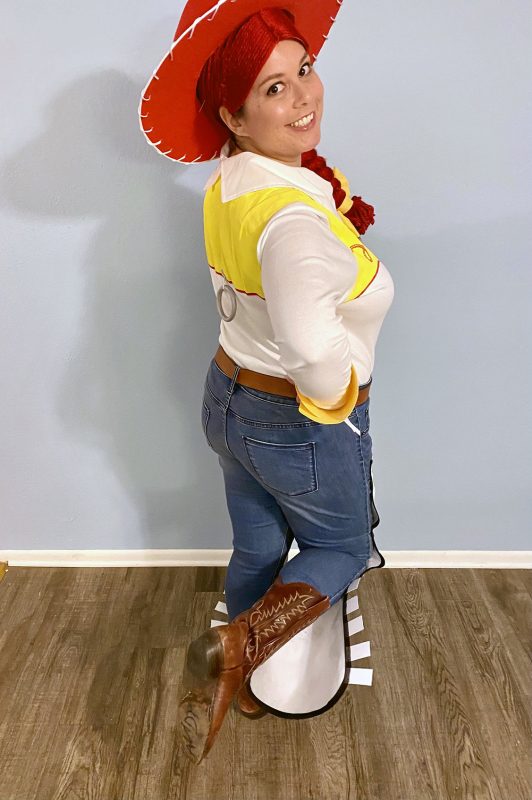
For the wig, I took a wig cap and glued on strings of red yarn and then braided them together, adding a yellow fabric bow I made with hot glue at the end. This was the hardest part and why I saved it for basically the end. I did wind up having to make a separate bangs piece too because the wig cap was too small for my head, but overall, I think it worked out! For a finishing touch, I wrote “Andy” on the bottom of my boot. I worked on this after work the whole week before Halloween this year.
I absolutely love making costumes and every year I challenge myself to make them as accurate as possible. It is so fun to be creative! When I walked into the Halloween party I went to with my DIY Jessie costume, everyone was very excited about my costume and impressed that I made it myself. They wanted to know how I made every little thing and were thrilled at how much detail I put into the DIY Jessie costume. They even said I could wear this DIY Jessie costume to kid’s birthday parties!! How fun would that be?!?


Your comment has been sent successfully.