We are a NAVY family recently stationed in Misawa, Japan right before Halloween. When I made this “robbers and bank bag baby costume,” we had yet not recieved our household goods (3 months without our household goods). Japan also did not offer much in costumes and to order anything online and shipped to Japan takes a minimum of 2 weeks.
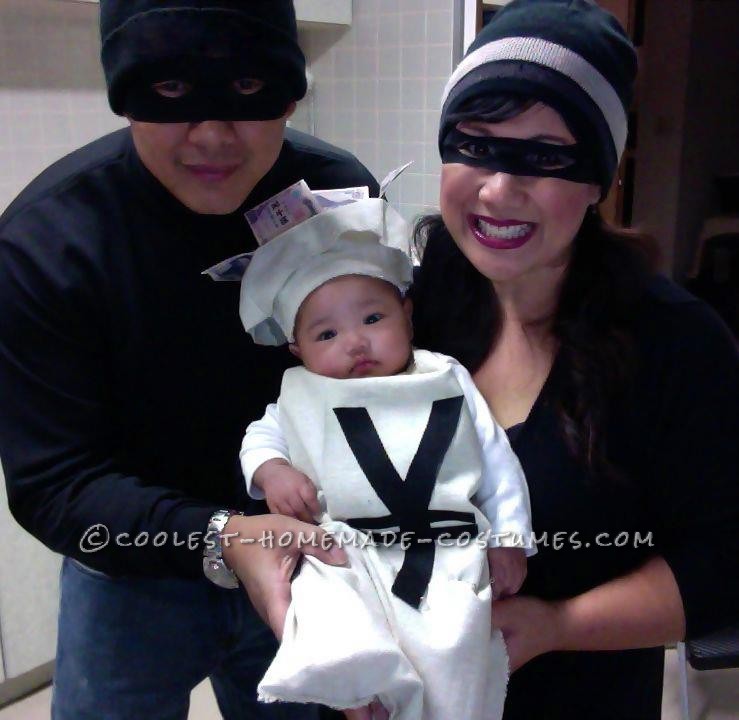
I went online and got this idea from a costume that is for sale online with a $ sign on the bag. I thought that I could make it easily myself and for much less than the $35 it cost online. I only thought it appropriate that I attached a ¥ symbol now that we were in Japan…AND since YEN is worth more than DOLLARS at the current exchange rate-this is a much better bag to steal!
Since I had none of my sewing supplies I went to the 100Yen store (similar to the Dollar Stores in the US) and had to buy everything I needed including fabric scissors, needle and thread, fabric glue, black felt, 1 black bandanna and 2 of the same burlap looking fabric scraps (one was not going to be enough for my baby’s 4 month old body). Got all my supplies for about $10! I began by sewing the money bag first. What would have taken me less than 20 minutes on my sewing machine took me all night to do by hand. I first stitched the two scraps together to make 1 big piece. I then measured my baby to the fabric and cut off the piece I didn’t need (so not to make it too big). I used that piece for her hat (the top of the bank bag).
I first cross stitched the edges because it was unraveling big time. I then sewed the money bag just like sewing a pillow case- stitching together only 3 sides leaving some room for baby’s arms to go through (about 6 inches). I then turned the bag inside out so not to reveal the seams. I then cut out the neck line and straps on the front panel only. This way, the straps can be tied in the back of baby’s head making it look like a “halter top.” This was a cute touch I thought as bank bags are typically gathered at the top and tied with a rope.
I then cut out 2 yen symbols from black felt and glued it to each side of the bag. This way, the yen sign was visible whether we held front facing or back facing. It was cute because when we held her over our shoulder, the yen symbol was on her butt! To make the top of the money bag, I used one of her baby caps/hat as the base because it fit perfectly snug and it was softer than the fabric for her head. I sewed the extra piece of fabric (that I cut off earlier over the baby cap) creating the “top of the bank bag.”
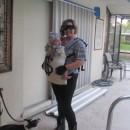
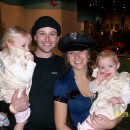
I then went to the library and used the computer to download yen images and printed color copies. I cut them out and glued the bottom of the money in spaces in between the baby cap and fabric letting the top of the money loose as if yen was “overflowing the money bag.” I dressed my baby in white so not to take any attention away from the costume. To make the robber masks for my husband and I, I cut 2 long strips (diagonally) from the black bandanna and cut out holes for our eyes. Tied them around our head and that was it!
Topped off our look with black beenies and we were robbers! Our costumes were a hit with all! The Japanese- allowed to bring their children on base that night to Trick O Treat loved it also, talking to me full on Japanese and all I could say was “Arigato!” There are so many favorite things about this costumes from the special touches I made to the joyous reaction I got from people, BUT my most favorite part was actually sewing it by hand!
It’s been a very stressful 3 months moving to Japan- as I did everything alone from packing out our things, medical clearances for my children and dog, dealing with flight cancellations, lodging, baggages and airport security and customs (husband was already in Japan) sewing the costume by hand really helped me relax. And knowing that I was making my daughter’s 1st Halloween costume was so very meaningful to me. I am very proud of this costume on so many levels. Truly an experience I will never ever forget.


Your comment has been sent successfully.