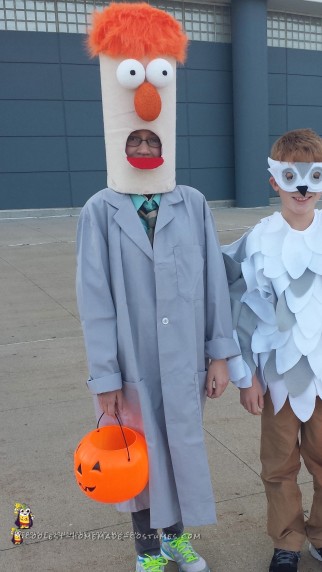
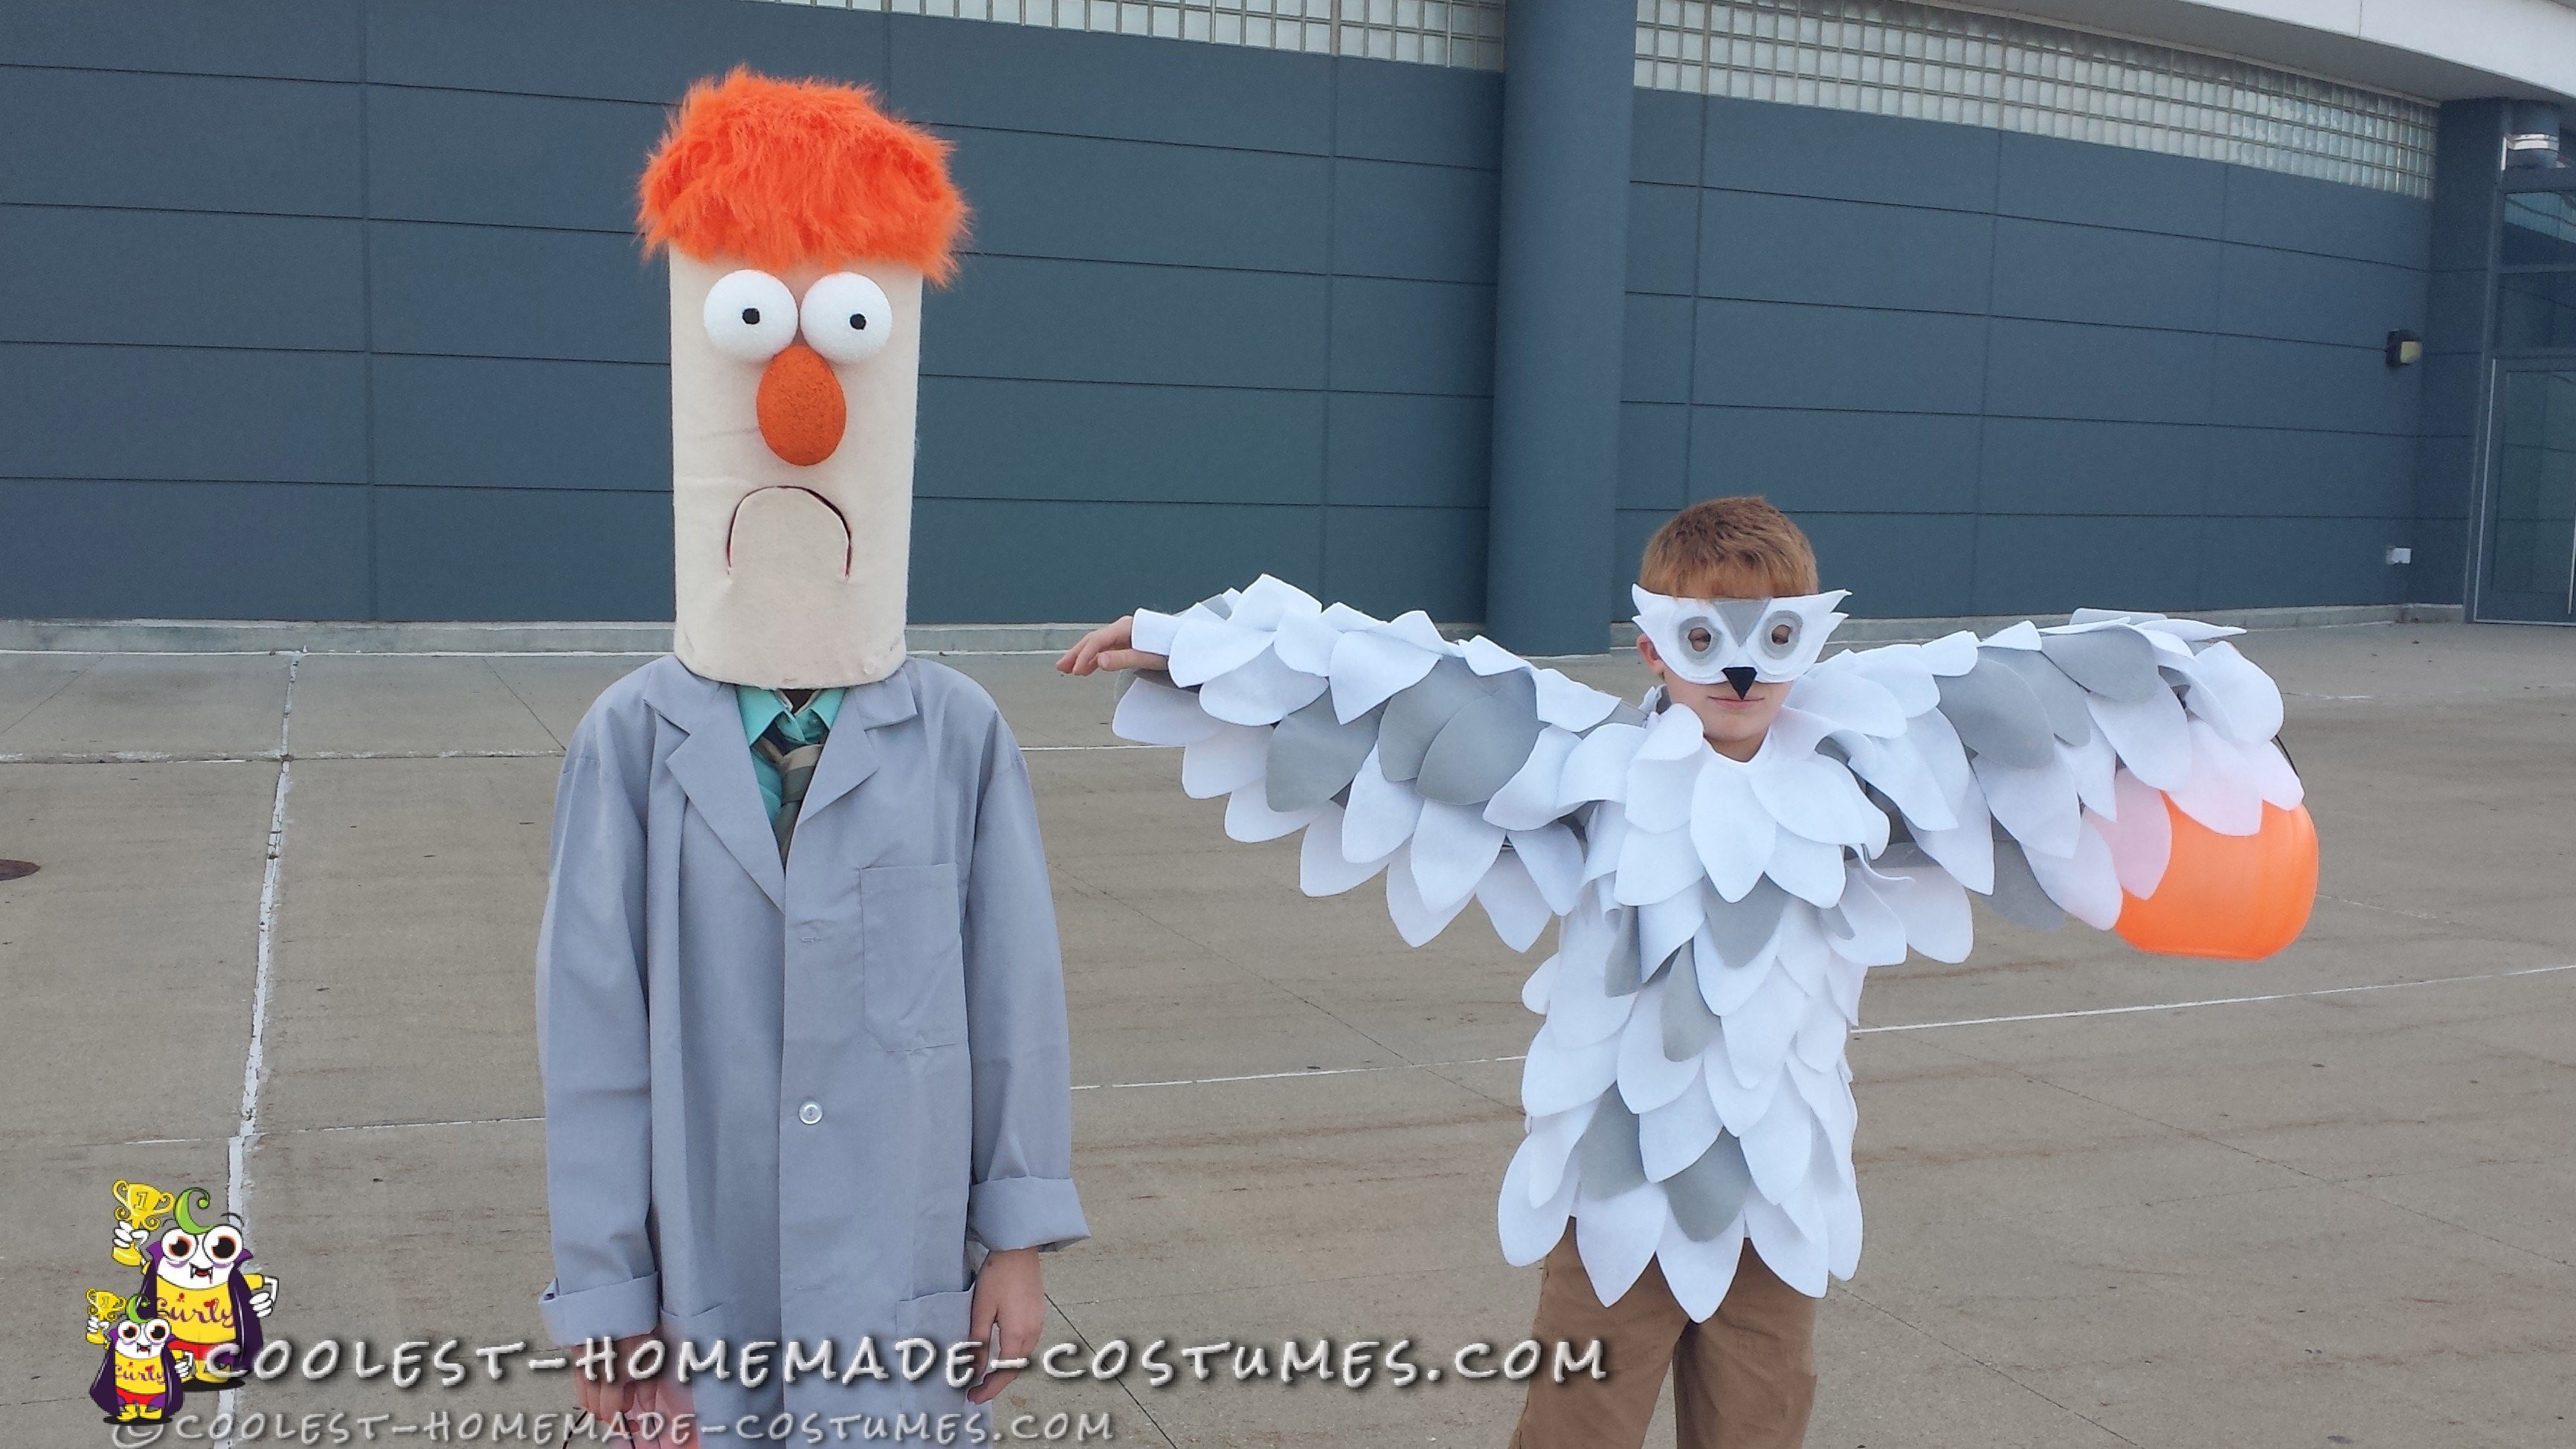
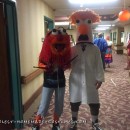
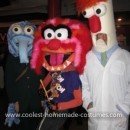
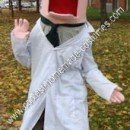
We love the Muppets so my daughter, who was undecided for a costume, agreed to be Beaker from the Muppets. Well the costume came out even better than we had planned and it was so easy. It took me a couple of days but it could easily be done in a few hours if you have all the pieces.
To make the Beaker Costume we used: white poster board, 2 round styrofoam balls, 1 egg shaped paper mache ball, 1 plastic bowl,hot glue, duct tape, small piece of orange fur (from Hobby Lobby), felt (peach color) enough to fit the poster board, small piece of red felt (mouth), 3 large pins (optional), lab coat or large white button up shirt, tie, collared shirt, orange, black and white craft paint.
1) I took 1 white poster board and rolled it into a cylinder so that it was big enough to fit over my daughter’s head (and she wears glasses). I then duct taped it to the exact size of her head.
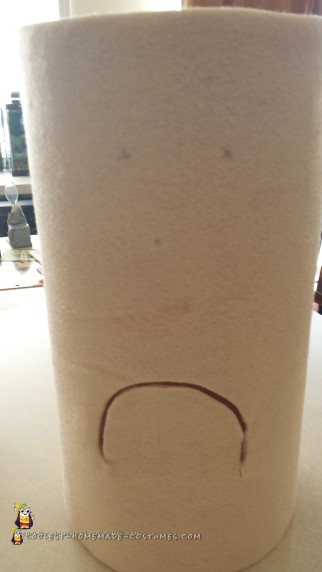
2) With the poster board over her head we made marks on the outside of the board where my daughter’s eyes and nose are. This is used to mark Beaker’s mouth which opens and where she will see out. After we took it off and just using scissors, we cut an arch for the mouth and tried it out to make sure my daughter could see. It’s better to start with a smaller mouth and make it bigger as necessary.
3) With the Beaker costume head in a cylinder, we wrapped the light colored felt over the poster board, trimmed to size and hot glued it to the poster. Leave about 1-2 inches at the top and bottom to wrap over edges. Hot glue felt in place.
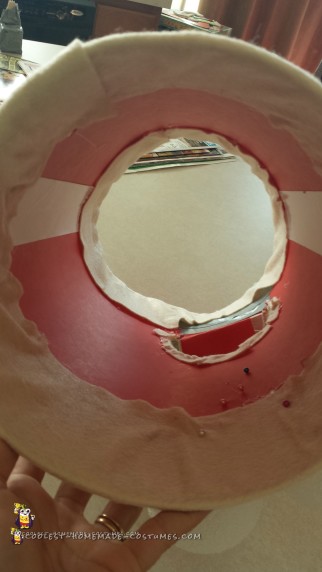
4) I had a dollar store plastic bowl and hot glued it to the top of the poster board edge to make it a rounded head.
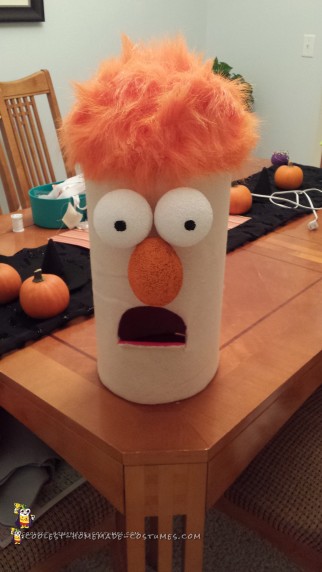
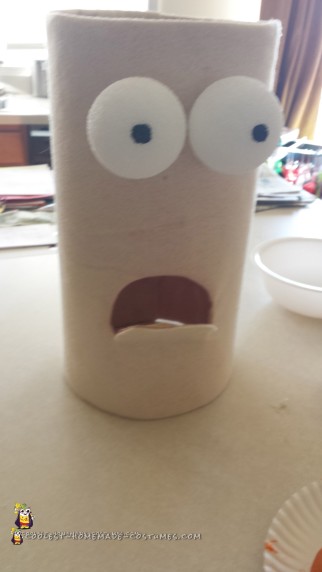
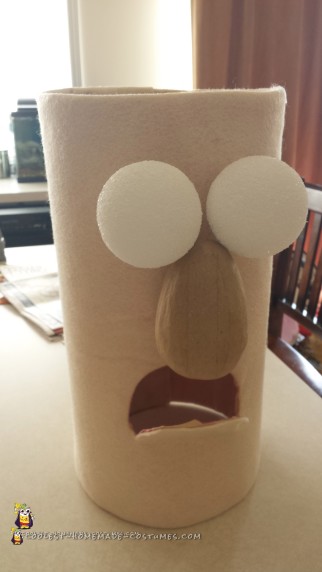
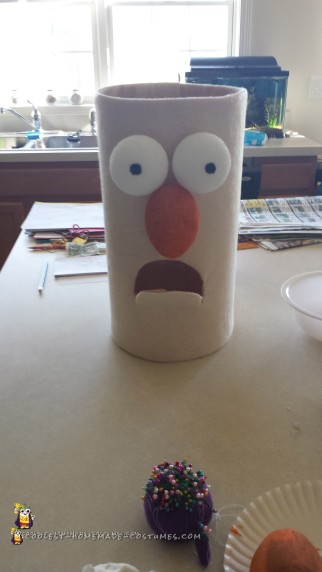
5) Hot glue the orange fur (cut to size) onto the bowl at the top for Beaker’s hair. (In the pictures it shows the head with eyes before I get the hair and bowl on.) I remember I couldn’t decide if I was using the bowl or not but it doesn’t matter what you do first.
6) I painted the egg-shaped paper mache nose orange and the eyes white (even though the styrofoam is already white, the white craft painted just gave it a finished look). Black dots for the eyes.
7) Using the large pins we poked a hole through the poster and felt where the eyes would be from the inside of the poster board. This is used as a stabilizer for the eyes. I then hot glued the pin and the styrofoam ball (eyes) onto the pin. I made sure to place duct tape over the head of the pin just to be sure it didn’t come out. I did this same thing for the other eye and nose.
8) Hot glue red felt, cut to size,onto the inside of the mouth.
I found coat, tie and shirt at the thrift shop for under $6 but you could easily use what you already have at home.
She got so much attention from this costume. We had everyone wanting to take pictures with her especially the parents.
Your comment has been sent successfully.