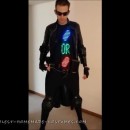
I’m a huge fan of the Ender series by Orson Scott Card, so when I found out they were making a movie, I was really excited. As soon as I heard that it was to enter theaters the day after Halloween, I immediately decided what I wanted to go as this year. I set to work compiling all the pictures I could from trailers and teaser photos, to work out the best approach. I was looking at just modifying a military jumpsuit until I signed up for a costume craft lab in the theater department at my university. It just so happened that our sewing project would be due on October 31st. We were assigned to sew pajama pants, but I had something much bigger in mind. With a little coaxing I got my professor’s permission to tackle my costume for class credit. I selected a dusty 70s jumpsuit from their massive selection of patterns and began to consider the kind of modifications it would need. Over the next three weeks I put 30 or more hours into my creation, pouring patterns, obsessing over details and pulling out hair after each frustrating setback. In the end it was all worth it. Hope you enjoy!
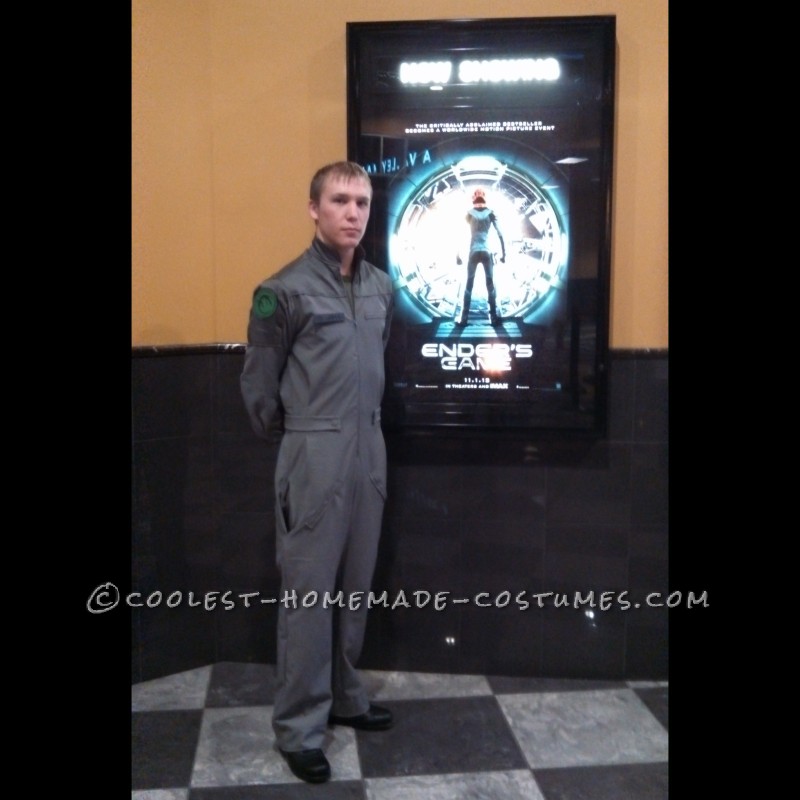
It was a long time coming
The important parts
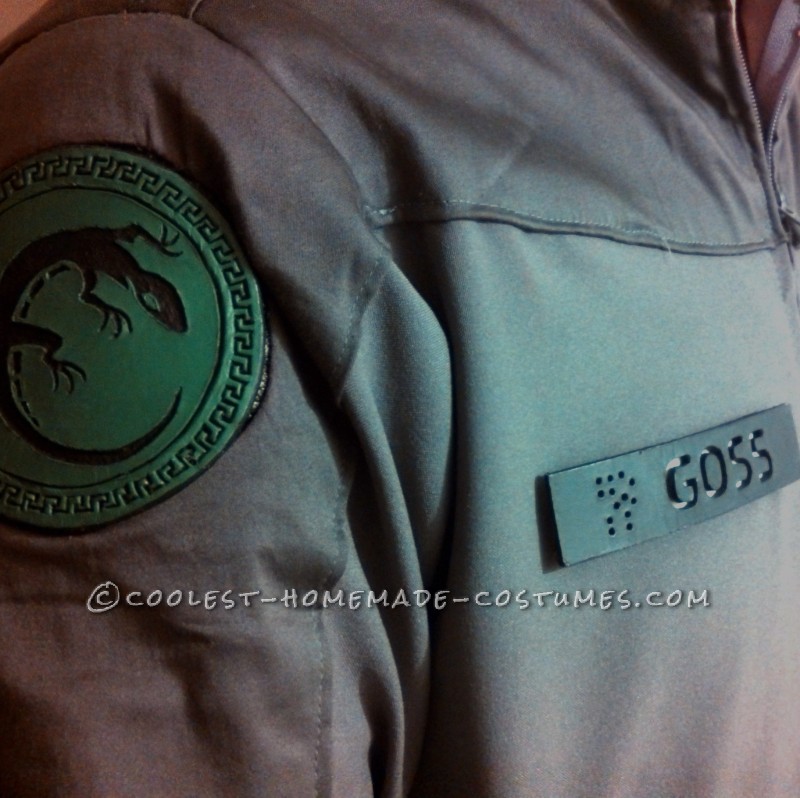
I started the costume by making the most recognizable features: the nametag and army insignia patches for the shoulders. I used leather and wet it to be able to trace on the images I had scaled out and printed.
I used a combination of carving tools, woodburning and modified leatherwork tools to engrave the Salamander Army design.
Acrylic paint on the tag and patches made it look more like the rubbery patches in the movie.
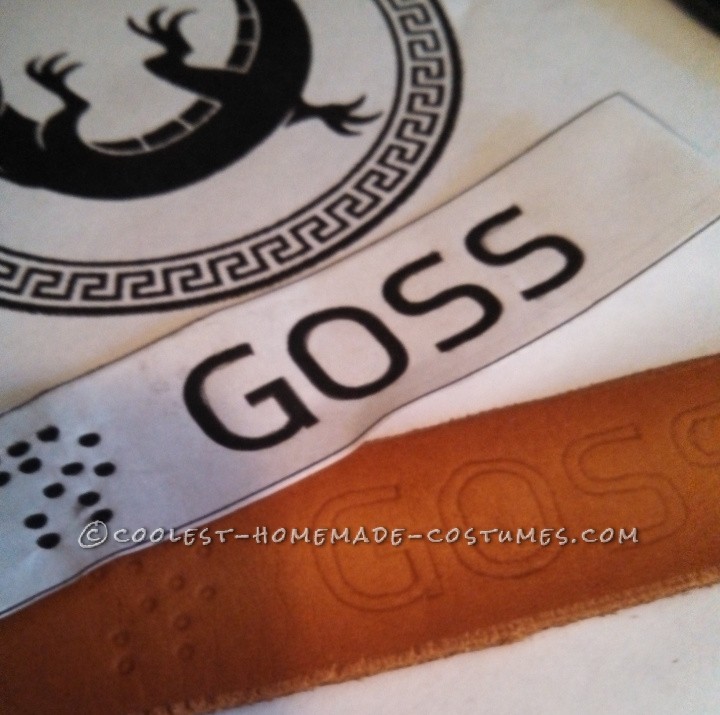
Tracing
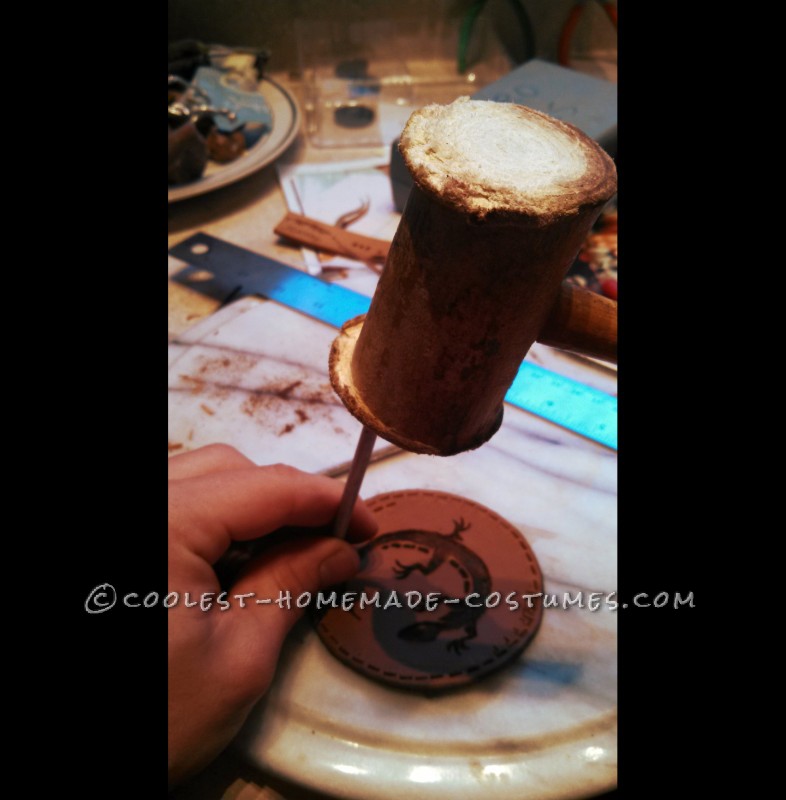
Tedious to say the least
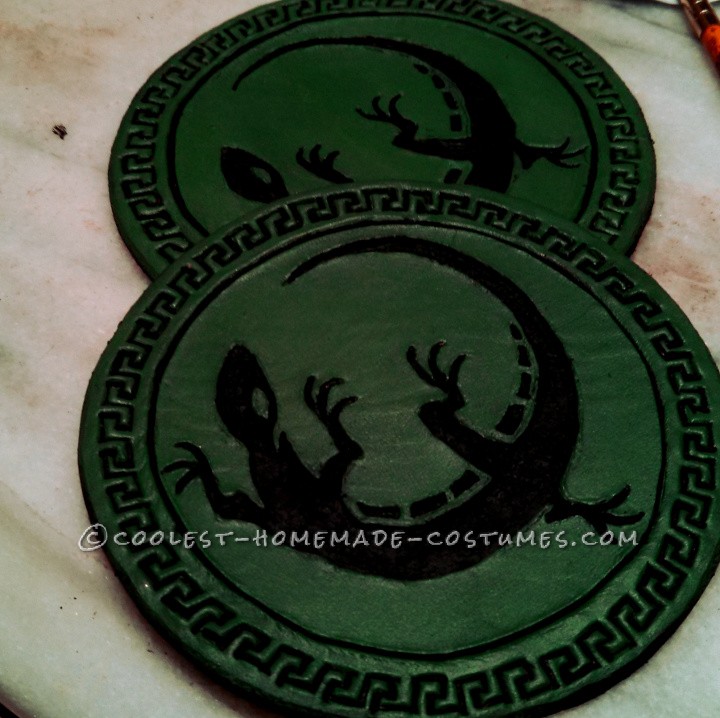
Sewing
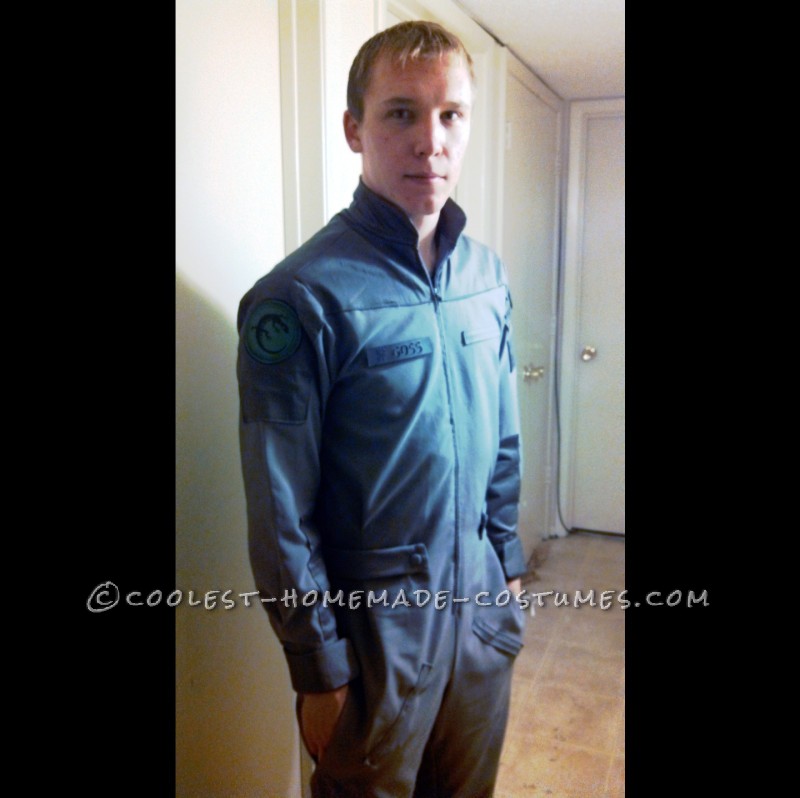
Next came all the sewing. After finding the right cloth (I went with gray but it was really more blue) and all the components, I set to making the basic jumpsuit.
had to make a lot of modifications to eliminate the lapel, shorten the collar, and add the shoulders, yoke, forearm patches, and belt. I painstakingly drew out patterns for each piece.
I spent extra time in the class and used my mom’s machine for hours on end while visiting home. Getting the patch holders sewn into the shoulders was the trickiest part by far
Eventually I had the upper portion ready to stitch onto the main body.
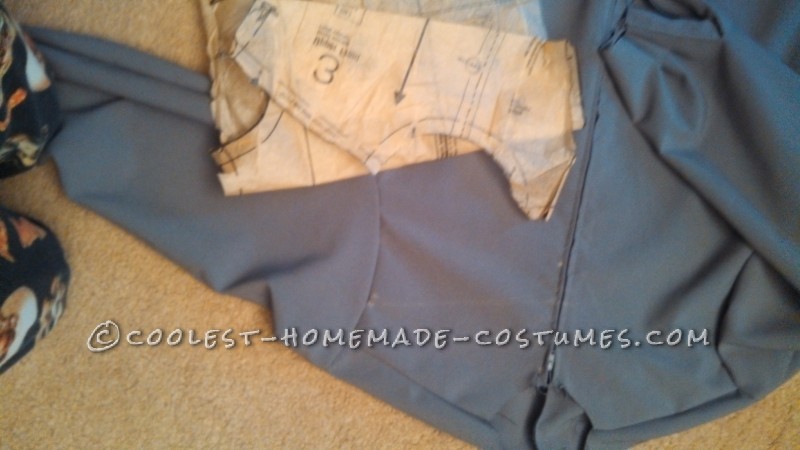
Foundation is important
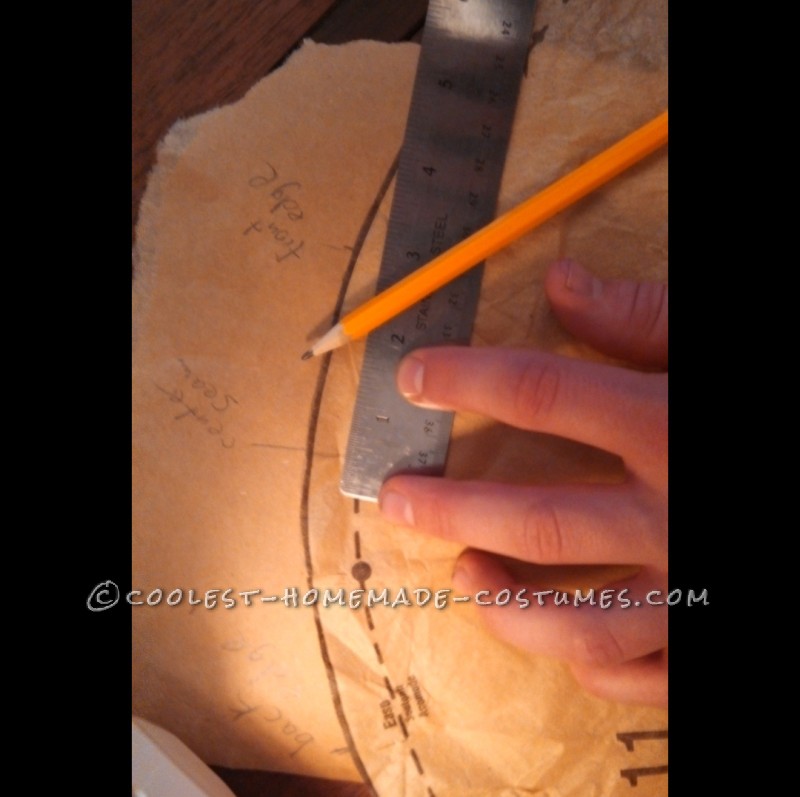
Name is Goss but you can call me Taylor
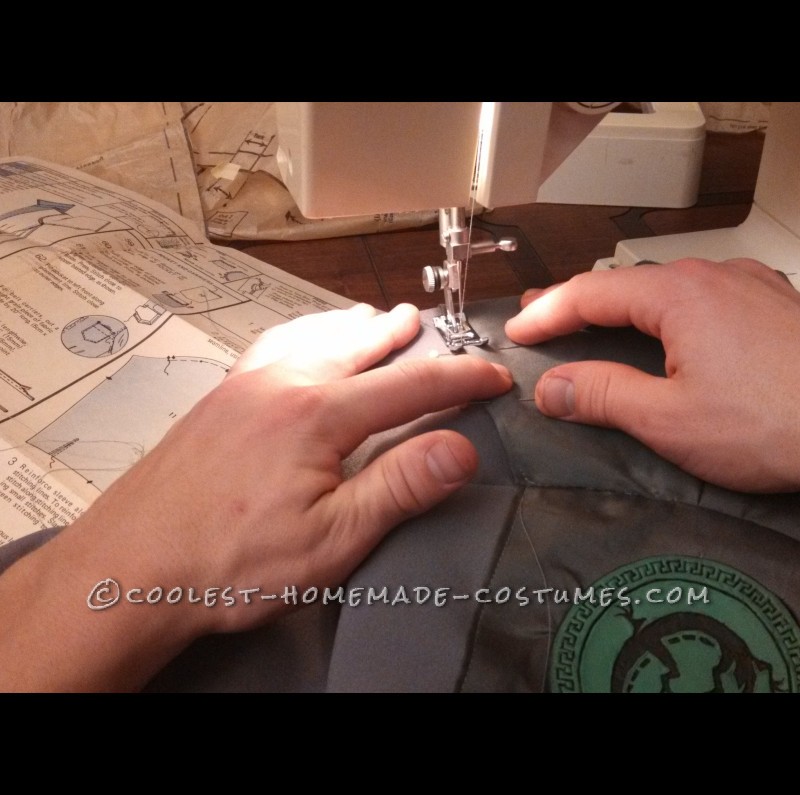
Stitch by stitch
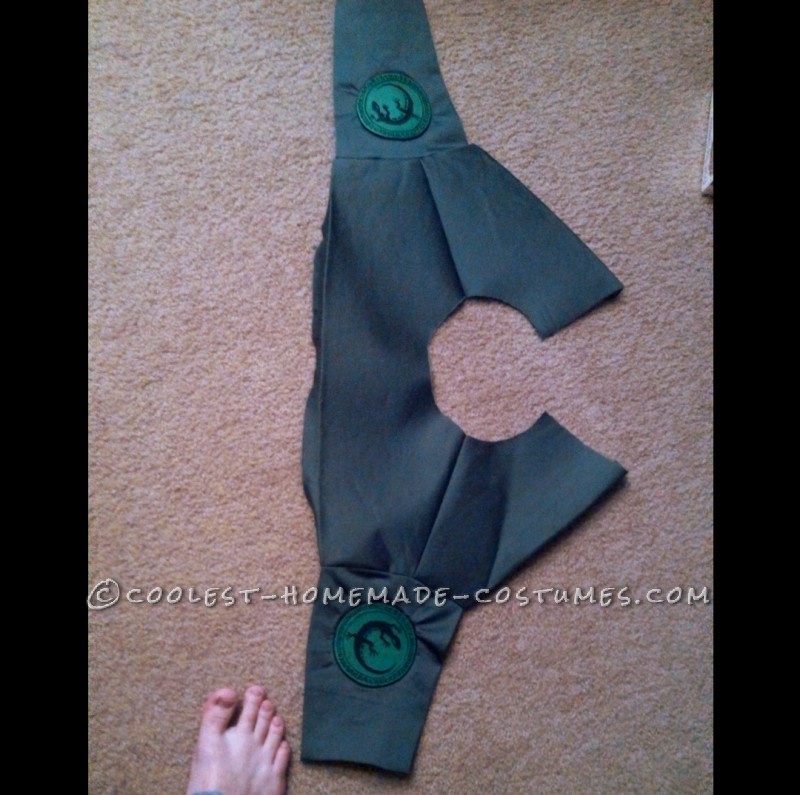
Details
Even when the main parts were taken care of I had to hand sew Velcro for the cuffs, snaps for the belt and clasps for the nametags.
It was a lot of work but it fits great and looks exactly how I wanted it to.
Your comment has been sent successfully.