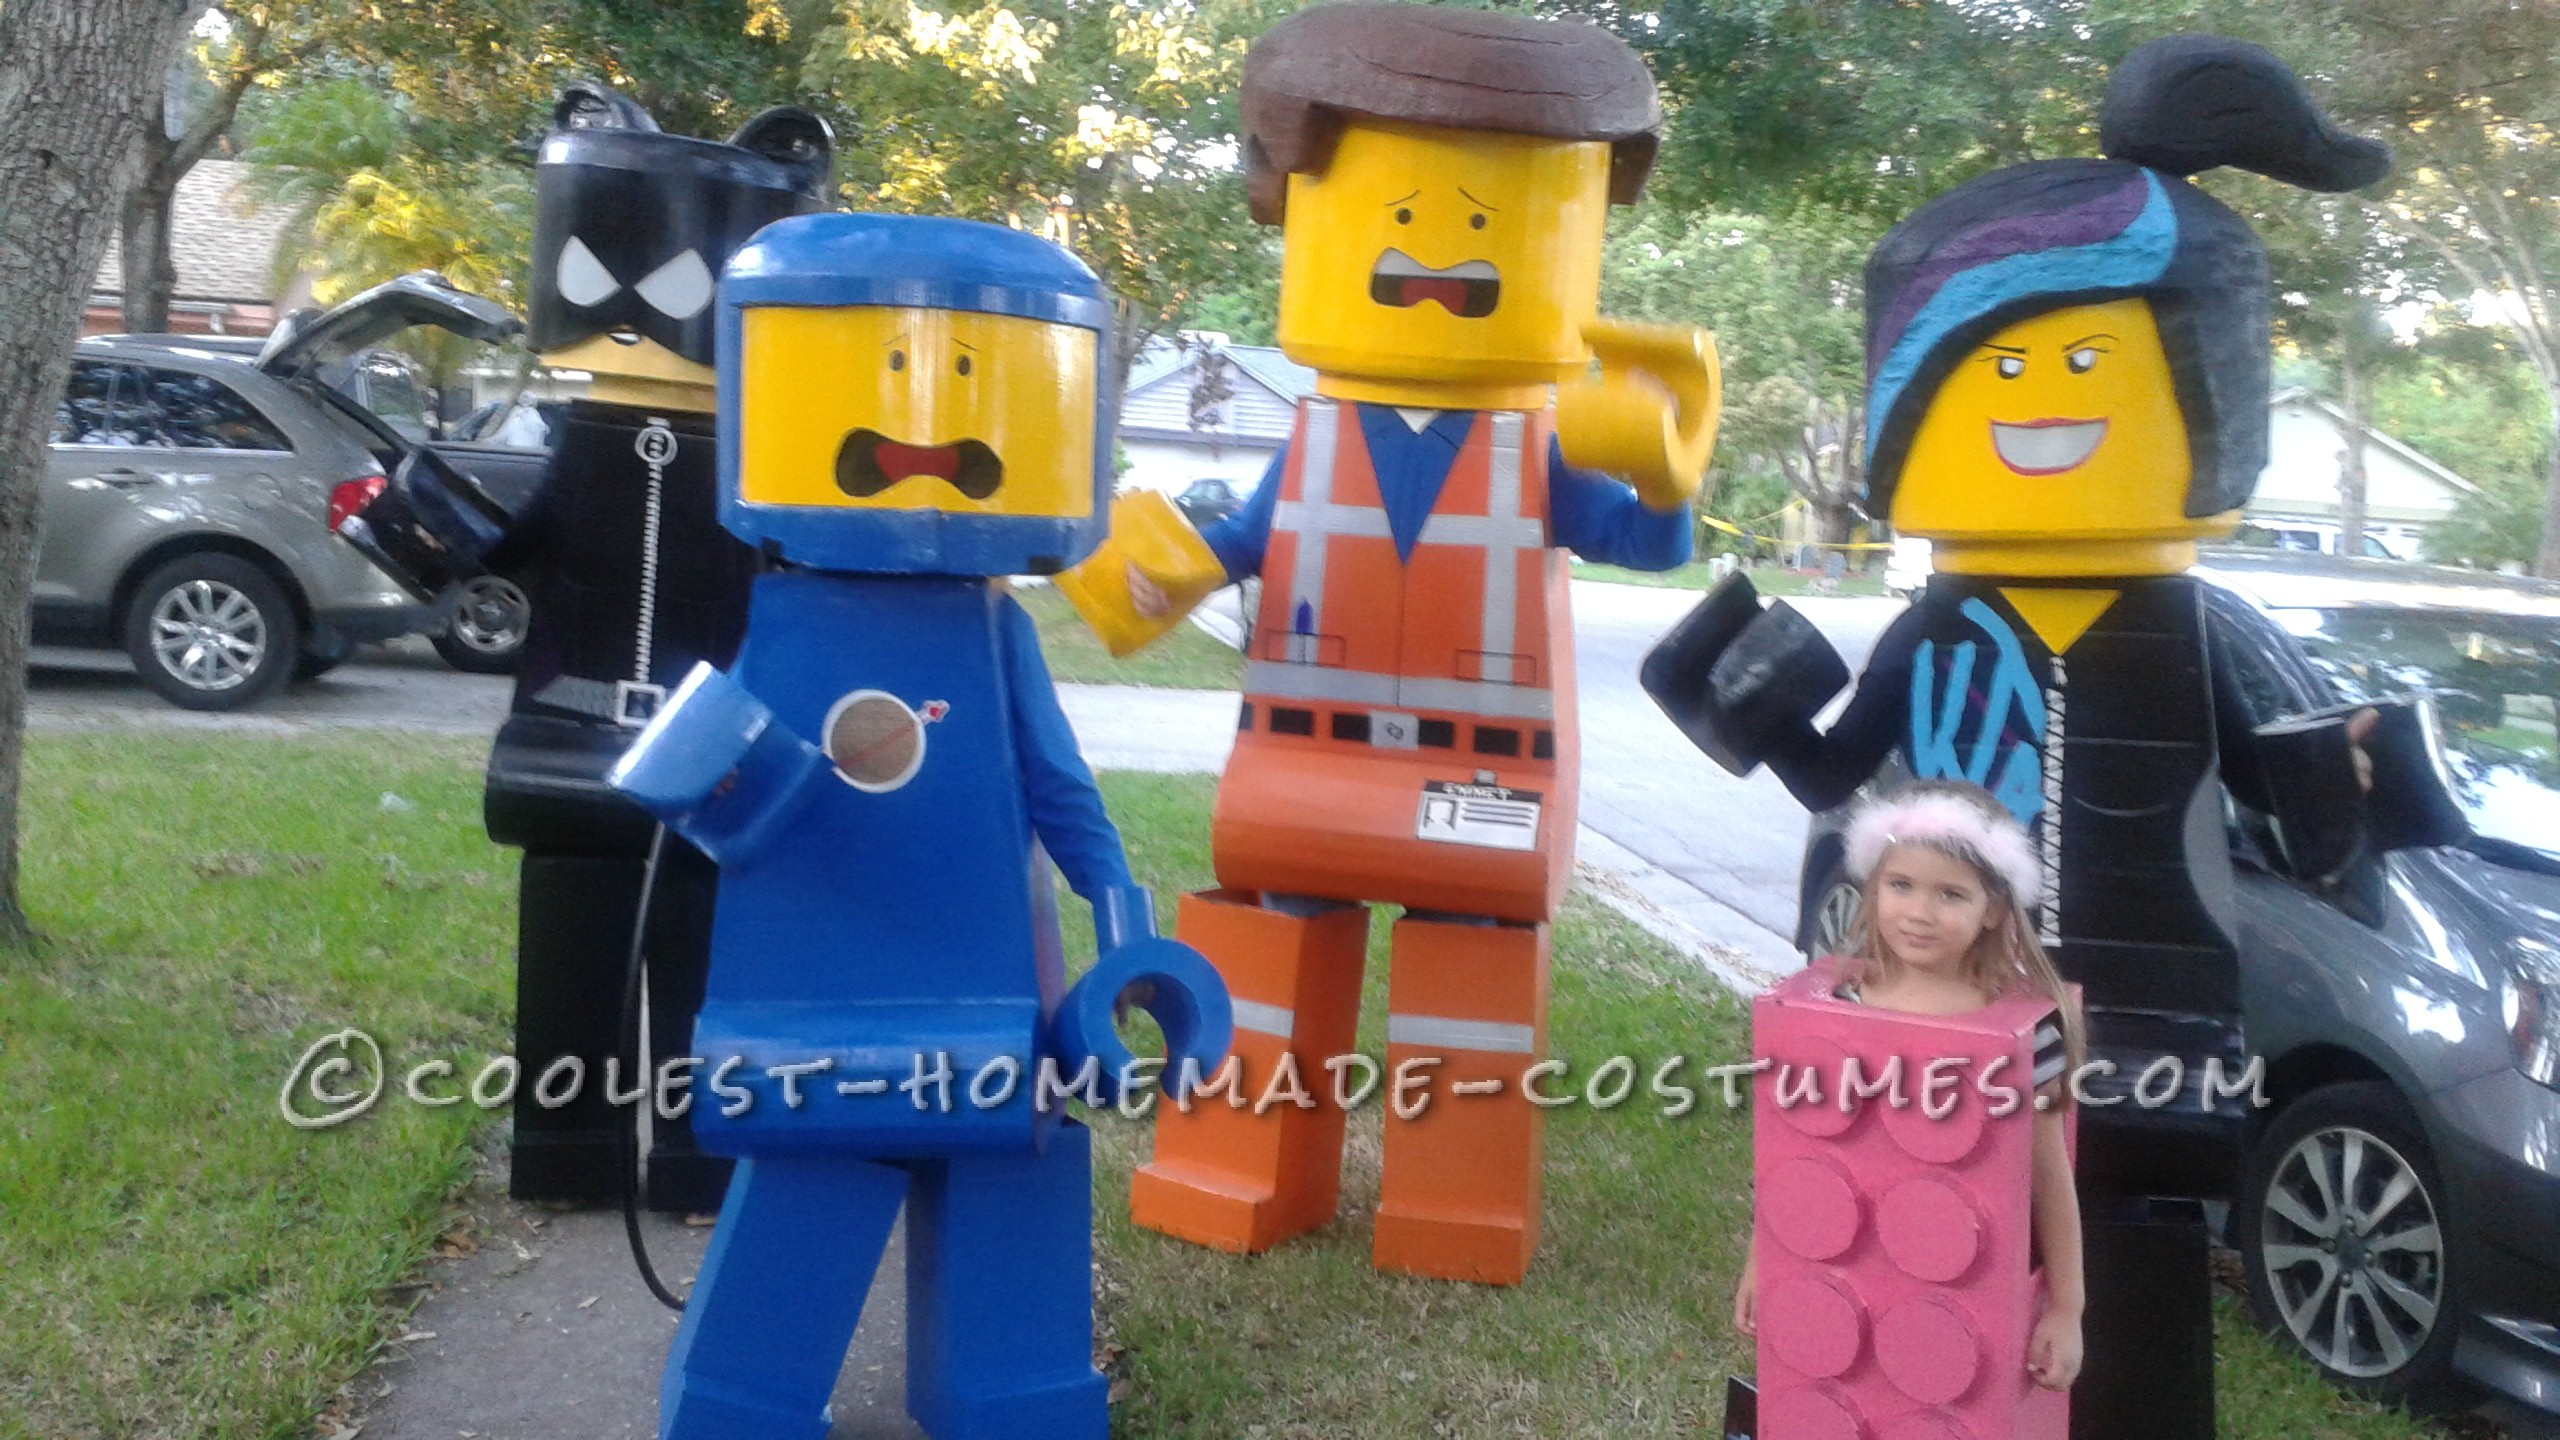
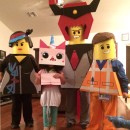
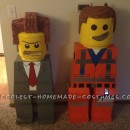
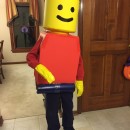
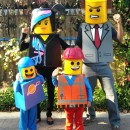
The themed concept of this patchwork family’s Halloween design was born shortly after watching the Lego Movie. Choosing just the characters was half the battle. Emmet and Wyldstyle and 80’s Spaceguy were plucked straight from the movie. Lego Catwoman and “Pink Lego Block Princess” were non-movie compromises that maintained theme, but could still be girly and pretty – important to both a teenager and a four year old girl.
Construction began in mid-July with several trips to the hardware store in a borrowed van. The pool table in the man cave and the toys in the kids’ playroom were sacrificed and converted in to a makeshift workshop/spray paint booth during the three month assembly process. The lego movie was played, and replayed over and over, while researching just the right facial expressions for all the characters.
Last minutes tweaks were made right up to the last possible moment. A Lego repair kit was kept on hand to smooth out scuffs and fix minor damage caused by middle-school bumps. In fact, three of the four heads received a lot of help throughout the day of Halloween. A bug in Wyldstyle’s face sent her head flying. A little horseplay in the schoolyard send Spaceguy’s head tumbling, and Catwoman, a little photo-op mishap almost took off her ears!
But throughout all the day’s adversity, people stared and laughed and asked, “Can I get a photo?” Trick or treating with the sounds of kids singing “Everything is Awesome” (the theme song from the Lego Movie) was immensely rewarding and gratuitous.
Emmet and Wyldstyle won office costume contests. And Catwoman took 1st place in her high school contest. Nearly everyone who saw the Lego people had something to say. They asked if we really made the costumes. They asked if they could pose with us. They asked how we did that. And after a long three month construction journey, I’m not sure how we did it. But I’m glad we did!
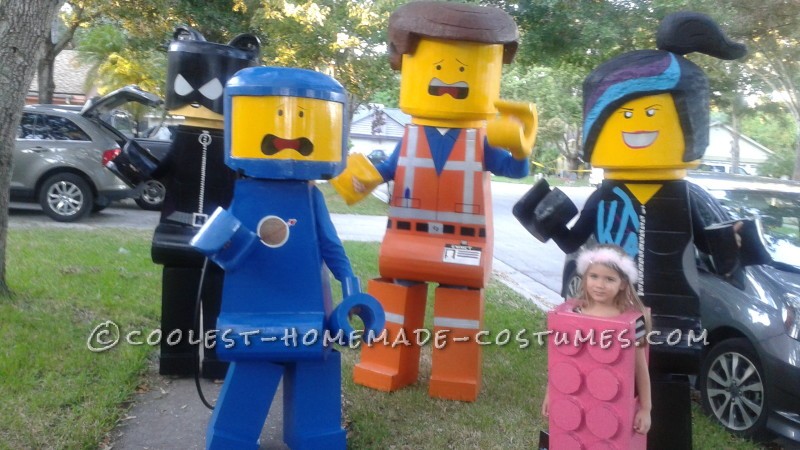
Lego gang in action!
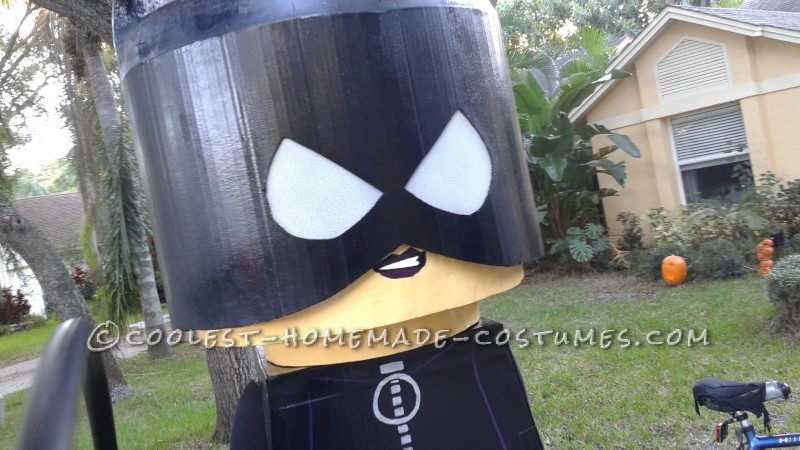
Lego Catwoman
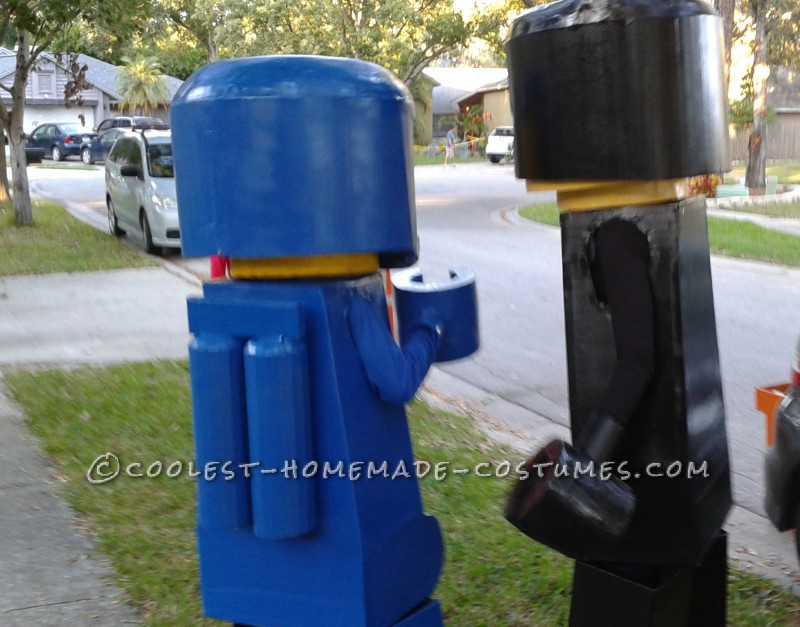
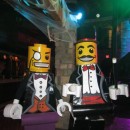
80’s Spaceguy and Catwoman plan strategy
The First Steps – Ideas
So in the beginning, there were just ideas. Watching the Lego Movie and playing with Legos helped with brainstorming characters, but ultimately each person made their own personal choice.
Emmet and Wyldstyle were easy picks, but with so many characters to choose from, it took a few weeks to whittle it down to 80’s Spaceguy and Catwoman.
Now, when making a costume for a four year old, there are quite a few considerations to make. Comfort, easy bathroom access, and the color pink are essential. Thus: the pink Lego block was born. She was really excited to wear her customized costume and she was an essential piece of our Lego puzzle.
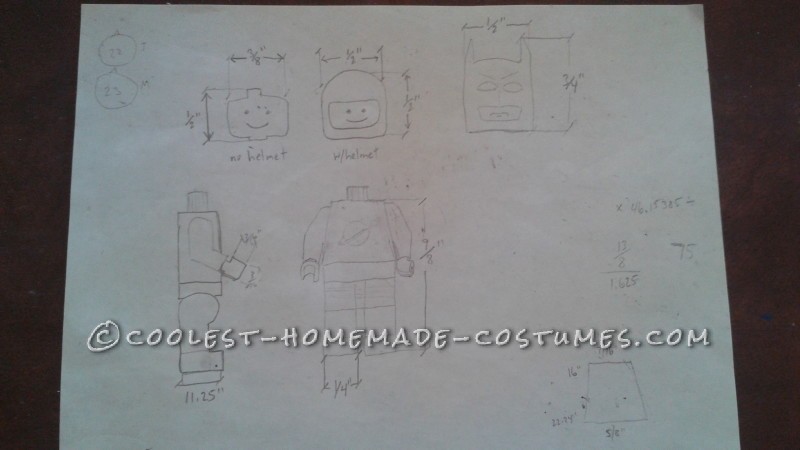
Early design sketches
Time to Build
The materials used were fairly simple, but it still took a lot of money and effort to gather everything we needed. First, we needed foam. Lots of it. We decided to use 4×8 sheets of 2 in thick insulation foam. Four sheets were used. To cut the foam, we used steak knives for the rough cuts and then a sanding attachment and a drill press.
Next, we needed cardboard. Lots of it. Several furniture purchases at Ikea were needed before we had enough cardboard to build all five costumes. Yes, We bought furniture in order to make costumes. That’s dedication!
Other supplies used:
- PVC pipes (for the hands)
- 3 tubs of spackling
- 4 rolls of duct tape
- Gorilla glue (to attach foam to cardboard)
- Elmers glue (to seal the foam prior to spray paint)
- A gazillion cans of gloss spray paint, assorted colors
- Window screen (for the mouth view-ports)
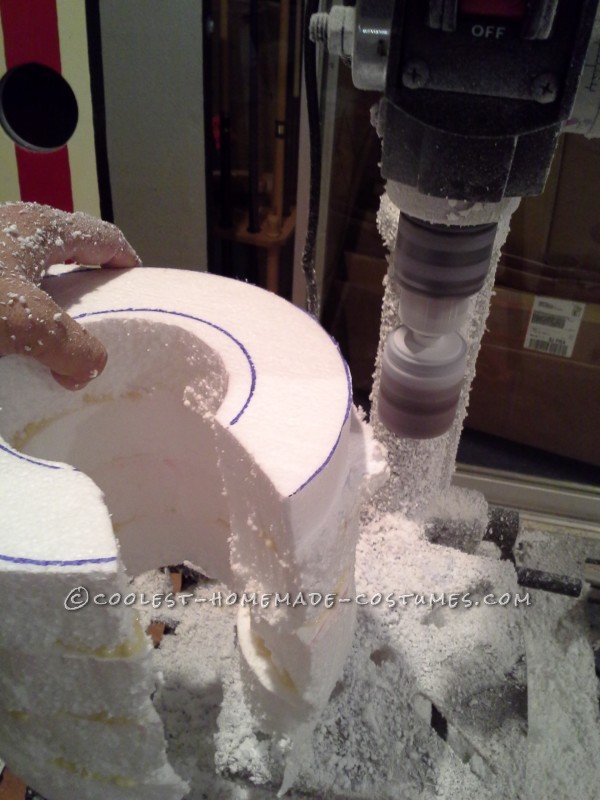
Make the first cuts – lego hands!
Costumes Take Shape
To make the lego hands, four pieces of foam were rough cut and gorilla glued together. After drying, they were sanded down into a smoother, more finished form. The wrists were then created by cutting a hole and inserting a short length of PVC pipe.
Because spray paint will melt foam, the hands were coated with spackling (to fill in and smooth any holes or bumps), then they were coated in three layers of a mixture of Elmer’s and water. Spray paint was applied last. Two to three coats of paint were used.
The heads were made in a similar fashion. We cut the bottom and top out of foam and prepped everything for painting before connecting the pieces with a cardboard cylinder. The carboard had to be rolled up and then duct taped and glued to the foam. I tied a piece of string around the cardboard to hold everything together while the glue dried. Afterwards, more speckling to hide the joints, seams, and duct tape. Then, several coats of paint.
The bodies were cardboard and duct tape, cut with precision and love!
We used spray paint for most of the body detail, which meant a lot of masking and several visits to our makeshift spray booth. In hindsight, much of this could have been done a lot faster with freehand brushing, but the spray on lines looked sharp and crisp.
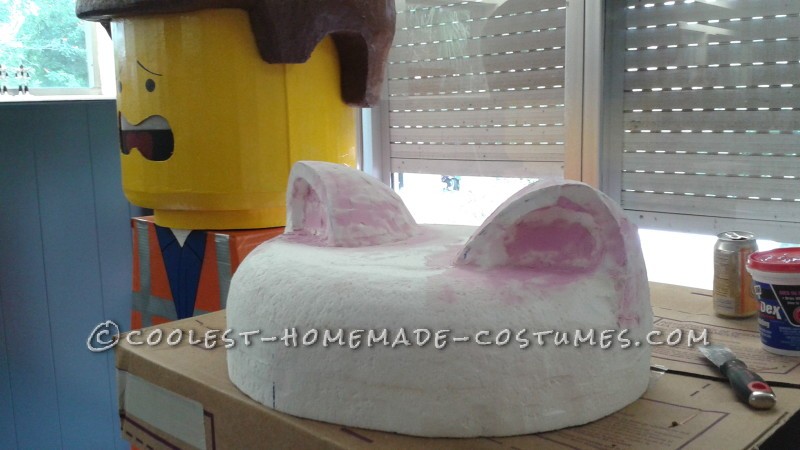
Catwoman’s ears take shape
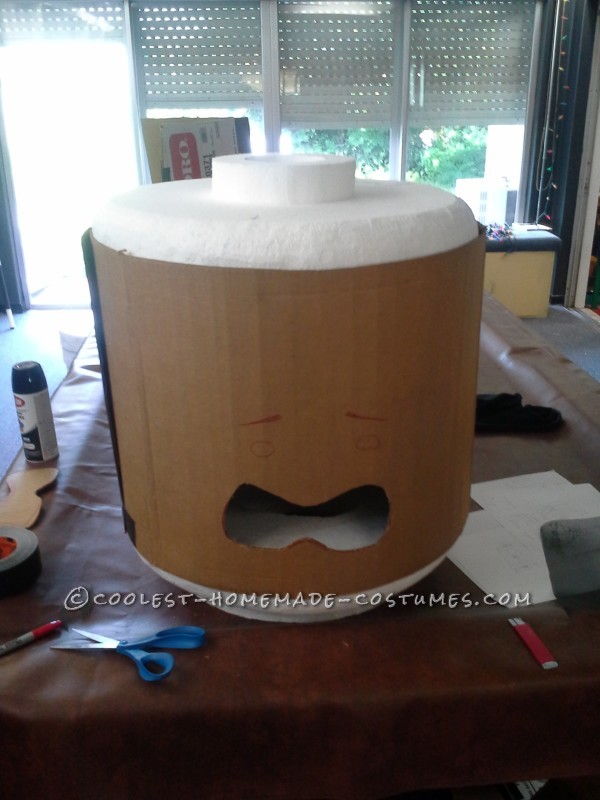
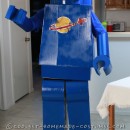
Emmet gets a face
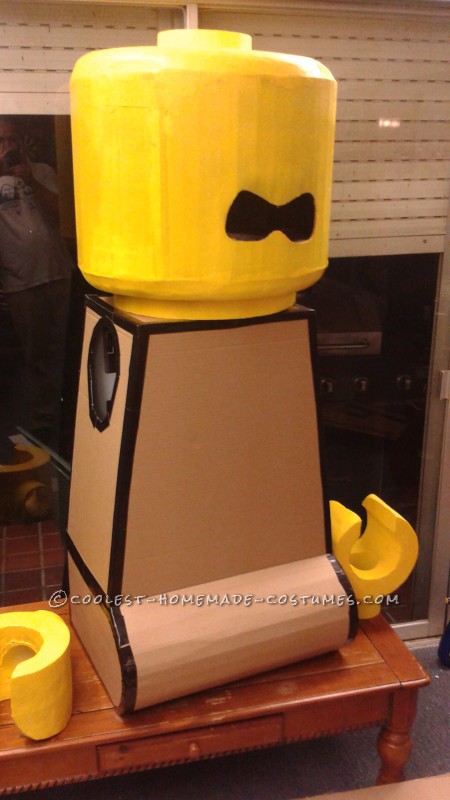
Pieces coming together
Trick or Treat!?
We had a bunch of “game day” adjustments to make even after we thought we were finished. When we put on the legs, they didn’t seem to want to stay pointed forward, so to keep them from spinning around, we duct taped some smaller pieces of cardboard strategically around feet, legs and anything else that could help keep everything in place. Then it was off to the trick-or-treat races!
Before we even started walking to the first house, we already had people yelling from across the street, “Hey Legos, look over here!” Our Lego Princess was literally tickled pink. It was actually hard to collect candy because so many people were coming up to us asking for photos and details on how we made the costumes. But the kids had fun, and we were able to get a few pictures ourselves before calling it a night.
Good luck to the next Lego family!
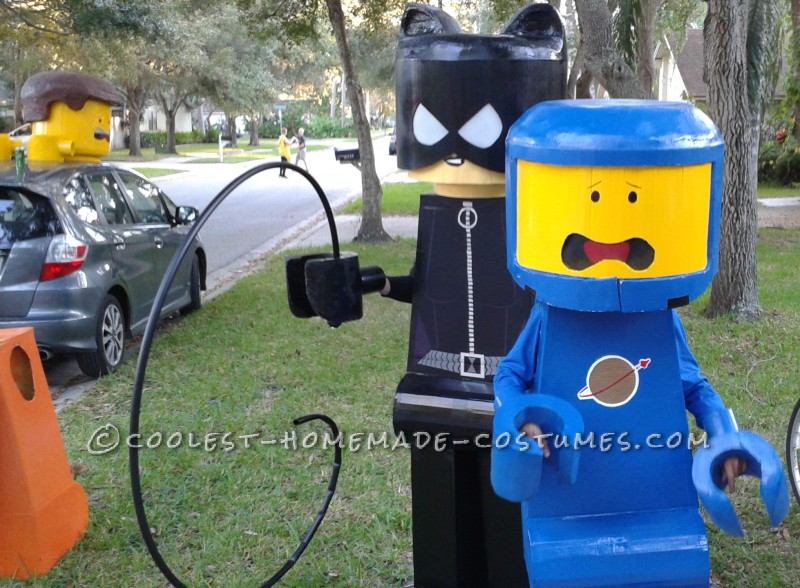
Time to crack the whip
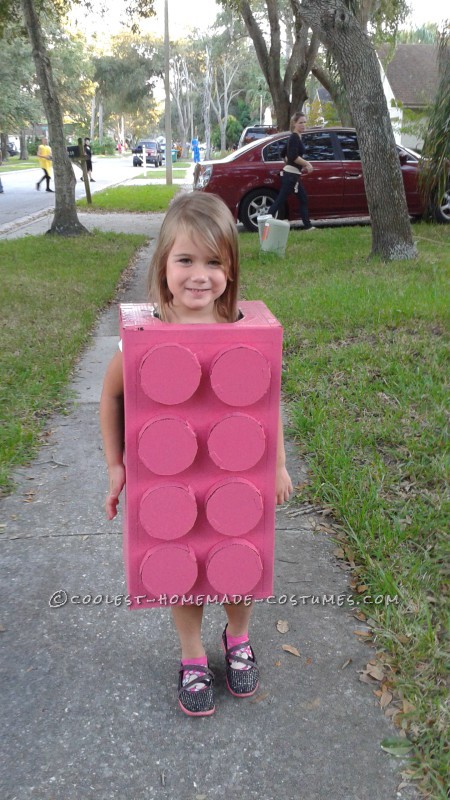
Pink Lego Princess

Your comment has been sent successfully.