Every Halloween at work, we have a costume contest. The students are not allowed to dress up, for safety reasons, but the staff all gets dressed up to compete in a ‘Best Costume Competition.’ The winners have varied from entire groups from movies or t.v. shows, to singular creative character (such as my friend’s bed bug costume last year!).
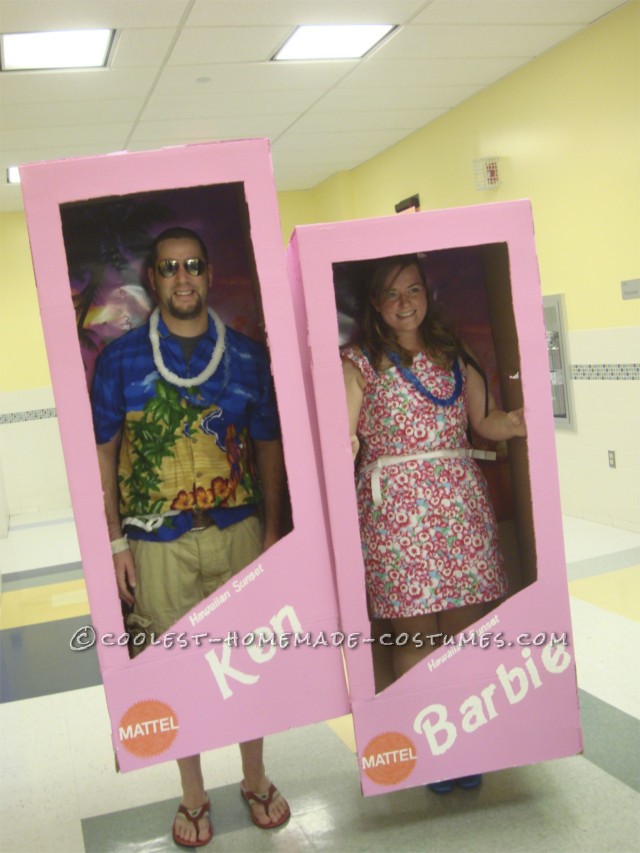
This year, I set out to win the contest (I’ve never won). A discussion in which I suggested to my friend that he just wear a tuxedo to work for Halloween turned into a discussion of what one could be whilst wearing this tuxedo. The idea of Ken came up and, because of my blonde hair, it was immediately suggested that I be Barbie. The key to this? They had to be in their boxes.
We nixed the Tuxedo Ken idea, and instead went with a luau/Hawaiian theme.
I had an awesome time figuring out how to rig these fabulous costumes, and I thought it worthy to outline here, step by step, what I did to create the complete look.
This costume was received amazingly well by the people we work with! One of our fellow teachers actually pulled us into her classroom and told her students that our hard work showed true creativity and they should be inspired by us!
Needless to say, we won the Most Creative Costume category in the competition that year!
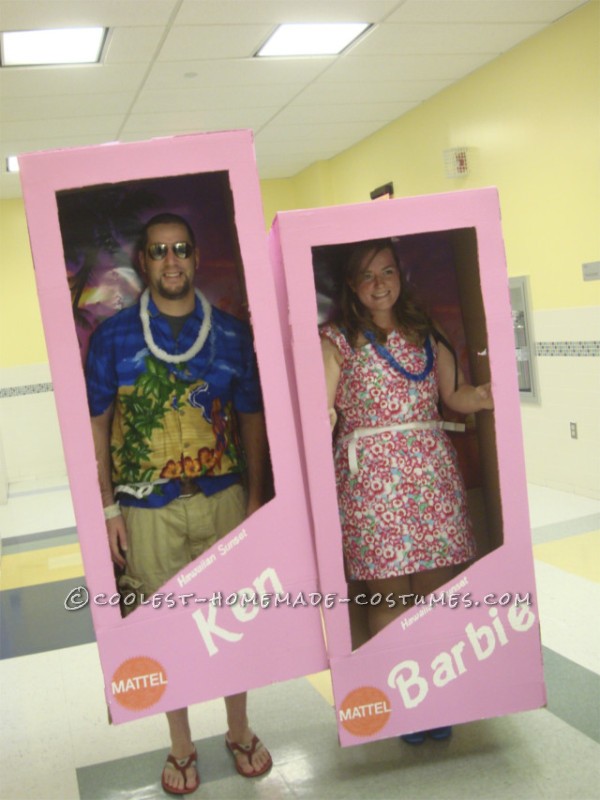
In the boxes!
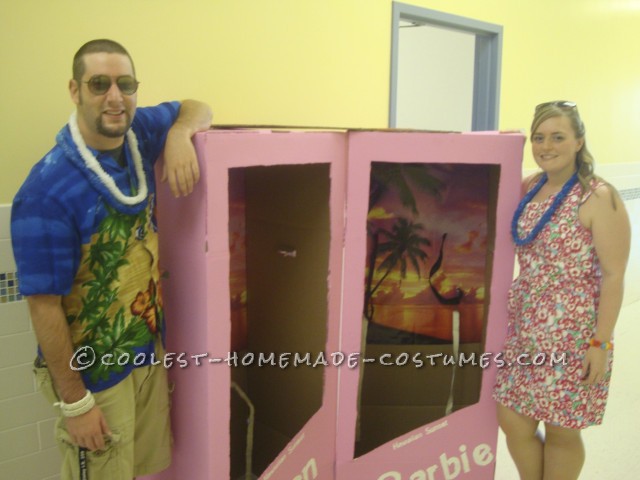
Showing off the versatility of the costumes – they work both in and out of the box.
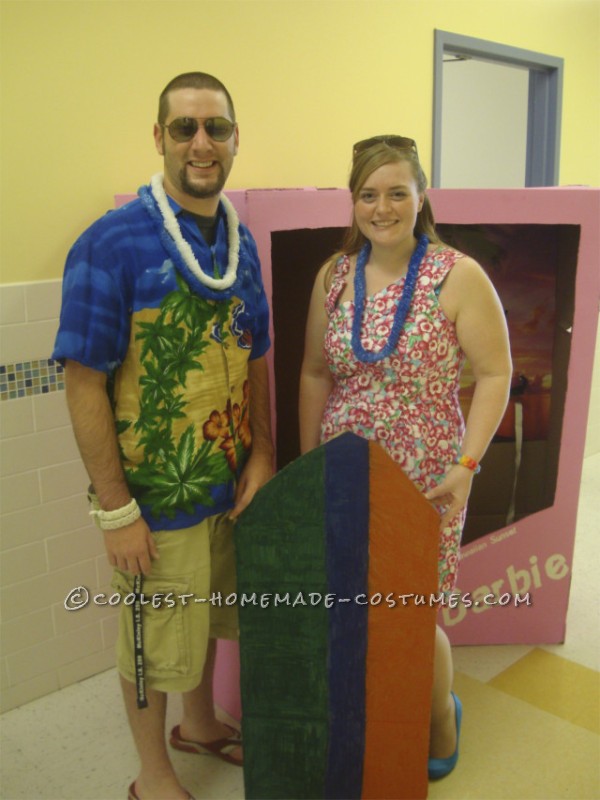
Ken even had a surfboard accessory!
Cutting and Painting the Boxes
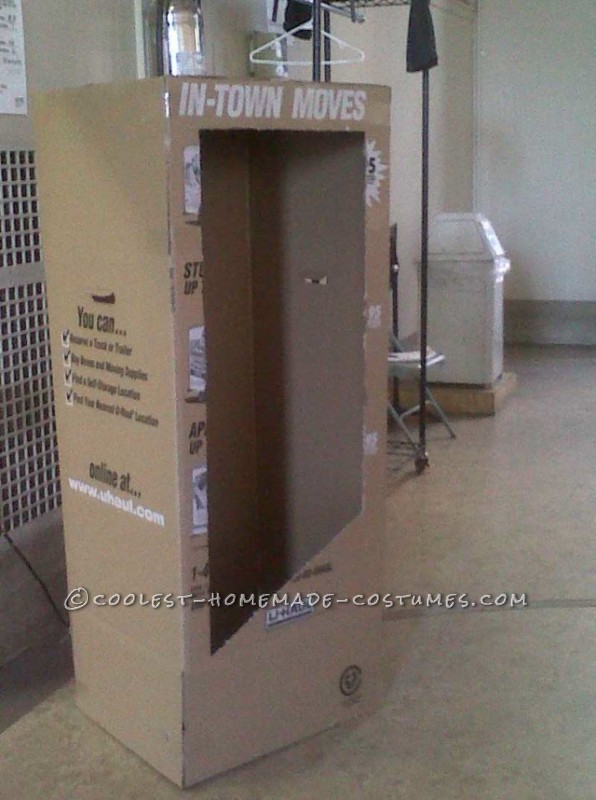
Obtain boxes. I chose wardrobe boxes, which were tall enough to let us be IN the boxes, but also with some room to leave our legs free for walking. Find some pictures to use as a template/guide or get an actual Barbie doll to use for comparison purposes. You want this to look as authentic as possible.
Cut the front out of the boxes. I chose to do this with a diagonal on the bottom, to leave space for the Barbie logo on the bottom.
Paint the boxes white. I suppose this step is optional, but you’d likely then need a few coats of paint later on to really cover them. Allow them to dry overnight.
Paint the boxes pink. I suggest using a roller so that the paint is smooth and not laden with brushstrokes from a paintbrush. A friend of mine happened to have the exact shade of pink I needed, so I’m not sure what the color was called, exactly. I will simply call it “Barbie Doll Pink.”

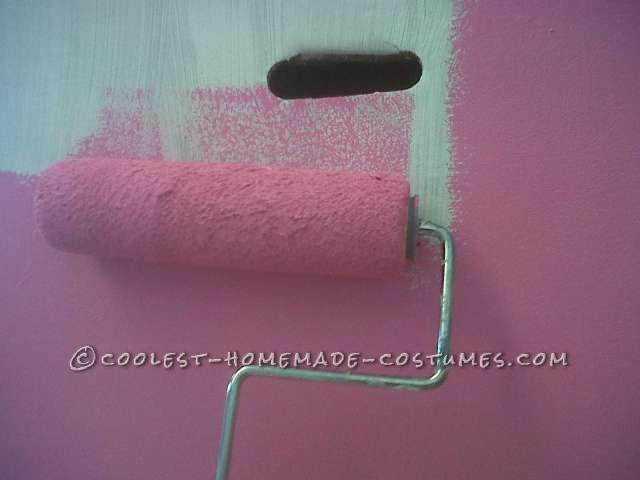
Detailing the Boxes
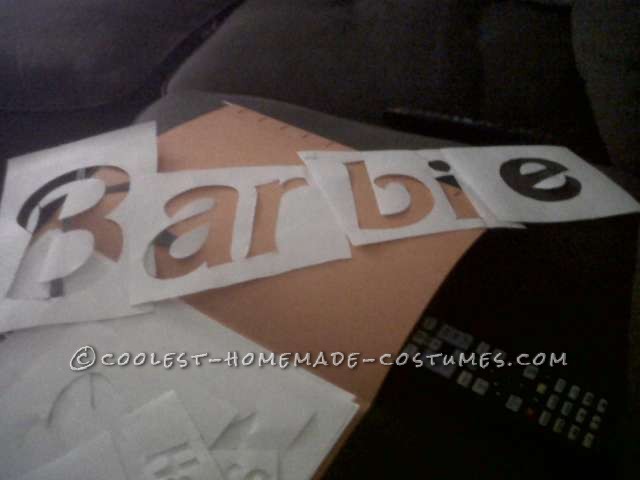
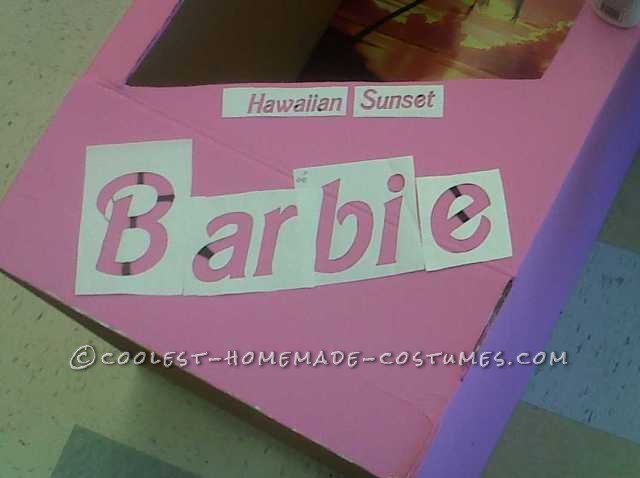
Download a Barbie font for a word processor, print out the names ‘Barbie’ and ‘Ken’ and whatever type of Barbie you’re going for (we were tropical Barbie & Ken). Cut them out so that they create stencils. I also created a stencil that said \”Limited Edition\” and used it on the back of the box since we were, truly, a limited edition.
Using your stencils and white paint, transfer the logos to the boxes. Embellish as desired.
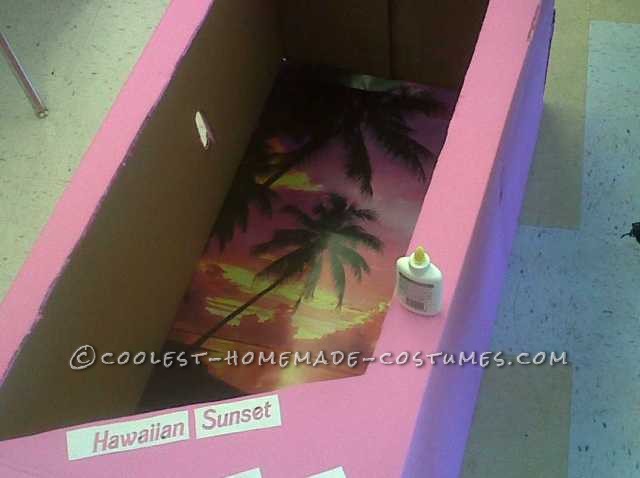
Find a large poster to go on the inside of the box. The picture should be related to the “type” of Barbie you are. In this case, I found this sunset poster, which also inspired the names of the Barbie and Ken. Paste/glue the poster to the inside of the box.
Print and cut out a Mattel logo and paste it to the box.
Measure your height while lying in or holding up the box. Mark the shoulder holes for the straps. Also mark your waistband, as you need this to stabilize the box. Create a backpack-like structure. I used velcro and a pliable wire that could be twisted to look like the twist ties they use to hold Barbies in their boxes when you buy them (the wire was mostly for decorative purposes). Then do the same to create a belt-like structure.
Don your best Hawaiian Barbie outfit and you\’re done!





Your comment has been sent successfully.