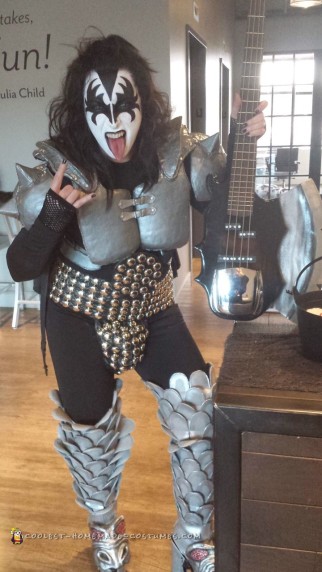
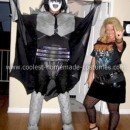
I recently got a new job, and one of the questions in my interview was, “Setting aside all limitations, what is your dream job?” I replied immediately, “I would make costumes for movies.” When she heard that I can (and love to) sew, I got the job right then! Ok Maybe also because of my other qualifications, but she likes to tease me and say she hired me so I could make her costume this year.
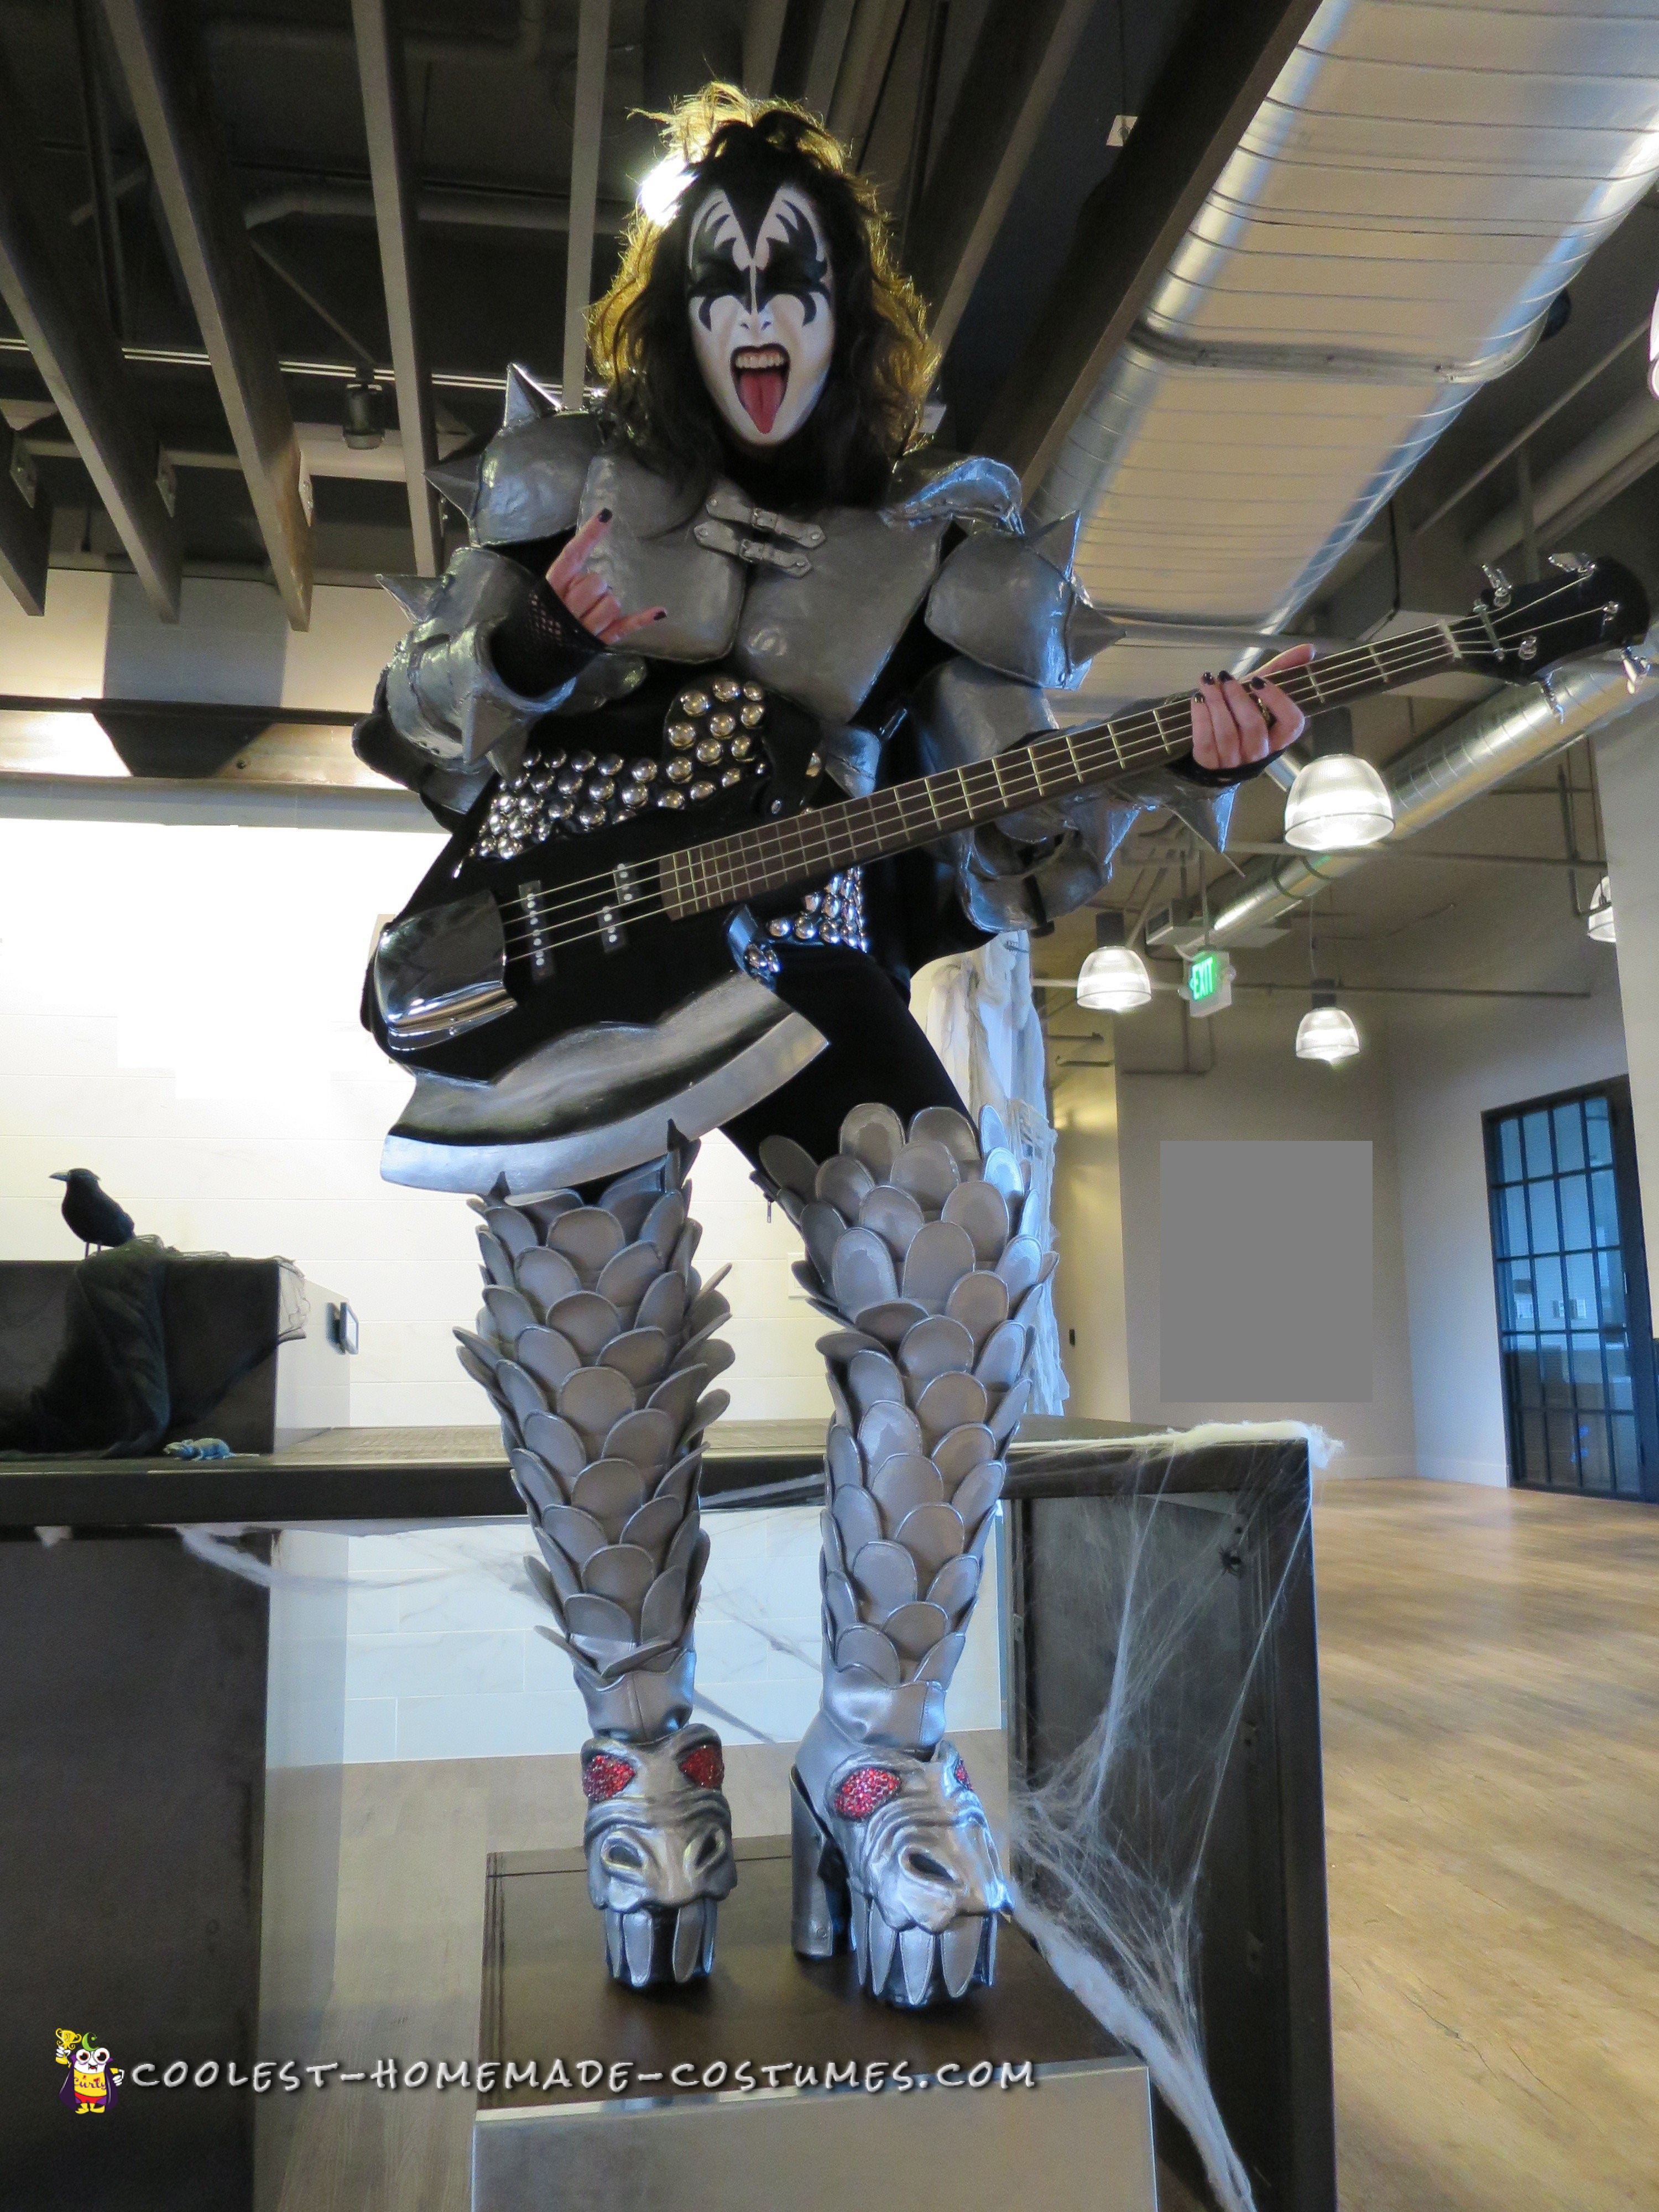
My new boss is a Halloween enthusiast and goes all out every year. It was a tough assignment, but I was super excited that she wanted a Gene Simmons Demon Costume!
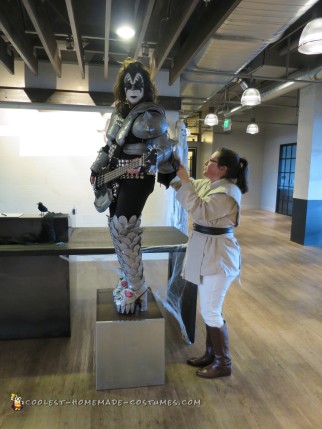
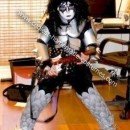
Just over three months of working what was essentially a second full time job, and I finished just days before Halloween. I bled for it, I suffered many a hot glue burn – but after seeing the results and the reactions from others it was all worth it.
(Side Note: The beautiful axe guitar was made by her talented father who make guitars for a living)
After thoroughly studying Gene Simmons’s 1976 Demon Costume, the very first thing I did was have a “getting to know you” session with my boss while I took her measurement and tried on some the patterns I mocked up.
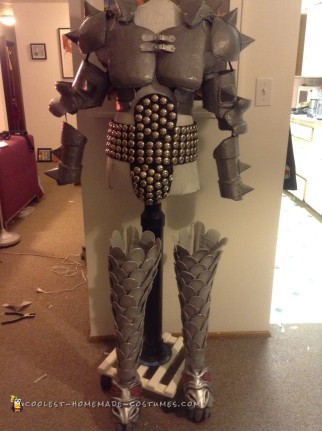
I started with the biggest challenge: the Armor. It was a lengthy process. But thanks to the internet, I was able to learn a few technique and apply them pretty successfully. In as short as I can make it here are the steps:
1) Cut the patterns I drafted out of foam core board.
2) Make slashes (just half way through) 1″ apart.
3) Bend into desired shape and cover that puppy in hot glue.
4) Paper mache everything.
5) Build up and add some weight to each piece by covering them with Fast Mache.
6) Sand until smooth or your hand gives out.
7) Apply a generous coat of spackle and smooth with a palate knife.
8) Sand some more.
9) To make sure paint sticks well add a few coats of black Gesso.
10) Add details like hot glue that looks like soldering around the edges.
11) Spray Paint.
12) Repeat. (I did this process on 12 pieces)
Of course I must not fail to mention how important it was that I though ahead on how all these pieces were going to come together in the end. I almost did that to perfection, but a few oversights meant that I ending up having to make the scary decision to drill holes in oh so precious works. But it all turned out okay in the end -‘okay?’ I mean amazing!
The waistband and codpiece (aka Cod of Thunder) is black vinyl lined with heavy interfacing and is covered in nearly 2001 Dome studs. The only tricky part was getting the weighted circular part up top stand up straight. I hunted for something in my house I could repurpose and success! I found an old binder made of thin clear plastic that was perfect. I muscled that into the turned fabric before I closed the end. After some close calls with the Xacto knife I punched through and secured all the studs. I added grommets to the back so it would lace closed and finished the back with hand sewing some felt.
Putting together the boots wasn’t without some drama. They are actually several different pieces all coming together looking as if they are one. For the boots I individually cut 180 scales out of upholstery vinyl then stitched on a felt backing. I then painted the edges with silver acrylic paint and added an outline of Metallic puff paint. It wasn’t too difficult sew the rows of scales together, however I had some fun times when it came to finishing the edges. Since there was no hope of having a seam where the zipper was attached, instead I enclosed the end with Grey bias. Trying to push a half inch of Vinyl and felt through my little ol’ machine was quite the chore.
At some point I had one foot up on the chair next to me, bracing myself, my left hand with a firm grip on the top of the fabric and I intimidated my machine into doing it’s duty and sew! With that extra encouragement I was able to push the scales through, paint the bias silver to match and then add a 22 inch separating zipper and voila!
For the shoes I started with ankle-length platform boots. I drafted a pattern that covered the whole platform with Vinyl. I stitched on the teeth (cut from vinyl selvages) and painted them and the heel with the sliver acrylic. Next I cut and sewed something with a similar functions to that of a spat, so she could put it on after she tied her shoes.
For the dragon faces are probably my favorite bit. I used the same technique as with the armor. Except I used air drying clay to shape the face. I individually glued on the red rhinestones for the eyes. I used pieces of foam in between the spat and the underside of the faces, and here’s where things got painful.
While applying hot glue to the foam, it slipped from my fingers and stuck to the middle of my palm. After a significant amount of screaming I was able pull it off, I swallowed my pain, hoping that this would be the last major injury. However, I did the exact same thing three more times. I spend the rest of the night holding on to ice cubes. My left hand was covered in blisters and rendered unusable for a couple days.
You would not believe the abundance of praise I received for this work and I am immensely proud. As a huge movie buff and a lover of all things crafty I would love to do it for a living, but for the time being I will setting for making costumes for the joy of it!
