The story of this costume actually starts with my 2013 Halloween costume, which included a large homemade pumpkin head I’d made out of an old piece of upholstery foam. The costume-making mess left me with a large garbage bag full of foam scraps that I really didn’t want to toss in the landfill, so I stored it away, determined to use it somehow in my 2014 costume.
1) THE FOUNDATION
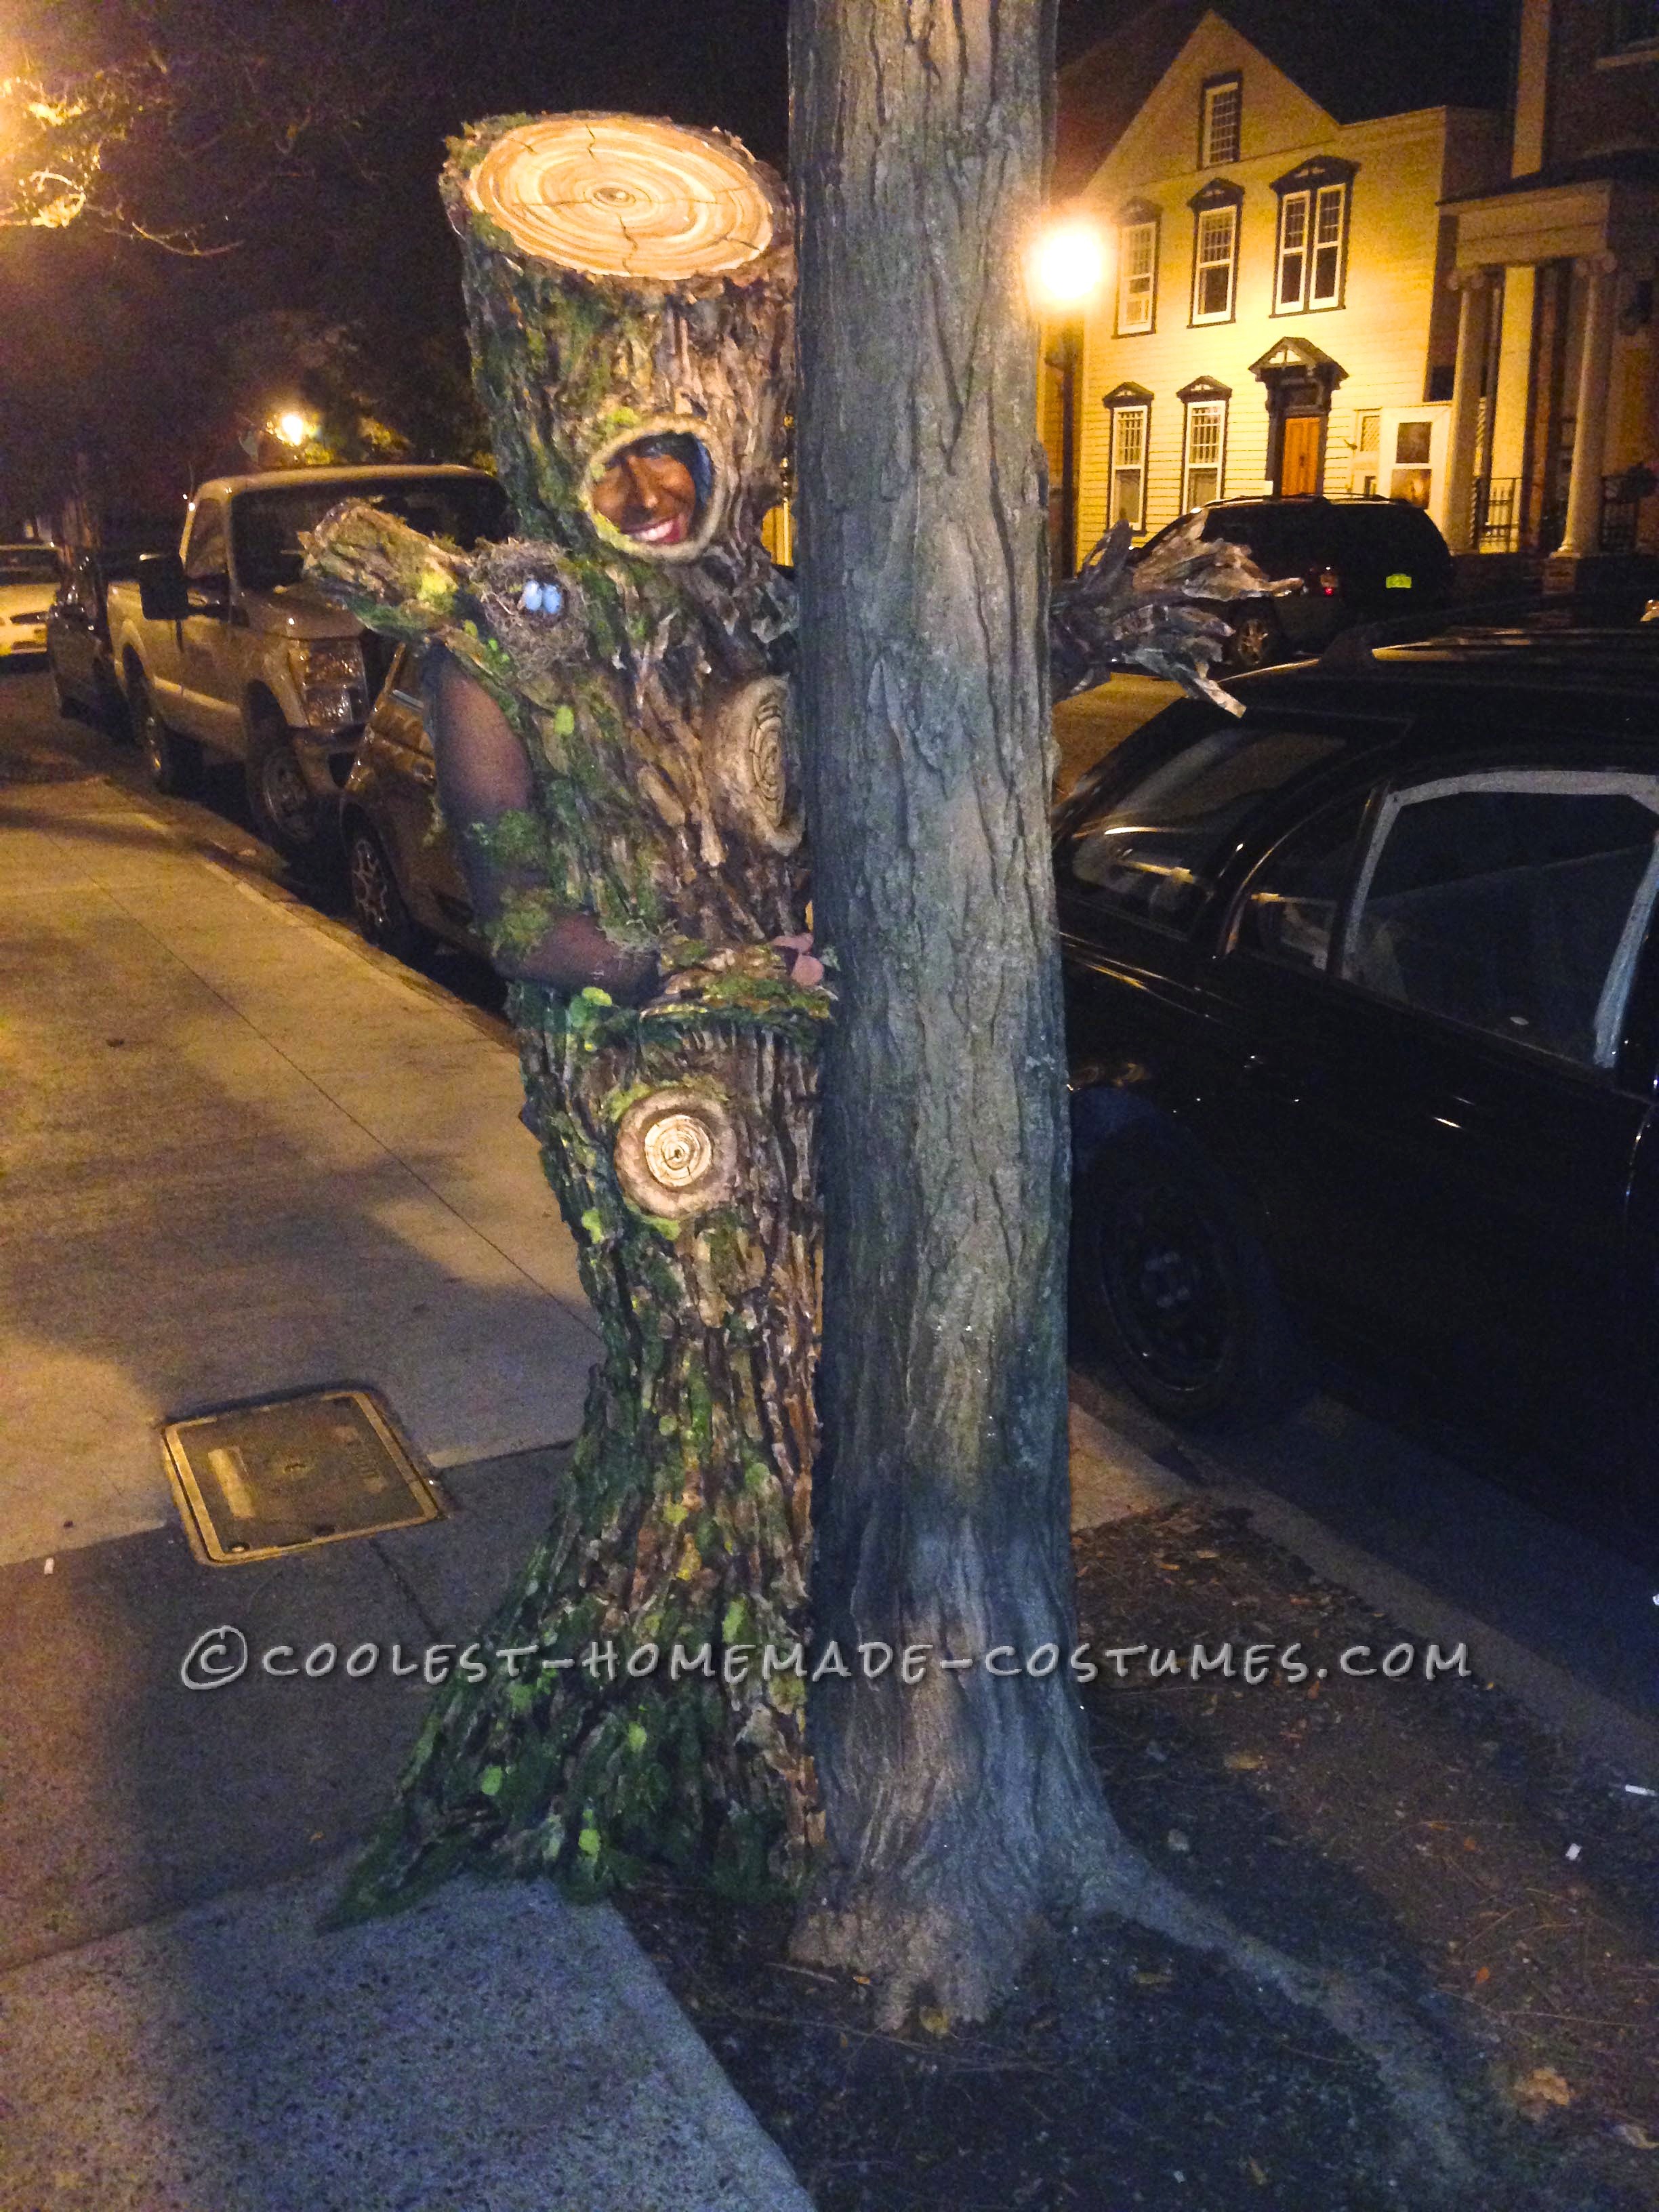
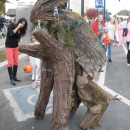
First, I got a very simple as-is maxi dress for free at my local thrift shop. I opened up some seams and added two main root trunks which I boned and stuffed with batting. This, along with the construction of the hood, involved a lot more trial and error than I care to discuss. I knew early on that this tree would not have elaborate branches, leaves or vines, because I knew I was going to a crowded party, and I didn’t want to be getting tangled up in other people’s wigs and costumes. Instead, I had knots where my branches had been removed, and turned one sleeve into a stump branch at the shoulder, which would hold the robin’s nest. For my (sawn-off) branch, knots, and trunk ends, I used 1/2 inch foam core, which I painted to look like tree rings.
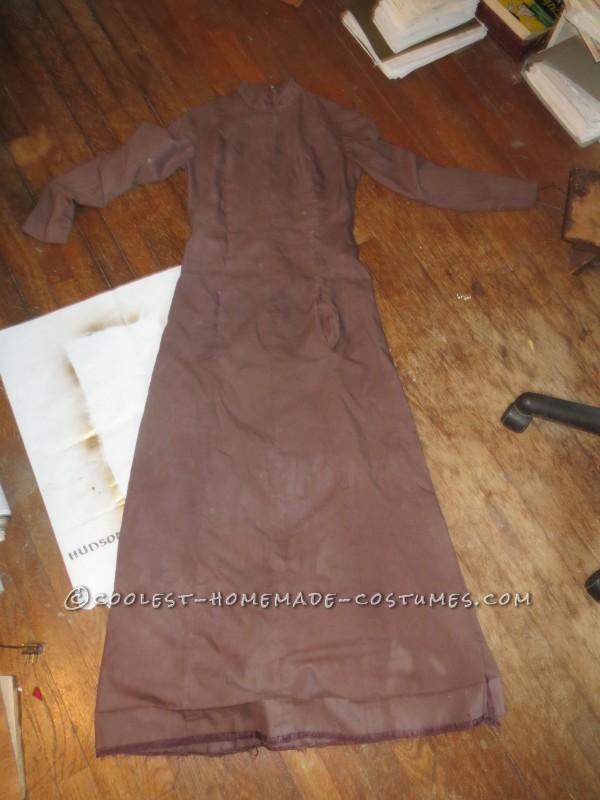
basic dress before restyling
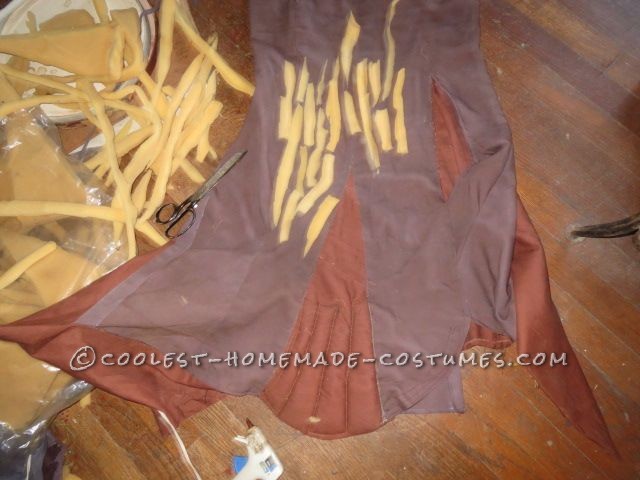
Inserted “roots” and beginning of bark application
2) THE BARK.
I cut the foam scraps I’d saved into random 3-4 inch lengths and applied them to the dress and hood one-by-one. This process went faster than I anticipated, partly because a) hot glue gun works to like a charm to join foam and fabric, and b) I was not very concerned with the shape of the bark pieces, (something I would later regret).
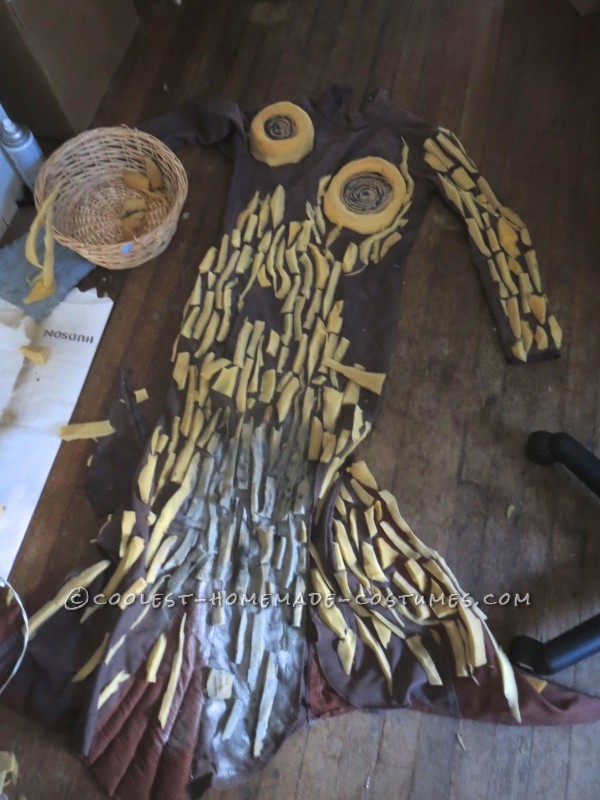
dress during bark application
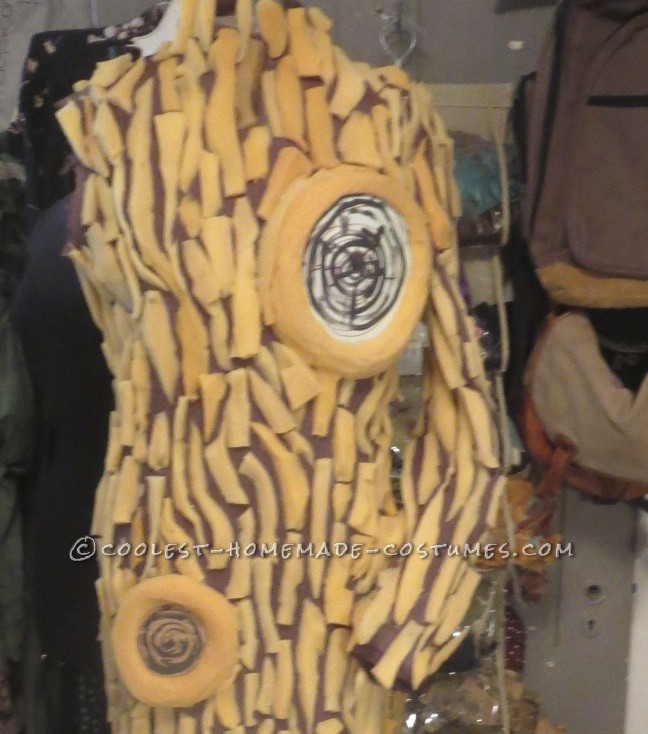
bark and knots complete
3) PAINTING followed by frustration….
After getting everything covered in “bark”, I took it outdoors and gave it a coat of dark brown paint with a power sprayer. This is when things got hairy. I thought that all that was left was to add some highlighting and modeling details with craft paints. But after that initial coat, the foam would just absorb the craft paint like a sponge (duh)- and the colors wouldn’t pop out- they just disappeared into the dark brown foam. It was at this point I realized the costume would need to be sealed somehow. Fortunately I still had 8 days.
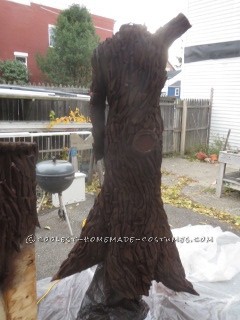
A base coat applied outside
4) PAPERING
A friend suggested I cover the whole thing in gel medium and tissue paper to seal it for paint. Instead, I used wood glue and about two large rolls of tan crepe paper party streamers, because I already had them in my stash of craft stuff. I then spent some ridiculous number of hours covering all the foam pieces with a thorough brushstroke of glue, followed by a piece of streamer paper that had been dipped in water. ONE at a time. I won’t lie; this was messy and tedious and I didn’t stop to take any pictures! I think it turned out to be a good thing to use the streamer paper though- as it kept the fabric in between the foam pieces moving independently. Using larger sheets of tissue paper probably would have made the whole thing unbearably stiff, since it was very form fitting.
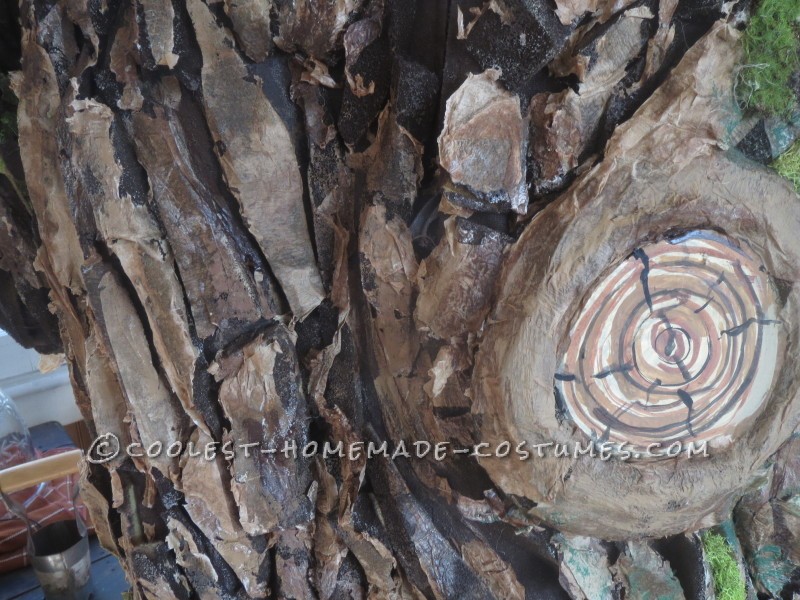
paper glued onto foam
5) FINISHING DETAILS
After drying, the bark was nice and papery and crispy. Ironically though- it didn’t really need paint anymore! The tan color and wrinkled texture of the streamer paper looked more natural and bark-like than I had anticipated. So, after minimal paint details, I decided to add color by gluing on about $10 worth of pre-packaged moss and lichen from the craft store.
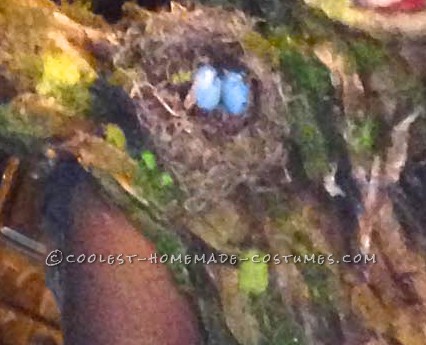
The nest was real and the eggs were fake (wood). I glued it all together with cardboard at the bottom and attached them to the base of the hood with a large paper fastener. I made one glove with extra foam branches and one glove fingerless so I could still use my camera, which I carried in a pocket hidden under the hip knot. The exposed arm had a stocking with moss and lichen glued to it.
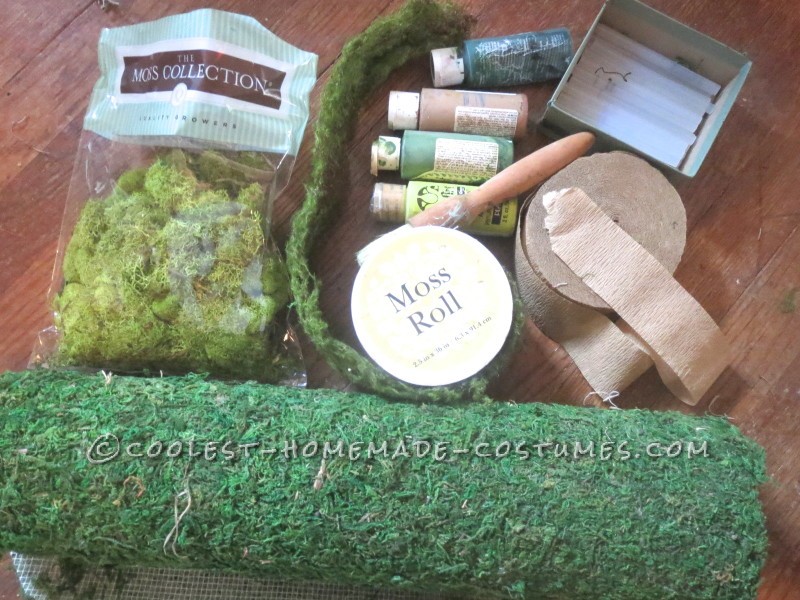
purchased mosses
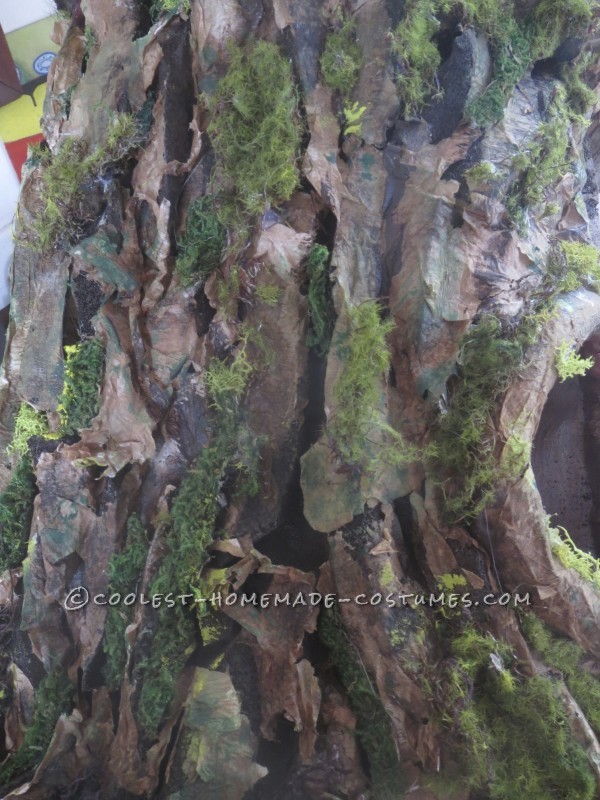
Hood detail
6) WRAP UP
I did actually have a few people ask me if I used real bark to make the costume, and I did tie for first place in my local costume contest (Shared prize with a fabulous “Queen Kong”). For what was essentially an improvisational costume, in which I was expecting to make more of a cartoon tree, I was happy with how it turned out. I was kind of glad when I ran out of time and couldn’t obsess over it anymore! But if I had to do it all over again, I would add a lot more stumpy branches, and take more care when cutting the foam into bark. I also would get a face painter to do something more creative with the face make-up.
Still, a great deal of creative fun!
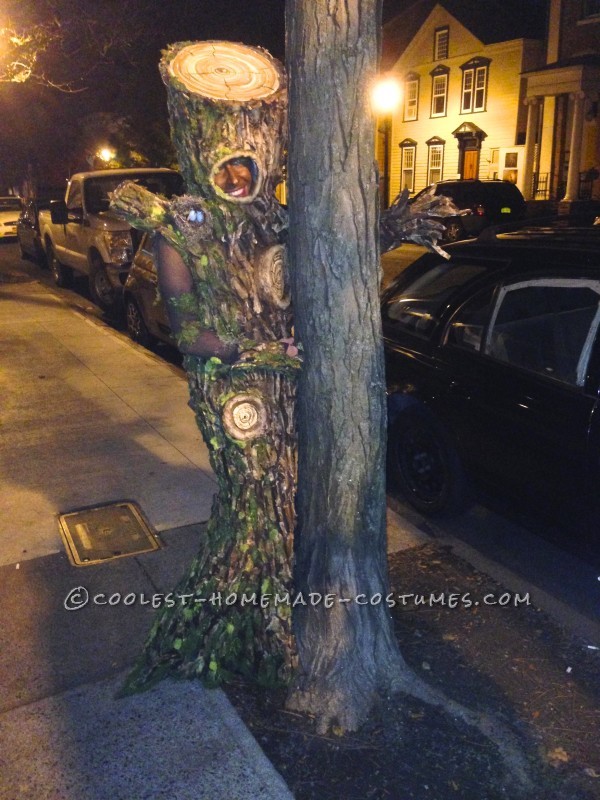
Tree Hugging Tree




incredible!!!
intriguing detailed description traveling from beginning to perfection – great writing too Lisa!
Amazing and super creative! And way to go for pushing through the difficult parts! I might have given up!! Love seeing unique costumes! Feel free to check out my costume submissions for this year: http://www.coolest-homemade-costumes.com/2014/11/19/best-homemade-baby-bassinet-illusion-costume/ and http://www.coolest-homemade-costumes.com/2014/11/19/original-day-dead-cat-costume/
Amazing and super creative! And way to go for pushing through the difficult parts! I might have given up!! Love seeing unique costumes! Feel free to check out my costume submissions for this year: http://ideas.coolest-homemade-… and http://ideas.coolest-homemade-…