As a child, I was never allowed to have the store-bought, flavor of the month, costume. My mother said it would be impossible to tell me apart from the other hundred “He-Man” wannabes. I also think it was because she wanted to flex her creativity year after year. I had some of the best costumes a kid could ever want thanks to her. This is something I’ve tried to do for my own children, making Halloween as memorable for them as it was for me.
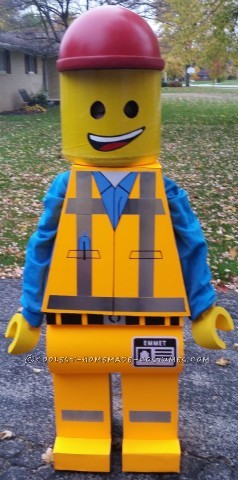
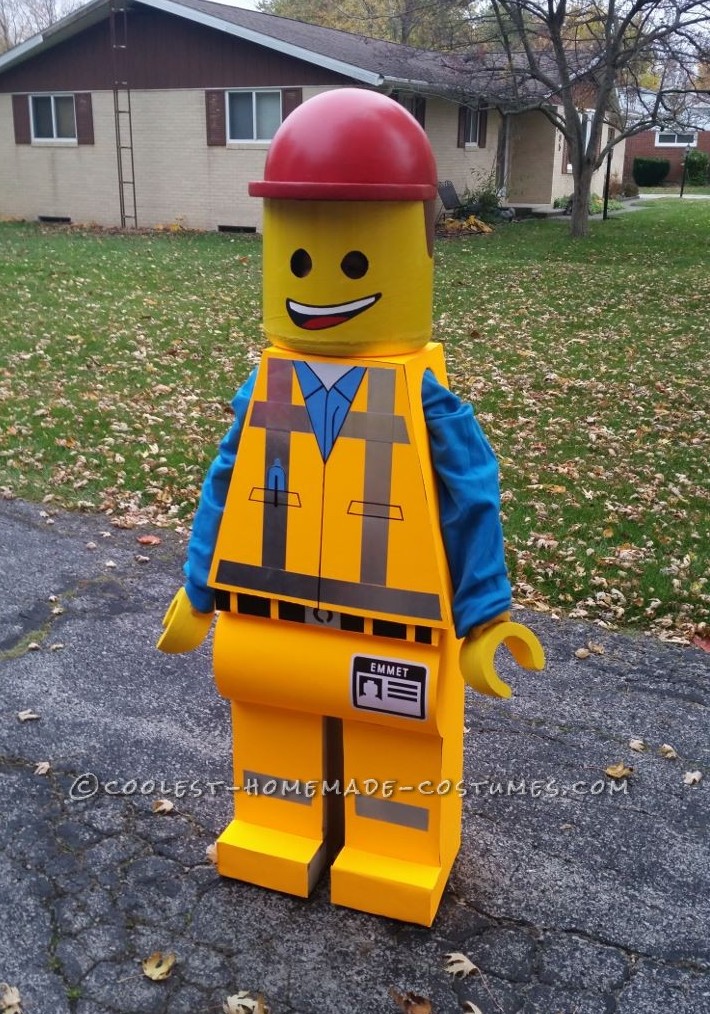
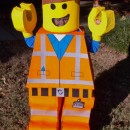
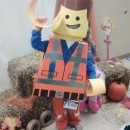
This year, my wife saw some pictures online of a Lego character. It was nicely done, but was just a plain, generic Lego figure. When my son and I saw it, we knew that was the costume of choice. Then I thought, why not take it a step further? The Lego Movie had been a huge success and the characters are widely recognizable, so we decided Emmet would be our goal.
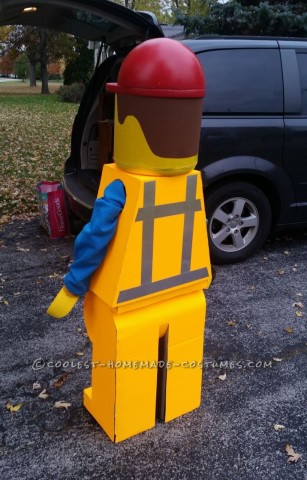
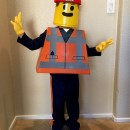
I started by tracing my son laying down on paper. Then, using a dimensioned drawing of a Lego figure, I was able to scale it to my son’s proportions. This gave me paper patterns to transfer to cardboard. I tried using hot glue to hold the cardboard panels together, but didn’t have good results. I found the better method was using white glue and two inch wide masking tape to hold down the panels. The legs were the most difficult to make because of the complex profile shapes. I decided to make them rigid, but to facilitate walking, the back panels were left open on the edges. This creates flaps that allow the wearers legs more movement. I also made suspenders from elastic to keep the bottom edge just off the ground. To finish the body, I covered it with orange poster board, attached with spray adhesive. The reflective stripes are “chrome” duct tape. I used blue poster board for the visible shirt portion and pen. We found a sweatshirt that matched the blue perfectly. The name tag was simply printed from a picture found online.
The hands are made from one inch thick Styrofoam sheets, glued three layers thick. I used a hacksaw blade to cut the shapes, and then sanded them to a final finish. Due to the adverse effects of spray-paint on Styrofoam, I used acrylic and brushed the paint on. To allow my son the use of his hands, the foam hands were hot glued to yellow gloves at the first knuckle area. To hide his fingers, he would make a fist and pull it into the sleeve.
The head was made from a twelve inch concrete form, spray painted. The bottom of the head is a Styrofoam wreath form, hot glued, and painted with acrylic. I was going to attempt sculpting hair, but decided it would be much simpler for Emmet to be wearing his hard hat. This was done with more Styrofoam. I used the same one inch sheet for the base/bill of the hat, and found a twelve inch hemisphere for the top. Again, acrylic paint was used. The eye holes were simply cut out. The mouth and hair was drawn free-hand, and painted with more acrylic. In hindsight, the head should have been Velcroed to the top of the body. We ended up just carrying the head as we walked, and putting it back on him before ringing doorbells.
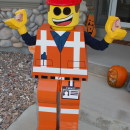
All in all, this was the best costume I’ve made so far. We had people stopping us for pictures, kids crowding around us, and even offers to buy it for next year!
Your comment has been sent successfully.