I have wanted to make this costume for a while and kept putting it off.
So this year I decided to go for it, with only four days until Halloween and a budget of just £30.
To make my costume I needed the following:
- Hard hat
- Chicken wire
- Garden wire
- Cable ties
- Old Newspapers
- Lots of PVA Glue
- Cotton Wool/Tissue paper for sculpting
- Ping pong ball
- Styrofoam blocks
- Green Spray Paint.
- Hot Glue
- Rubber Garden Gloves
- Yellow and Pink Acrylic Paint
- Clear Spray Varnish
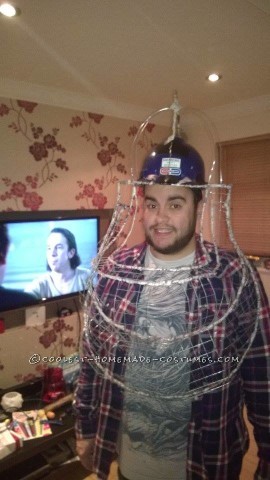
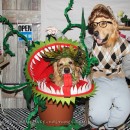
Firstly, to get the initial shape, I bent some garden wire to shape the mouth and attached this to the hardhat using cable ties. I made the mouth a little bit bigger so I can still have visibility when wearing the costume.
I used the same garden wire to sculpt the initial shape of the head and the body – I used chicken wire to fill the gaps in between to help make the structure more solid and sturdy. I used cable ties and sticky take to help secure the chicken wire – you might want to wear some rubber garden gloves when working with the chicken wire.
Keep trying on your costume during this process – making sure it fits right and to ensure good visibility.
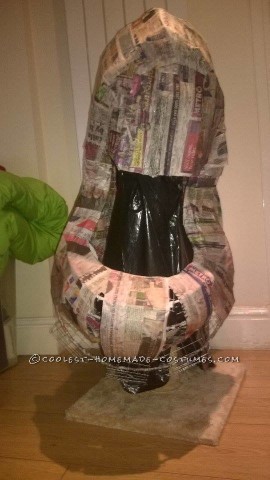
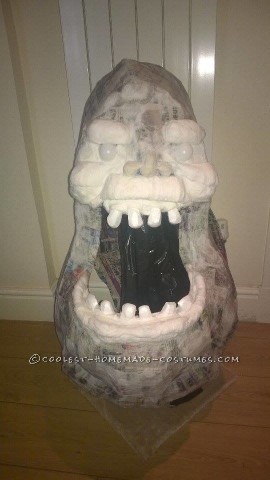
I then did two layers of papermache using old newspapers and PVA glue – you can water down the glue a little to make it go further but remember it takes longer to dry.
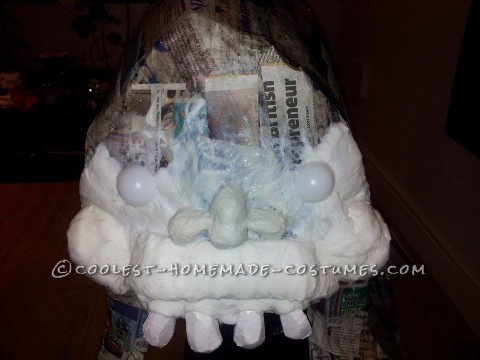
Once the layers were dry, I then started sculpting the face – using cotton wool for the cheeks, mouth, lips and eyebrows. I used tissue paper to sculpt the nose as this was a little more intricate.
For the eyes, I cut a ping pong ball in half and hot glued them in place.
The teeth were cut out of some Styrofoam I had lying around and again hot glued into place.
Remember, nothing has to be done perfectly, it is Slimer after all and the more uneven everything looks the better the finished result.
Once everything was in place, I gave the whole costume two more layers of paper mache but using white tissue paper – this makes it easier to spray paint.
Always try giving the costume plenty time to dry between layers of paper mache. Sometimes leaving near a radiator or in a well ventilated room can help speed up the process.
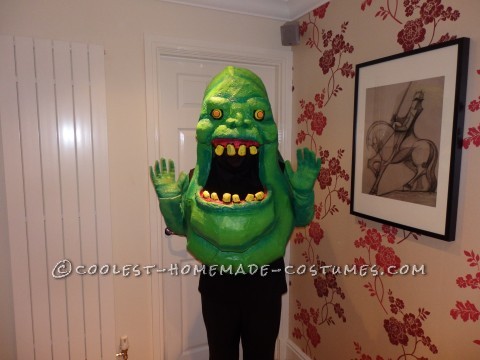
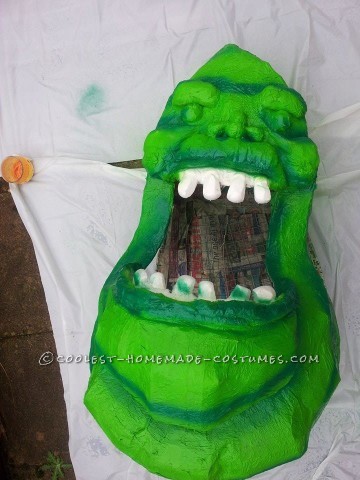
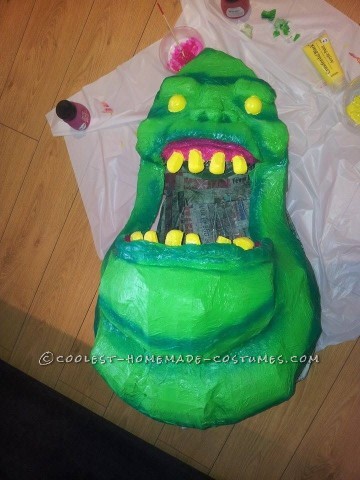
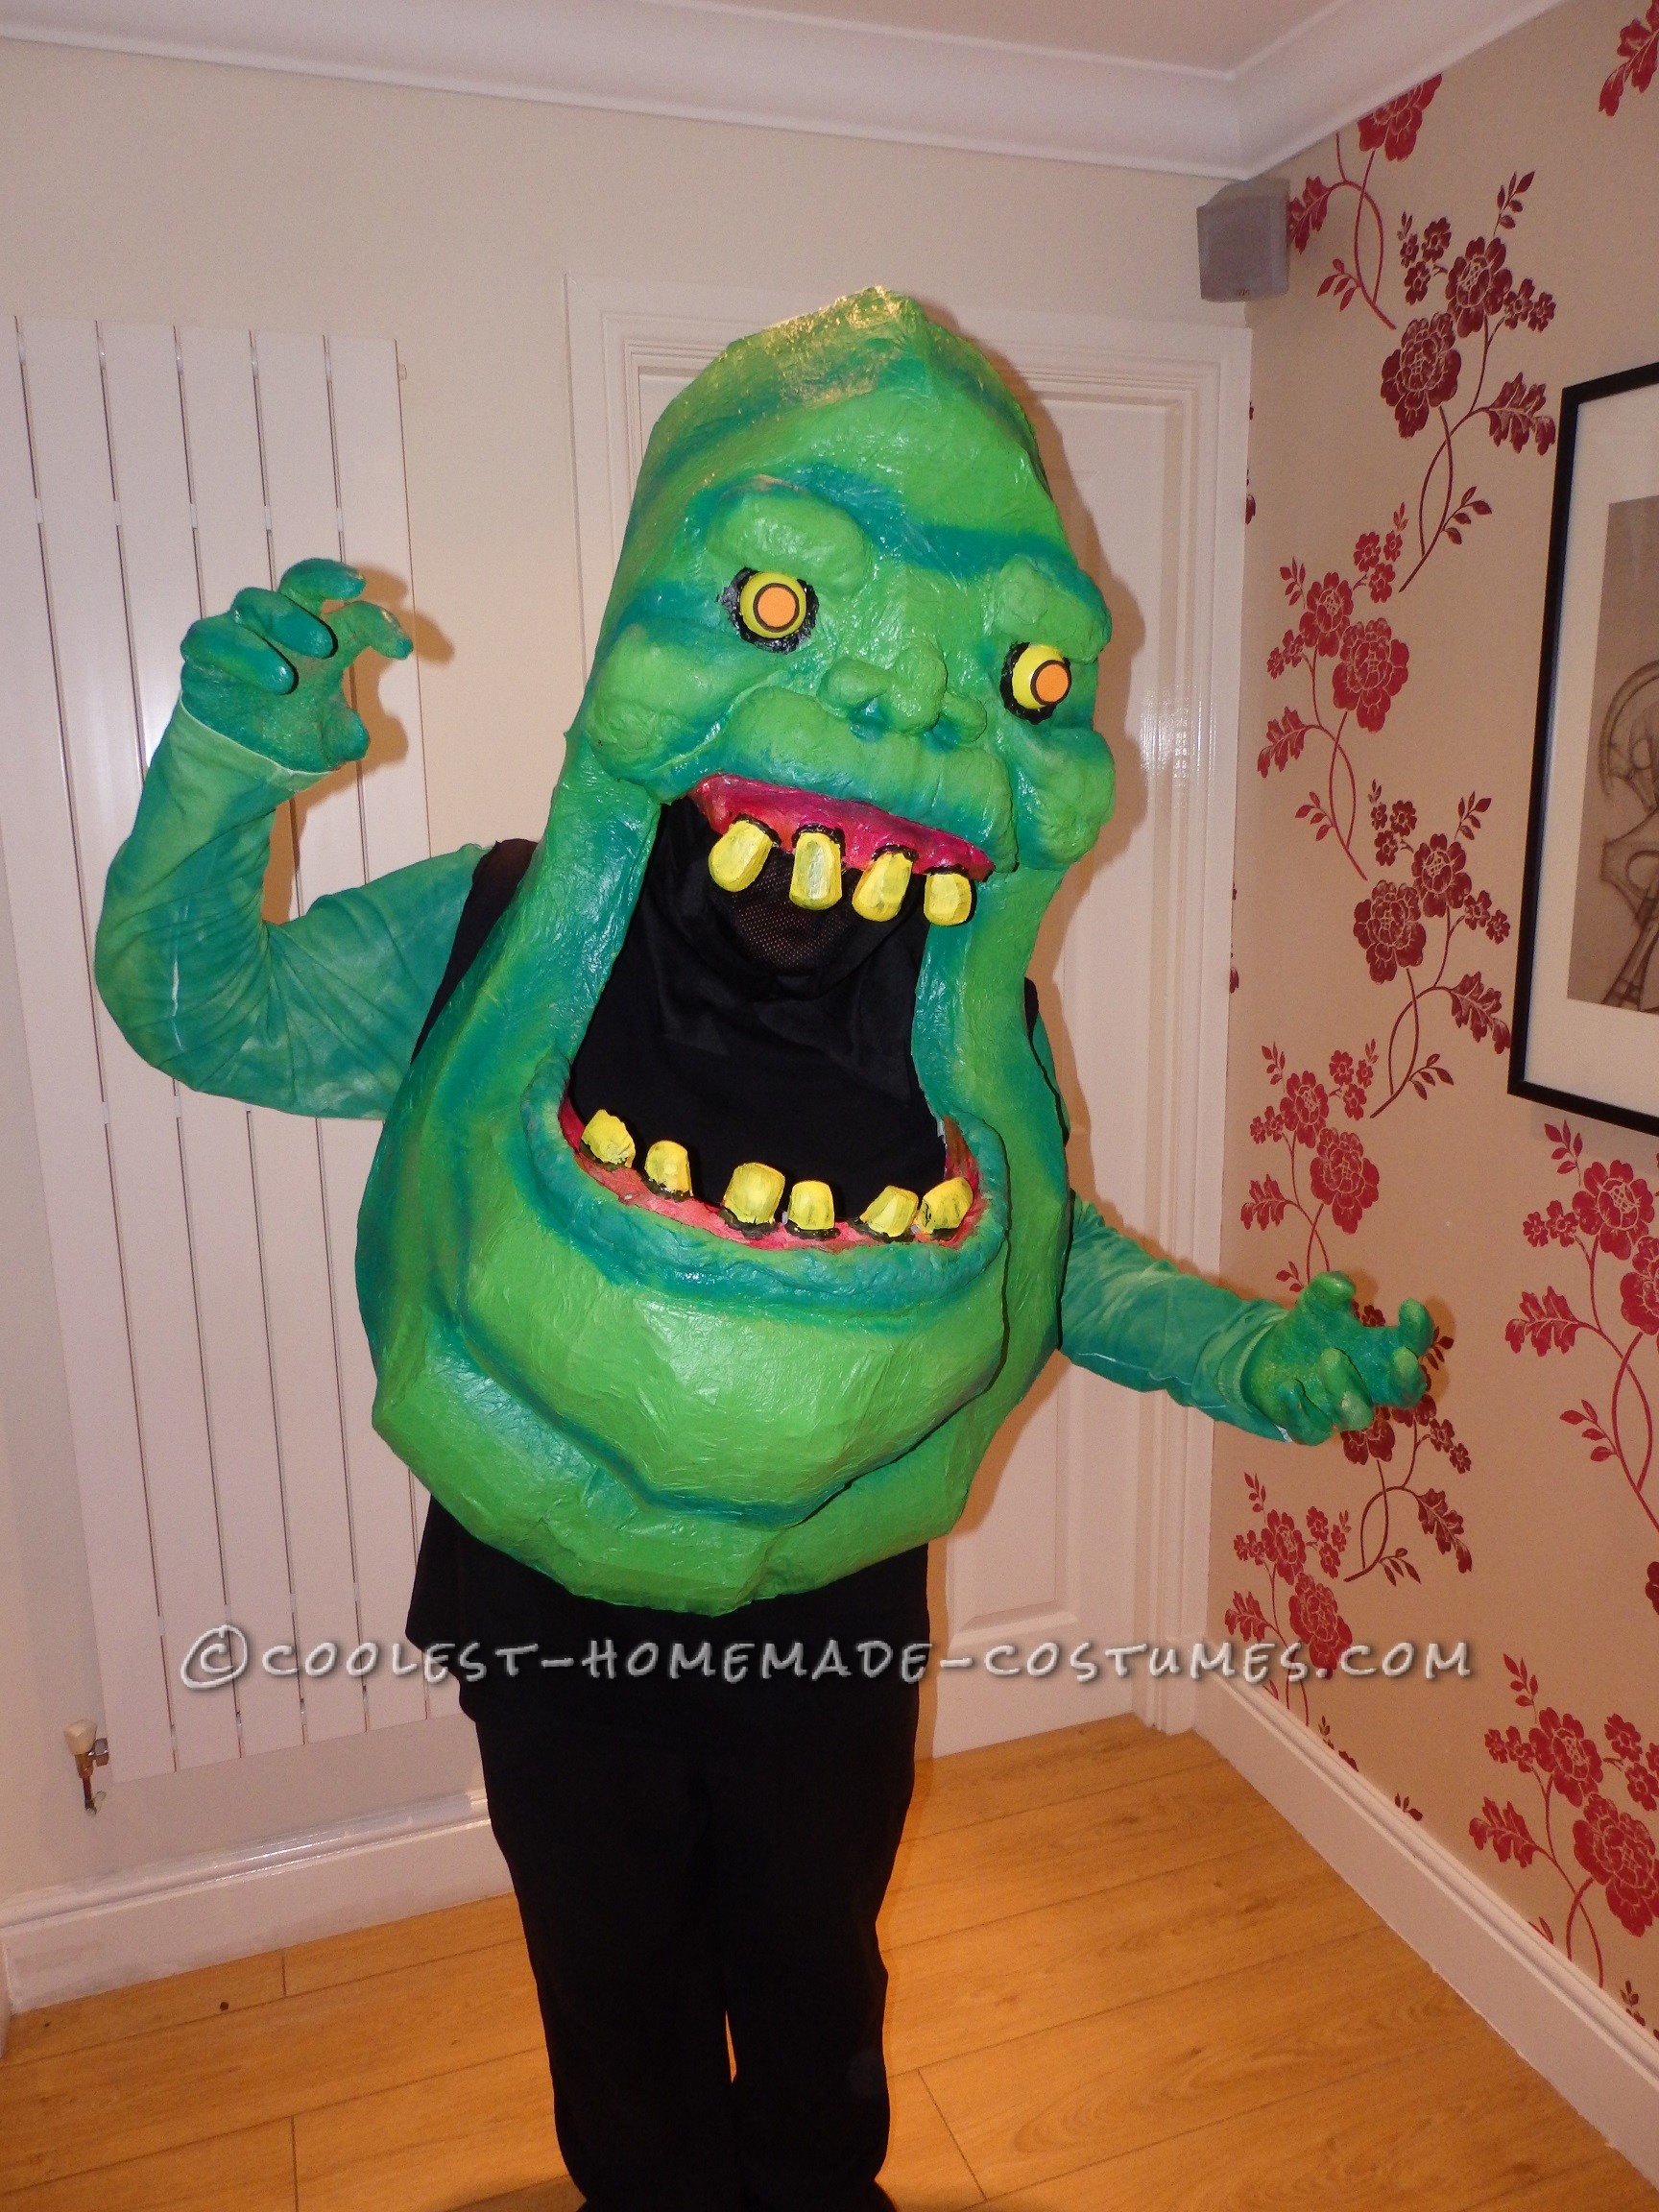
I then spray painted the whole costume a lighter shade of green, used a darker shade of green to add some detail and shading. I used some pink acrylic paint for the gums, yellow acrylic paint for the teeth and eyeballs.
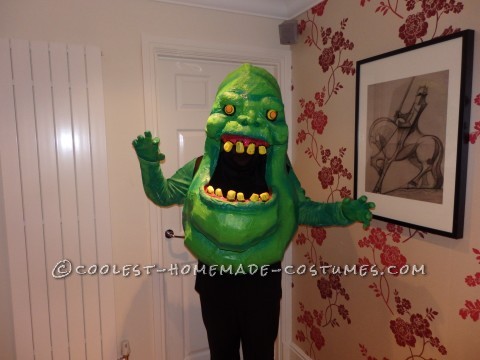
To make Slimer look a bit more spooky, I decided to give his eyes orange pupils with black rims using colored foam sheets cut to shape which were then hot glued directly onto the yellow eyeballs.
Once the whole costume was dry, to give it a bit more protection, I gave it a light coating of spray varnish.
During the process it’s good to have something to stand the costume on while it dries between all the different states; for this I used my cats scratch post – she wasn’t very happy, but I promised I’d buy her something nice if I win a prize, hehe!
I wore all black clothing with this costume to make it look like Slimer was floating when I wore him. I wore a long sleeved green top for arms and green garden gloves for the hands.
I hope you like the finished result, any questions then please don’t hesitate to ask.
Remember, the best costumes are the ones you make yourself.




I’m curious to how heavy this was to wear all night …. debating between this and spray foam …