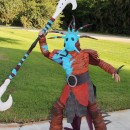
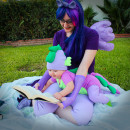
I learned about Avatar the Last Airbender (The series, NOT the movie) from my husband when we was first married, we actually watched a lot of it on our honeymoon. I fell in love with the story, the characters, and the world of the Avatar. When we found out we were pregnant and that our baby would be about 8 months old for Halloween, we decided that our baby weather a boy or girl would be Avatar Aang. Our little girl was born in February, with a head full of dark black hair. She couldn\’t be the Avatar she was my baby girl! In June I decided that for my husbands birthday I would make him an Appa hat for his birthday. I bought the material and the pattern and made him a hat. I had so much extra material I decided our little girl needed an Appa hat too. After her hat was done and I tried it on her for the first time her Halloween costume was decided! She was going to be Baby Appa! If she was going to be Appa what were my husband and I supposed to do? My husband decided on The Blue Spirit “The scourge of the Fire Nation” so I started making the mask.
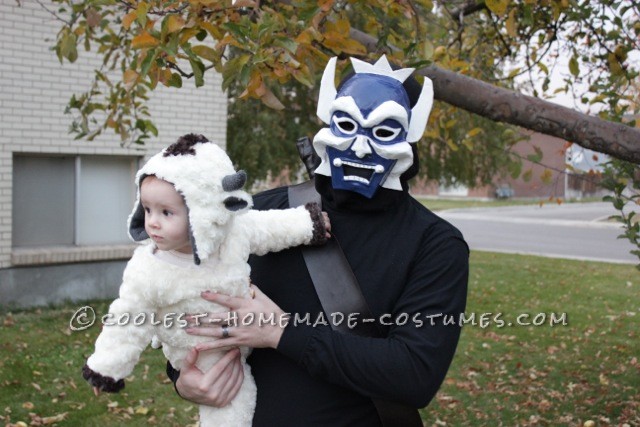
The Blue Spirit Rescues Appa
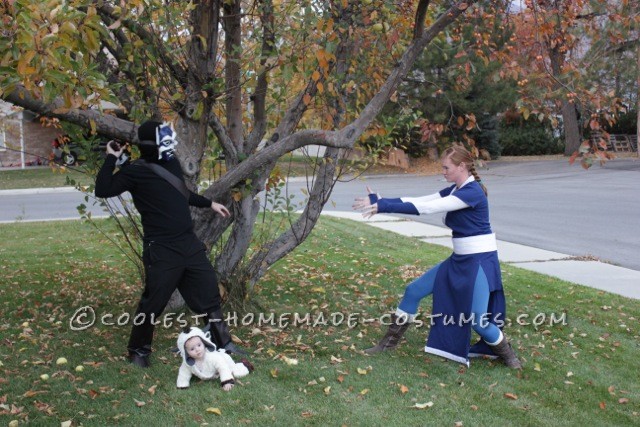
THe Blue Spirit and Katara Fighting
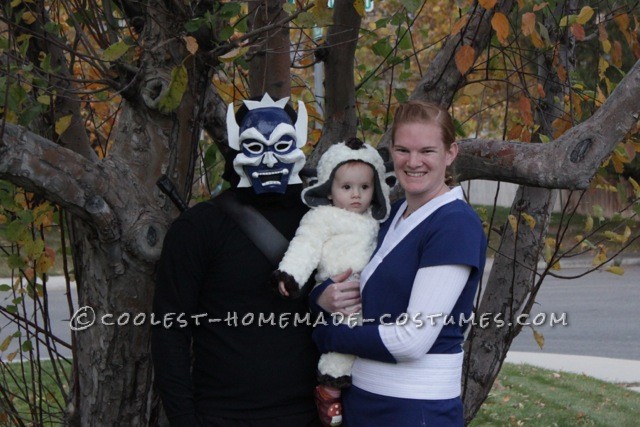
Avatar Halloween
Let the Masking Begin
I was pretty excited about the idea of making a mask. I started with a neutral mask I got from a craft store and reworked it so the face shape was correct by attaching cardboard to it with masking tape. There were also some details from the mask that stuck out from the mask I made those out of cardboard as well and attached them to the mask with masking tape. I also cut out the nose and the mouth since they were the wrong shapes. I then filled the holes with cardboard and masking tape.
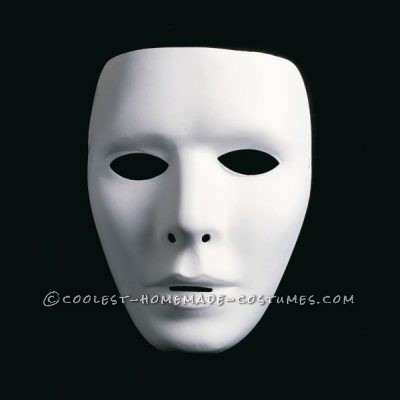
Neutral Mask
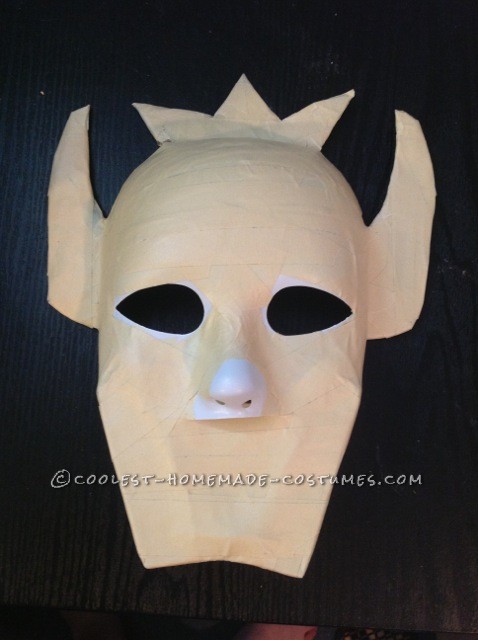
Face shape fixed extra things added
3D Details
The mask has several different features that are not just painted on. For those parts I made some paper mache from ripped up newspapers, flour and water. I made the different shapes I needed for the eyebrows, cheeks and nose, and attached them to the mask and let them dry for about 2 weeks. Then I had to make the eye details, the teeth, and the lips, for that part I decided to use some homemade play dough. The recipe I used for the pay dough made way too much but it worked really well for the teeth and eyes.
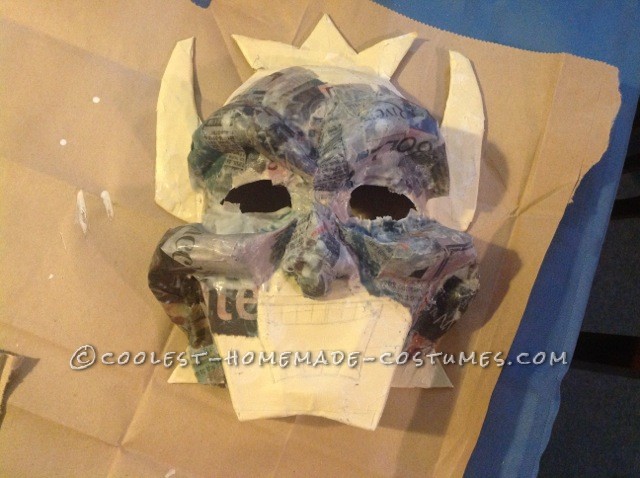
paper mache for 3D details
Finishing touches and Painting
After getting all the details on the mask I let it dry for about a week and then sprayed a white layer of paint on it so I could see how it looked. It was still pretty rough and jagged in places so I made some mod podge and painted about 10 layers on the mask, some spots getting more layers than others. I sprayed another layer of white spray paint to see how it was looking. Finally it was time to paint the mask with the blue. I painted about four layers of royal blue, then two layers of a darker blue. i added some detail to the teeth so you could see them better, and finally sealed it all with three layers of semi-gloss spray paint. After the semi-gloss dried I cut out the mouth again to give the mask more depth and so my husband could breathe. I then hot glued some black cloth to cover the mouth hole, so you wouldn\’t actually see his mouth.
I then hot glued on some elastic so my husband could wear it. I also sprayed the inside black to cover all the masking tape that overlapped onto the inside.
From start to finish the mask took me about 3 months to complete but I also wasn\’t working on it constantly. I love how it turned out!
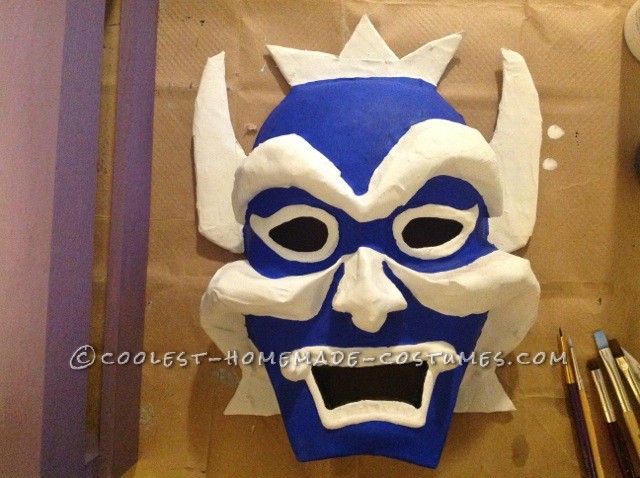
Painted the royal blue color

Your comment has been sent successfully.