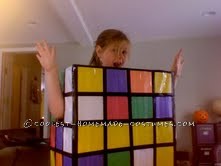
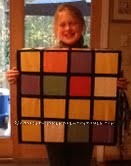
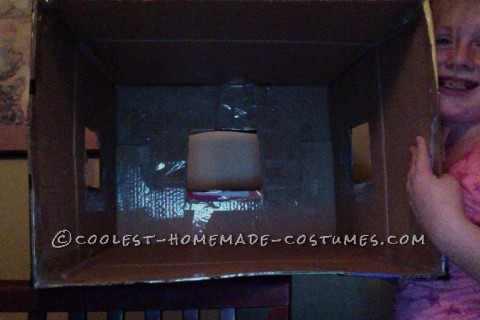
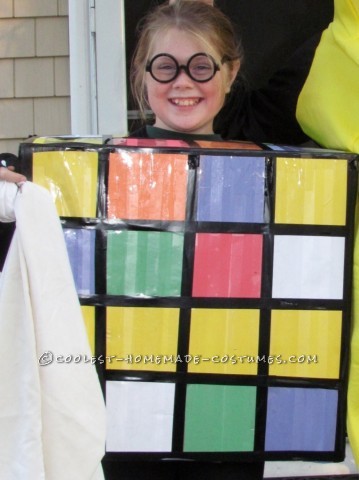
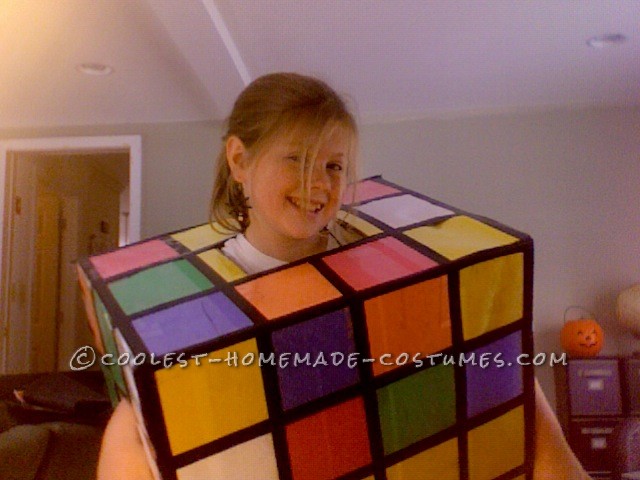
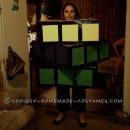
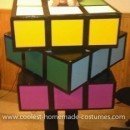
To make this Rubik’s cube costume it took me a lot of time and patience. In this project you need a square box, construction paper, clear packaging tape, and black electrical tape. First you need your box for your base. After you find a box you need to cut out three holes in it, two for the arms and one for the head, the bottom will be left open. Once you have that done its time to really start making it look like a Rubik cube.
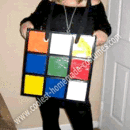
You should already have an assortment of construction paper handy, preferable the colors: white, yellow, blue, red, orange, green if you want it to look like an actual Rubik cube. With those colors you should cut them out into equal squares. Again if you want it to look traditional then the sides should be 3×3 squares. But I strayed from the path a little on my design.
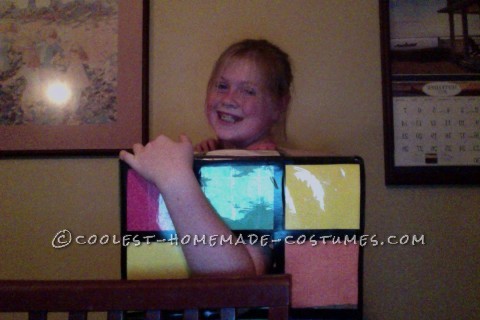
After you have the squares all cut out you should place them on the box, each spread equally apart. Then you use the clear packing tape to hold these squares in their place. Finally once the squares are firmly down you put black electrical tape in between the squares, putting the final touch on your Rubik cube costume. I love this project because it is very inexpensive and you can usually find the objects around your house.
On Halloween I got compliments from “Best costume of the night!!” to “You have to respect a homemade costume!” The one struggle with the costume was only that it was very hard to get my candy and transfer it into my bag because of the shape. Although it took patience, this costume was a hit on Halloween.



Very clever!!
Very clever!!