Take a look at these cool homemade Truck costumes shared with us by costume enthusiasts from around the world. Along with the creative costume ideas here, you’ll also find loads of homemade costume ideas and DIY Halloween costume inspiration for your next costume project. Enjoy!
Latest Truck Costumes
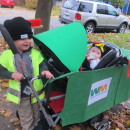
- Great DIY Costume Idea for a Family: Recycle Bins and Garbage Truck Family!Moms will do anything to see the smile on their kids face that I saw when I showed my kids … Read more
- Tonka Truck CostumeTake a look at these creative costume ideas submitted to our annual Halloween Costume Contest. You’ll also find loads of … Read more
- Incredible Optimus Prime Transformer CostumeThis Optimus Prime Transformers costume was not an easy project. My son, who is 6, loves Transformers, his favorite is … Read more
- Coolest Spud Wagon Fry Truck CostumeI wanted to make something unique this year that I’d never seen before – when I first thought of a … Read more
- Coolest Mailman and Mail Delivery Truck CostumeThis mail delivery truck costume was inspired by my two year old son who is obsessed with the mailman. We … Read more
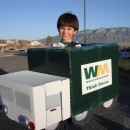
- Our Little Waste Management Team Halloween CostumesOur 3-year son has been obsessed with garbage trucks for quite a while. He watches garbage truck videos, he has … Read more
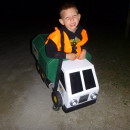
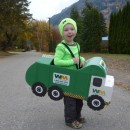
- Homemade Lil’ Garbage Truck Costume for a BoyMy son wanted to be a garbage truck. So we set off to create it. I browsed the web and … Read more
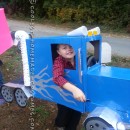
- Big Rig Truck Halloween Costume for a BoyThis is Brayden driving his big rig truck that was made out of several cardboard boxes, paint, Styrofoam cones and … Read more
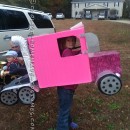
- Pink Rig Truck Halloween CostumeThis is Jasmine driving her big rig truck that was made out of several cardboard boxes, paint, Styrofoam cones and … Read more
- Cardboard Box Garbage Truck CostumeMy son was, and is still, obsessed with garbage trucks. So, naturally, he wanted to be a garbage truck for … Read more
- Coolest Homemade Peterbilt Truck Halloween Costume for a ToddlerAmerican Truck Repair Express’, LLC Newest Peterbilt Truck In June 2009, my daughter Di’anna, son-in-law Travis, and son Trenton, decided … Read more
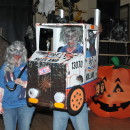
- Creepy DIY Zombie Truckers Couple CostumeWe made our Zombie Truckers couple costume out of cardboard and spray painted along with some props of dead body parts … Read more
Featured Creative Costume Ideas
Creative costume by Erica S., Plainfield, IL
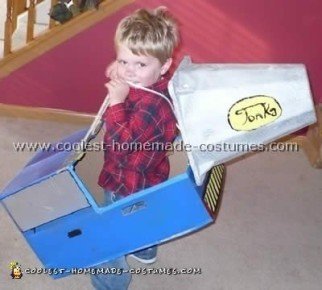
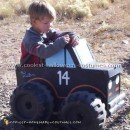
My son’s favorite truck is a cement truck so I decided to try and make a creative costume and put one together for him. In order to do this I got the following supplies: cardboard box (which my husband brought home from work), rope (I found some in the garage), duct tape and blue painters tape (I had on hand), blue spray paint and silver spray paint, yellow, red and black fabric paint (I had on hand), one garden/rose Styrofoam cover (I happened to have one in the garage but they can be found at any nursery).
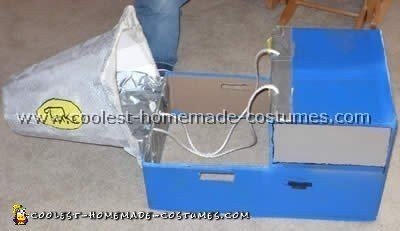
I first spray painted the box blue. Now normally cement trucks I find are red and white but my son’s favorite color is blue so I customized it to his likes. Once the paint was dry I just cut out the back part where my son would be standing in the costume. After cutting I used the blue tape to cover all the exposed edges so he wouldn’t get any cardboard cuts. I then used tape to stencil out on the box where I wanted my silver spray paint to go. I used it for the windows in the front and on side and also for the front grill cover and headlights of the truck. I also spray painted the rose cover with silver because this was used as the barrel of the cement truck.
Once everything was dry I used the fabric paints to complete the details. I put a line of yellow in the back and then slanted black lines for the caution symbol. The red was used for the taillights. I used black to outline the windows, headlights and define the front grill cover. I lastly used yellow on the rose cover to make the Tonka logo and then wrote the letters directly over the yellow. I figured putting the logo would help people understand what he was in case they couldn’t identify my creative costume!
Once everything was completely dry I attached the rose cover to the back of the cement truck with duct tape. The cover is so light that the duct tape was plenty strong to hold it in place. I then cut two holes in the top of the cement barrel and on top of the truck so that I could attach the rope. The rope was used kind of as a shoulder harness so the costume wouldn’t drag on the ground. I also cut out handles on the side of the truck so that my son could hold it up with his hands as well.
To complete the costume my husband brought a hardhat home from work so my son could wear it and I had him put on a red flannel shirt just for effect. I really only bought the spray paint for the costume because I just used things I had around the house. I spent only $5 on the spray paint on this costume but I think you could do it for $10 if you had to go out and buy a couple extra supplies. I had a blast doing this and most importantly my three year old son was overjoyed with his costume!
Total Spent: $5
Creative costume by Sarah D., Thornton, CO
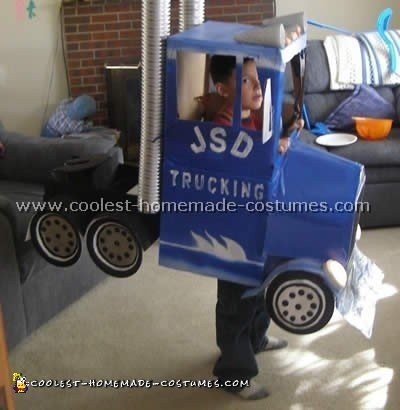
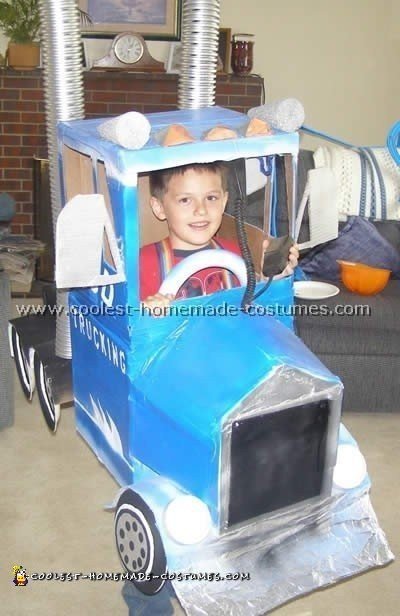
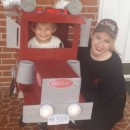
My son Jeremiah (five years old) loves trucks, semi trucks; pick up trucks and any kind of trucks. His dad and grandpa both drive semi trucks so this year he asked me to make him a Peter built costume. I put his costume together with about five boxes. I glued and taped two together for the main cab then a smaller box on the front for the hood and grill and another smaller on the back for tires.
The last box I cut up for small pieces (tires, mirrors, horns, bumpers and wheel wells.) The wheel wells are just bent cardboard. The horns on top of the truck are cones from the hobby store. And the exhaust pipes are from the hardware store like PVC piping or plumbing piping. I used hot glue and duct tape to secure everything. I bought two push night lights for the head lights and attached with hot glue. And bike reflectors for back lights. I painted everything with spray paint.
This was a fairly easy to medium creative costume to put together. It just takes a little imagination and a picture or toy truck to look at for reference and ideas.
Total Spent: $40
Creative costume by Kevin D. & Carson H., Winter Haven
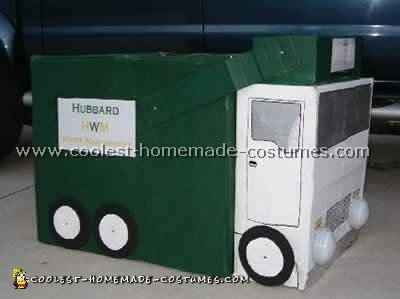
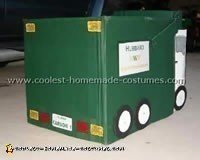
Our son wanted to be a garbage truck. He was also dressed as a garbage man so that he could pull the truck behind him on his wagon. The materials we used on this creative costume were: cardboard boxes (sizes depends on the size of your trick-or-treater), duct tape, paint, paper fasteners, glitter, black marker signs generated on the computer and silver insulation tape.
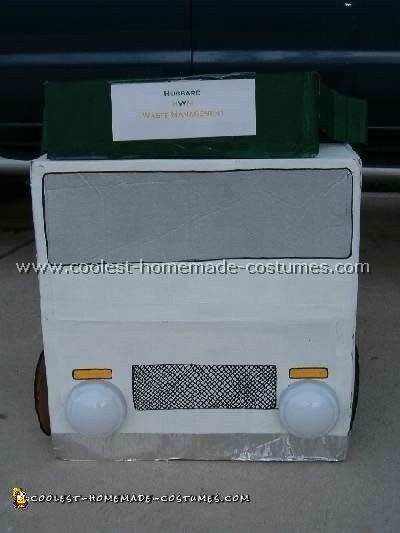
We found a box a little bigger than our six year old son and cut a hole in the top for his body so that his arms could be free. We fastened another smaller box (narrow) in the front for the cab. We also added a hopper with extending arms on top of the cab to hold the loot! We decorated the front with two “tap” lights that work on batteries and in the back with paint and glitter for lights.
This was a fun family project that cost less than $10 to make. It took us about a total of six hours on various days.
Truck costume by Amy B., Harwood, MD
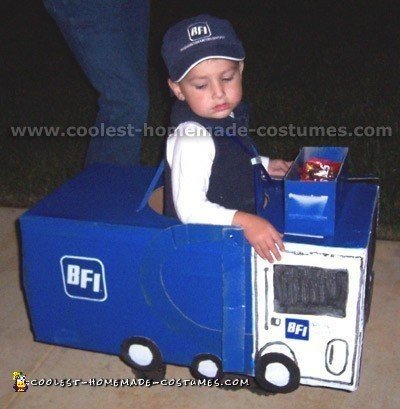
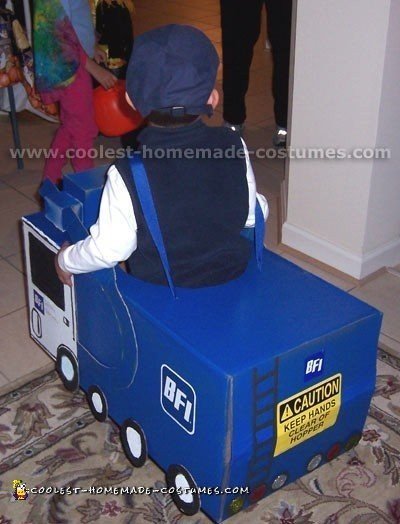
The inspiration for this costume came from my son. His grandfather, father and I all work for BFI. He decided that he wanted to be a garbage truck for Halloween. I started with a cardboard box. I cut a hole in the top and bottom that my son would fit in to hold up the creative costume. My husband took pictures of a garbage truck at work for design ideas. I used spray paint to paint the cab and the body of the truck. I used regular craft paint to paint the details on the doors of the cab and to paint the windows and front grill of the cab., , My husband got the appropriate company and safety stickers for the sides and rear of the truck. I used black craft foam to create the ladders on the front and back of the creative costume. I used black craft foam and yellow, silver, orange and red glitter glue to create the front and rear lights. I cut pieces of cardboard to form the forks of the truck and used a tack to connect them so that the forks actually worked. I then created a dumpster out of cardboard to fit on the forks. The dumpster sat on the front of the truck and people “dumped” halloween candy into it. I secured grosgrain ribbon onto the truck to act as shoulder harnesses in order for my son to wear this creative costume., , Total Spent: $15



Your comment has been sent successfully.