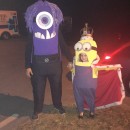
So my child’s school heavily encourages making your own costume. We support it in theory but quiver as we begin the task of asking ourselves, how are we going to make it? This is an intimidating question when you lack sewing skills and when your child chooses a minion costume. My only quasi-strength us a small dose of creativity.
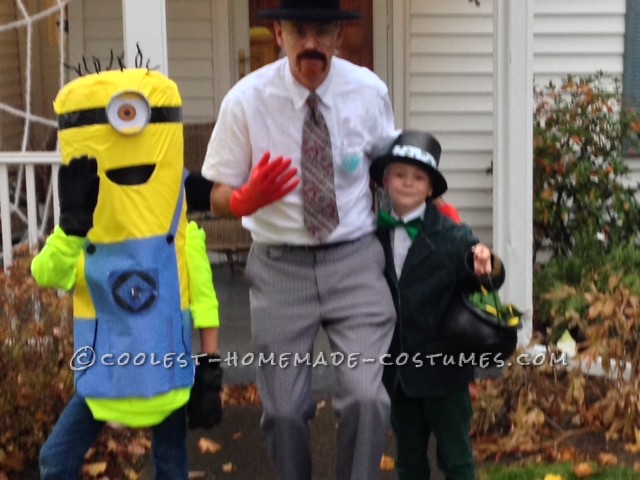
One Happy Minion
Step 1: Create a giant twinkie shaped head
How in the world could I create a giant domed head that looked real and would stay up? I researched the web. I discovered crafty versions and step by step directions for using plastic bowls, paper mache, or other unique approaches. Unfortunately, none of the strategies seemed to work for me. While searching for Halloween supplies at the Christmas Tree shop, I found the perfect-shaped wicker basket that had the added benefits of being very cheap, extremely light weight, and the perfect circumference for him (it was just beyond shoulder width).
To ensure the wicker didn’t seem bumpy, I added a very thin layer of foam around the outside (found at local fabric store). I just just a tremendou amount of yellow ductap to adhere the foam around the basked.
I read tips to have the children look through the mouth, so I knew I needed to keep the basket up high above his head. To accomplish this effect, I stuffed the basket with fake “snow” and taped two edges to ensure stuffing didn’t slip out. I then had my son wear his bike helmet underneath for additional height (and it turns out for added safety as the giant twinkie ran down the road, with limited visibility, in the dark of Halloween, through 2 feet of fallen leaves, over curbs and up steps. There were admittedly a couple stumbles).
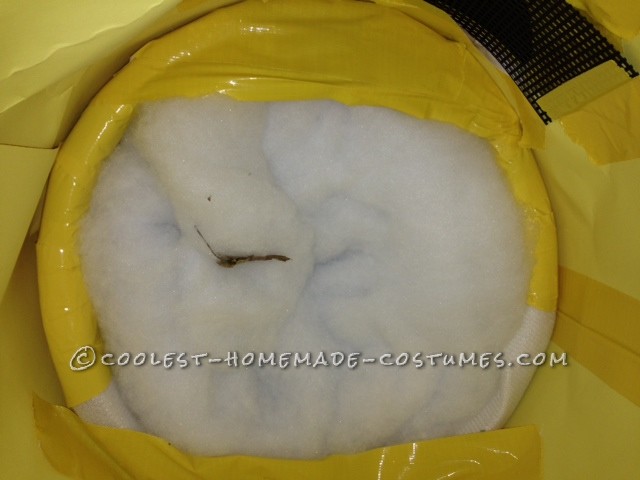
taping in the stuffing inside the basket
Step 2: Fashioning a minion body
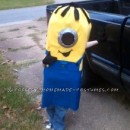
I have a head but what might create a cylinder body? This one was pretty easy, as I borrowed from some great suggestions online. I bought yellow posterboard paper. To get the right height, I turned the paper vertical and overlapped the pieces for added stability. I used my beloved yellow duc tape to create seems. After making the foundation, I used a ton of duc tape to adhere the basket to the top.
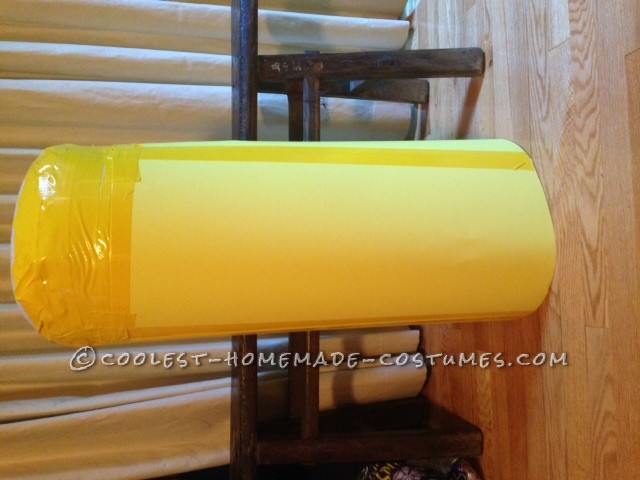
Twinkie head taped to posterboard body
Step 3: Adding functionality
How do I add the arm holes at the right height? We had him drop his arms to his side, placed the helmet on his head to ensure the right height, then slid the cylinder and head over his body. We then pushed on the edges to guess the height for where to cut the mouth and arm holes. I made a tiny horizontal insert about nose height for mouth, and another insert around what I thought was the top of the shoulder.
We took the costume off, expanded the slits slightly, placed it all back on him to ensure the right place, and then pulled it off and cut the mouth out (we sketched based on pictures found online), and two small arm holes on the side.
I decided not to go for the teeth in the mouth, fearing I’d kill the costume look, so we bought some black mesh from fabric store (I think it was about $.80). I found it near the stitching section.
Step 4: Dressing up the outside
How do we get the yellow consistent all over and make it look a little more real? We took a visit to Fabric Basement and found the perfect fabric on sale for 30% off. It was a VERY bright yellow raincoat material that we got for about $6.00 per yard and we used maybe 2 yards (I’m not good with measurements and probably could have reduced the cost a little by being more exact but I added in additional material in case we messed up, which was highly probable).
I adhered fabric with spray fabric glue. It was tricky trying to do the dome smoothly and there are some wrinkles at the top but it really wasn’t that noticeable. I tried to make the dome seem hit around where I was putting the eye and strap for the goggle. Perfection was not my objective, just making it look better than yellow duck tape on top of a different yellow posterboard.
We reinforced the arm hole edges with yellow duc tape all the way around.
Step 5: Creating the face
One eye? Two Eyes? Lots of spiky hair? We let our son choose. He thanfully chose the one-eyed version. After playing with several containers that ranged from soup cans to cream cheese containers, we settled on the Laughing Cow Creamy Swiss container. Renolds wrap seemed to shiny, so once again we turned to duc tape (this time the original gray color).
To create the eyeball, I opened up word, made a circle and filled it with a brown gradient that faded from the center (you can find this option under the “fill” function in word). For the pupil, I did the same thing but made a smaller black circle and used two gradients, fading from black to silver in the middle. To create the lids, I simply cut them out of the left over yellow posterboard.
To create the goggle strap, I turned once again to duc tape but this time black ductape.
Hair was created with pipe cleaners we had here and because the head was wrapped with a little foam, the pipcleaner poked right through fabric and in to the foam and stayed with no additional step.
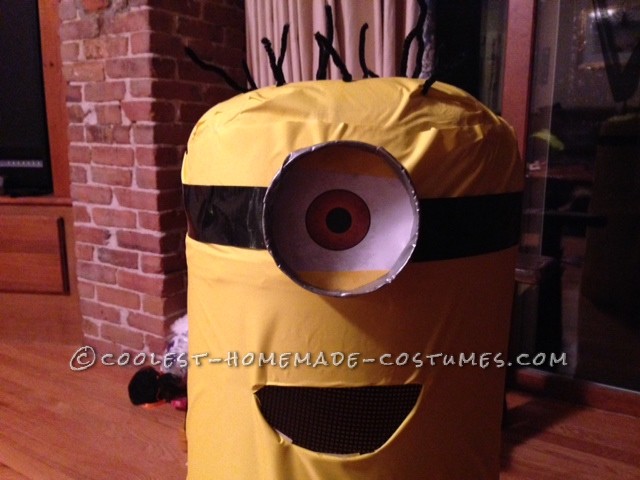
goggle and eye and hair
No Sew Overalls?
How can I create overalls without sewing? I was determined not to have to make a pattern or sew, so I once again pulled up Microsoft word. I found the background function on the page, filled it with a pattern of denim, printed off 8 sheets, and then eyeballed a pattern for the overalls. I spray glued them down over the fabric. I added a little back duck tape to create the illusion of a pocket on the front because I simply couldn’t figure out another way.
I then googled images of minion logos, found one large enough to copy into word, I printed and then cut out the logo and added it to the fake pocket on the front.
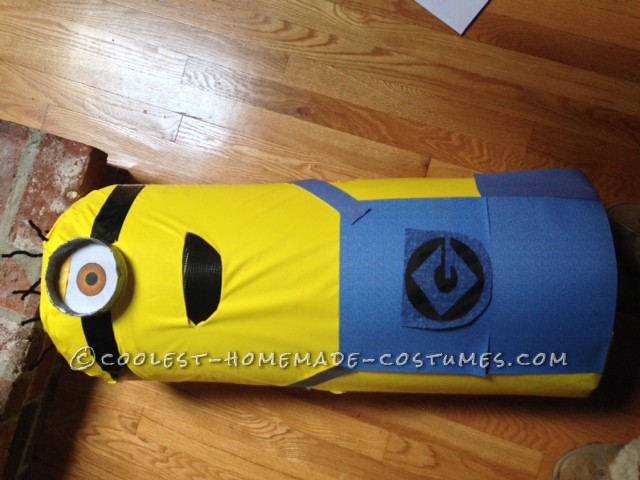
figuring out sewless overalls
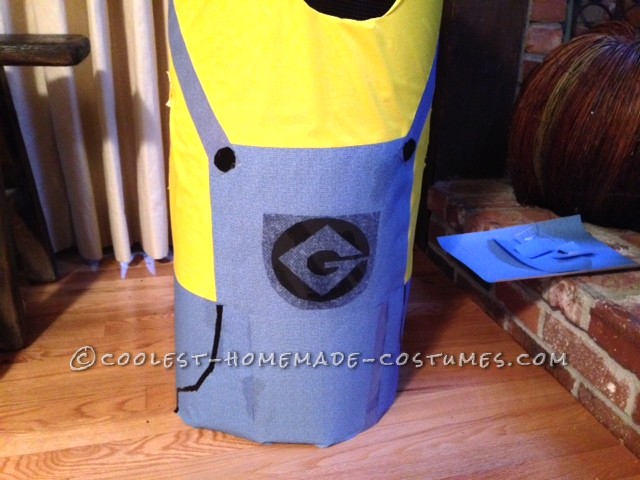
adding a pocket with ductape
Your comment has been sent successfully.