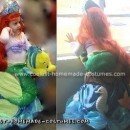
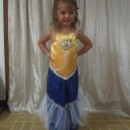
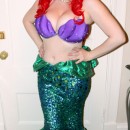
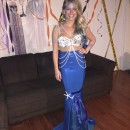
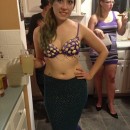
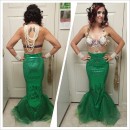
My 3-year-old daughter is really into mermaids. Not the Little Mermaid specifically, but mermaids in general. She asked to be a mermaid for Halloween this year. I looked online for inspiration (this site included, of course) and borrowed ideas from here and there. My daughter went with me to shop for fabric and chose purple for the top and magenta for the tail. Making it simple enough for her to walk around in and warm enough were the first factors. Since I am a novice (but determined) seamstress, my technique is certainly lacking; I basically just wing it. But after a little trial-and-error, I got to what I was envisioning. My daughter loved it, and that’s the most important part.
Top
For our weather, I had to find a longsleeve shirt close to my daughter’s flesh color. (She asked me: “Why can’t I just use my own skin?” Yeah, 50 degrees, that’s why.) You could also dye a white shirt to desired color. I also put a sweatshirt under the flesh colored shirt. We also had leggings to match the fabric of our tail.
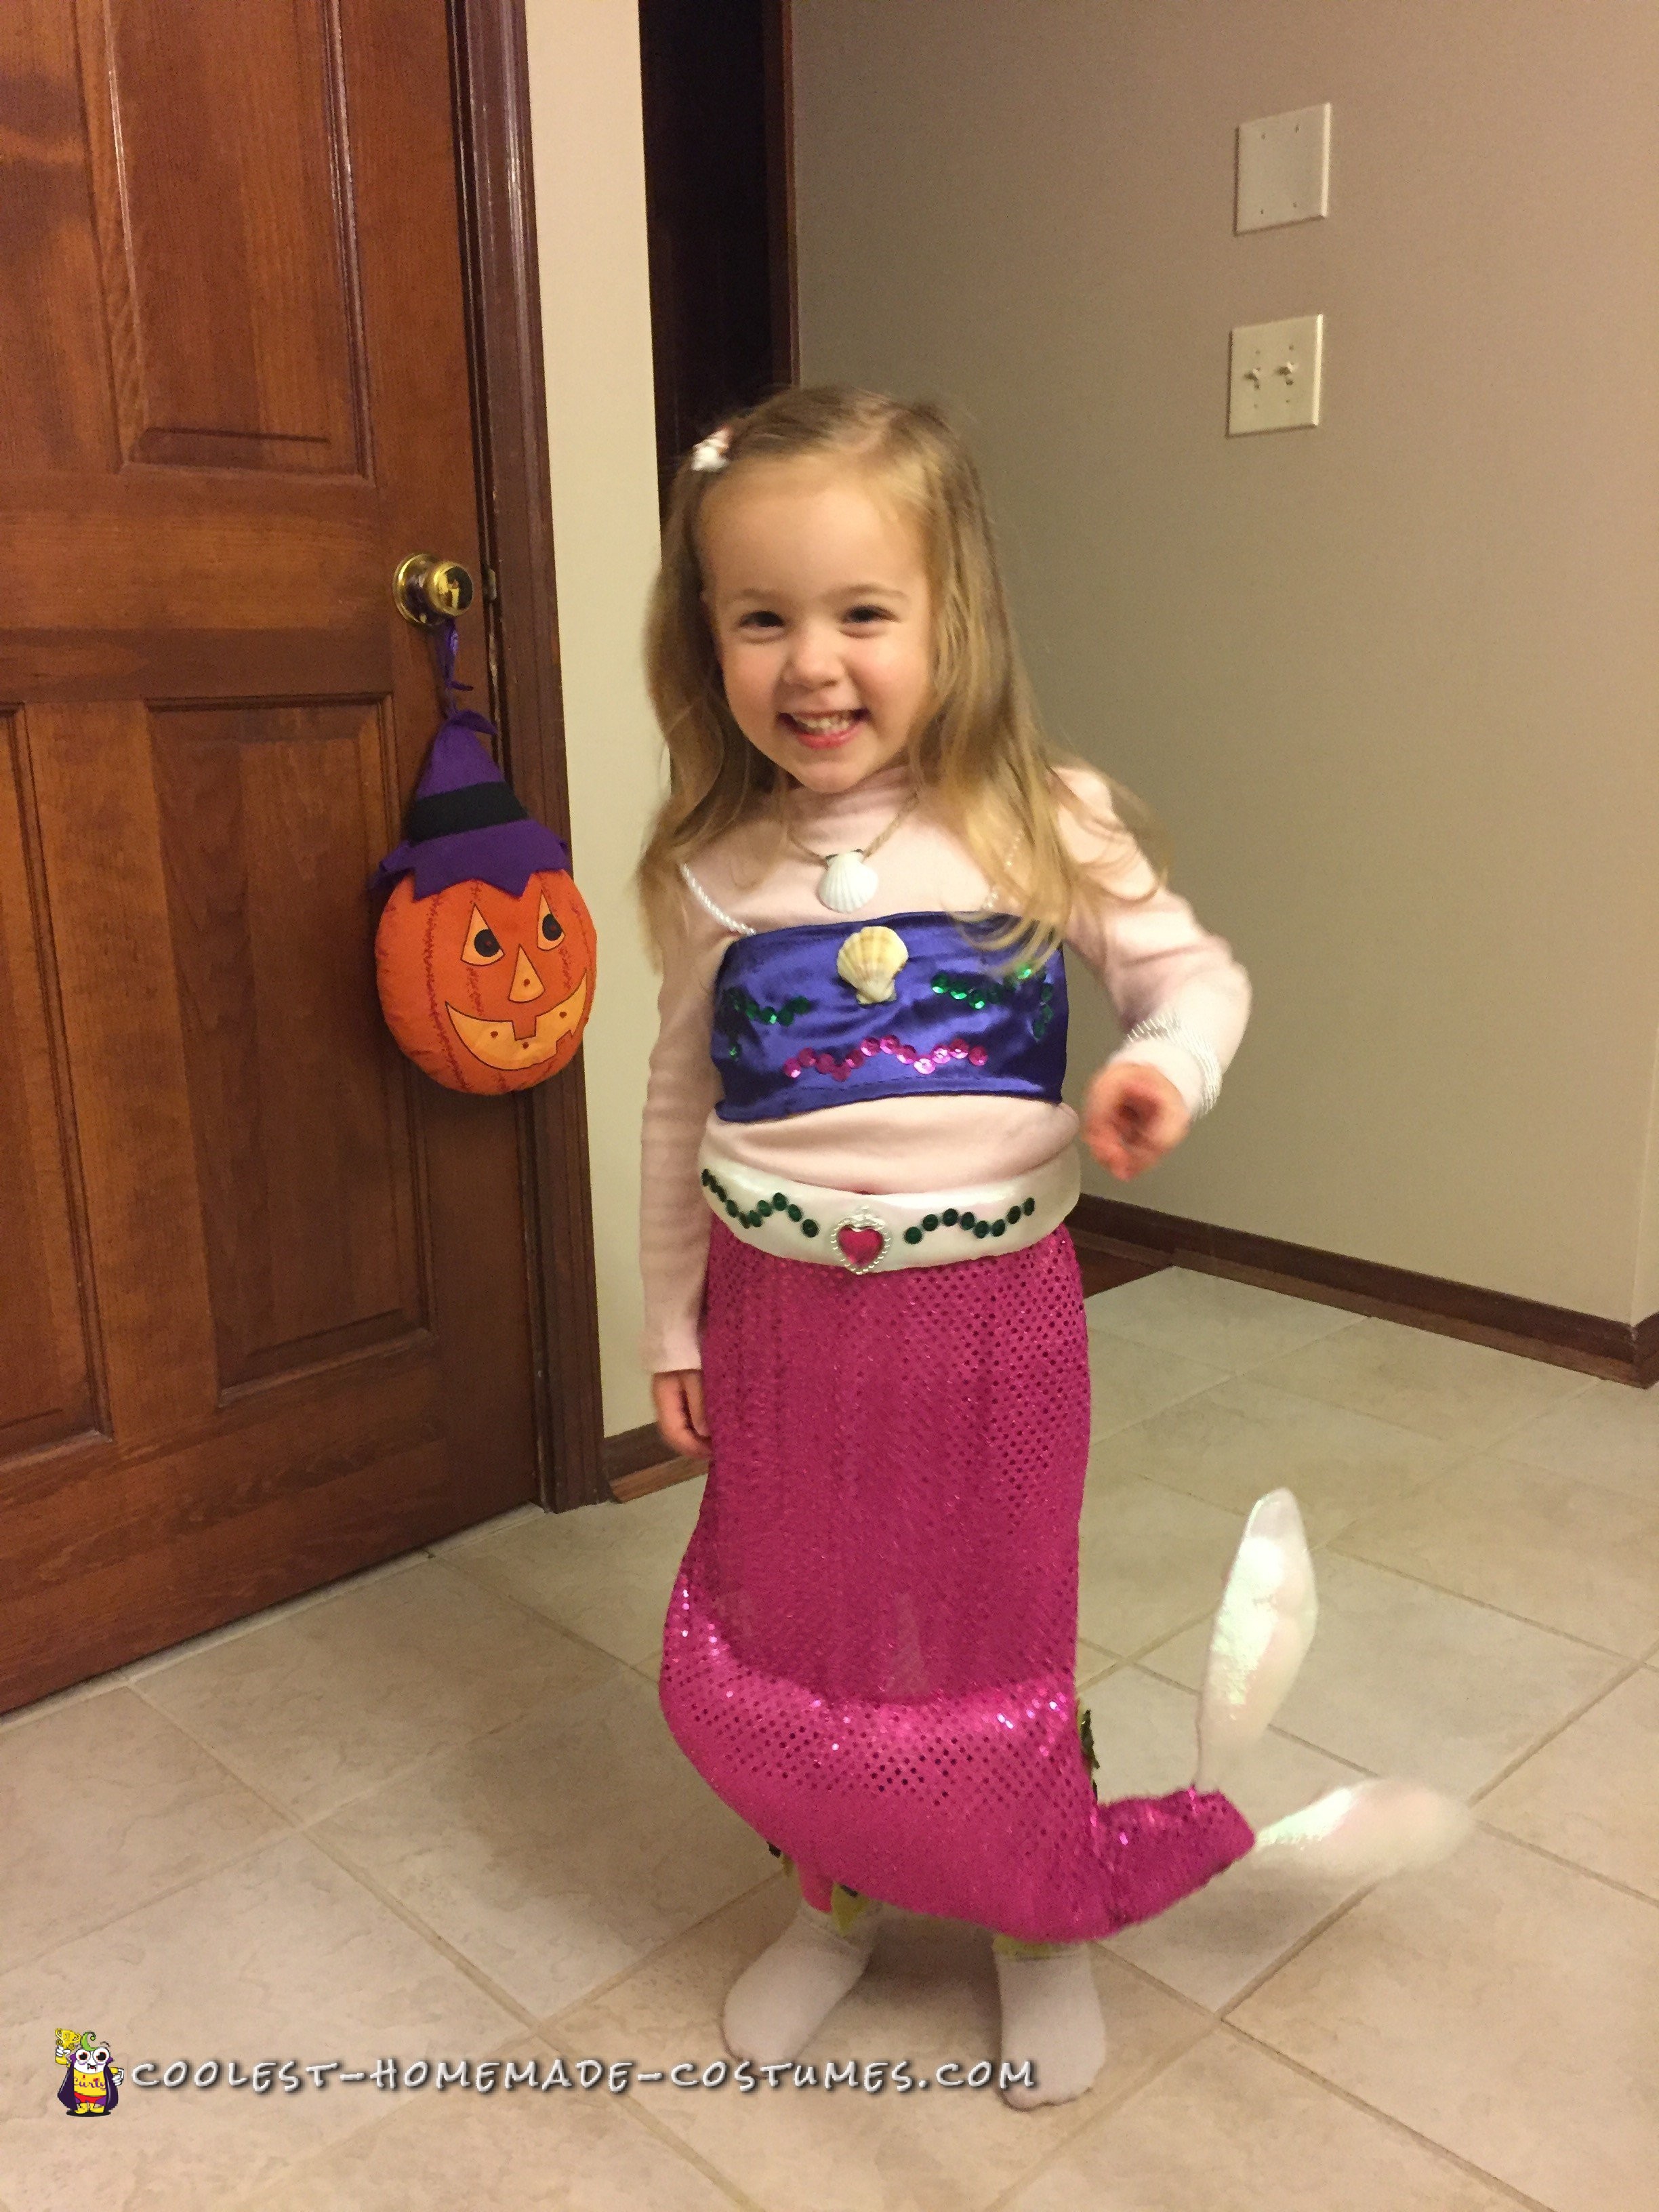
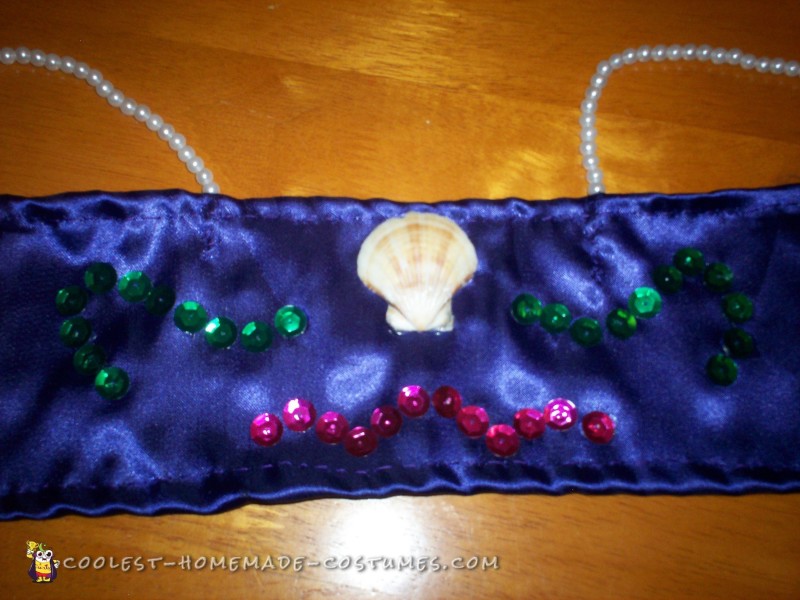
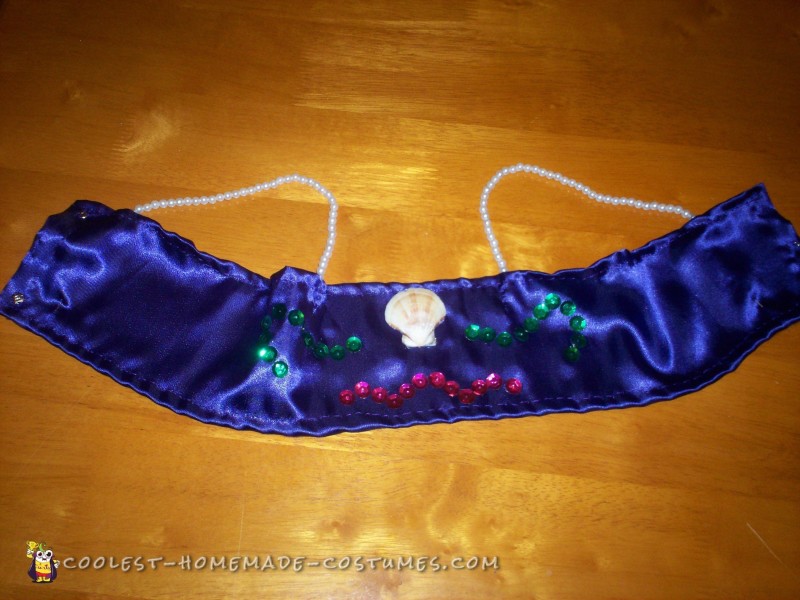
For the top, we chose a satiny purple fabric. I measured how wide (top to bottom) I wanted it to cover on her chest (about 4 inches for us) and allowed an extra inch or so for hemming the edges. I measured her chest, accounting for the layers to be worn underneath, and added an extra couple of inches for hemming the edges. I hemmed the top and bottom edges, hemmed the ends, and sewed on snaps to close it. You could use Velcro or just pin it closed.
We used pearl straps. I had some craft pearls and threaded them on embroidery floss, but you can probably find ready-made strands. I measured over her shoulders and allowed a couple extra inches to stitch them in place.
We used a real seashell and green and magenta sequins to decorate (hot-glued on). You can be as creative as you want with your design and embellishments. I wanted to avoid the “seashell bra” look.
Tail
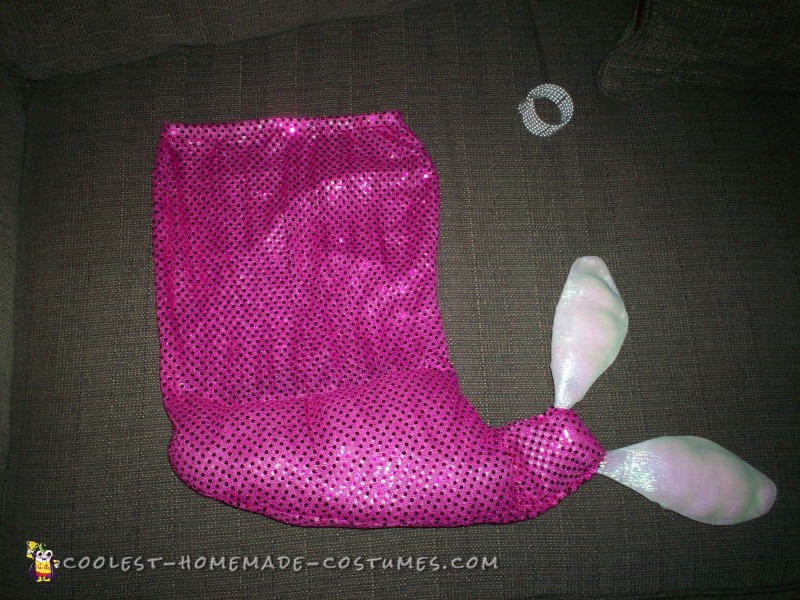
We chose a stretchy magenta fabric with small sequins attached. The fabric was thin, so I kept it folded double as I cut the pieces. I knew I wanted to make a tail and fins rather than just a skirt that flared open at the bottom. I measured her waist and added a couple inches seam allowance and divided this number by 2. I measured waist to knee. This was my measurement for the back of the skirt, tapering out just a bit at the hips and the bottom edge just a bit wider than the waist/2 measurement.
The next piece of fabric is the front of the skirt/tail. I cut it the same size as my already cut piece but continued out the shape of a mermaid tail out to the side, making the end of the tail 3-4 inches longer than where I wanted it to end up – I knew I would need to fold the fabric over to secure the fins in place later.
The next piece I cut was the “pocket” that would create the tail. This was the same size as the tail portion of the full skirt/tail.
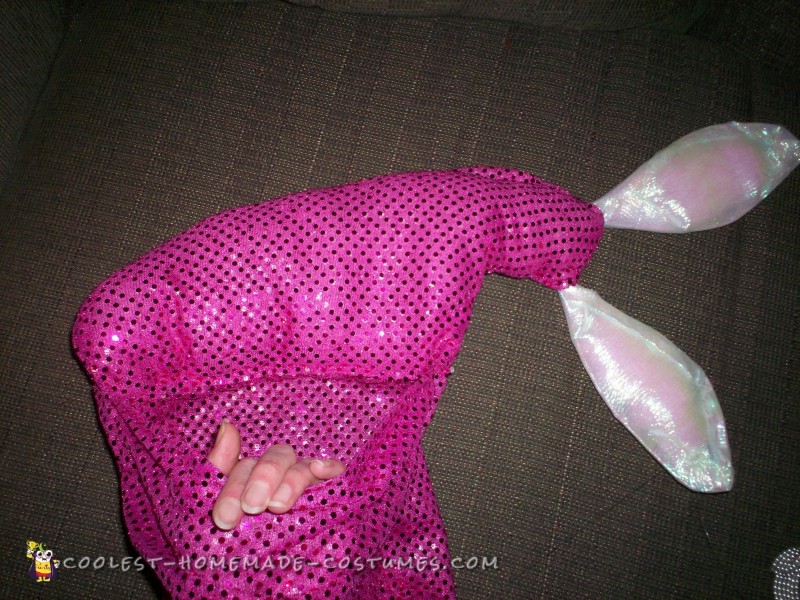
This was where it got tricky for me – how to attach the three pieces so I could have my seams inside and everything facing the right way when I was done. I don’t know how long I sat and looked at the fabric, willing it to tell me which way to turn it and pin it. (My mind does not work spacially. I have to turn a map the same direction I am facing in order to be properly oriented.) But finally I figured it out. I hemmed the bottom edge of the back skirt piece. I stitched up both sides to attach the back piece and the full skirt/tail piece. And somehow I managed to attach the tail “pocket” piece to the full tail/skirt piece, stitching seams at the curved parts and the end of the tail where I wanted it to end but left 3-4 inches at the end of the tail for securing the fins later. I left the long straight edge of the “pocket” open and turned everything right side out. I stuffed the tail with lightweight polyfil and stitched the long straight edge closed.
I measured elastic to my daughter’s waist and stitched that into the top of the skirt.
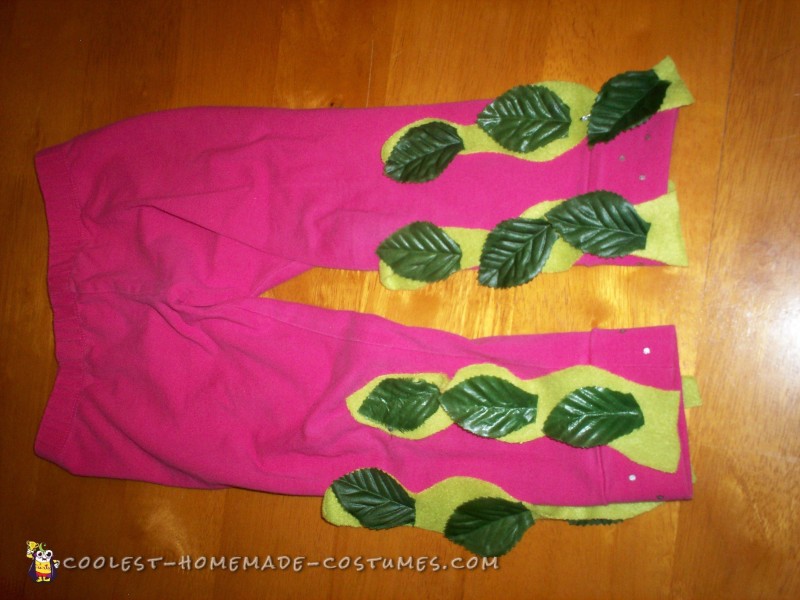
On the leggings, I used green felt cut into “vine” shapes and glued leaves from artificial flowers on to make it look like seaweed. I safety-pinned the seaweed strips to the leggings to cover where they showed through at the bottom below the tail.
Fins
We used a shimmery shite gossamer fabric with a pink tint. I used a wire hanger to bend into the shape of two fins and used wire to secure the ends together. I left two “prongs” at the end about 2 inches long so I could insert it into the tail. I hot-glued the fabric over the hanger and stuffed it a bit. This proved a little difficult, as the fabric was so thin that the heat of the glue really came in contact with my fingers as I pressed the fabric around the hanger. I was glad when that was done, and I think it really turned out like mermaid fins.
I put the prongs onto the end of the tail and folded the extra 3-4 inches of tail fabric over, sewing tight to secure the fin to the tail.
I attached fishing line (ironic, right?) to the fin and to a pearl bracelet that we had, so my daughter could hold up the tail to keep it from dragging. I realized then that if she lowered her arm all the way, the tail would still drag, so I added an extra line of fishing line from the tip of the fin to the skirt about 2 inches below the waist. This kept the tail up even if she lowered her arm.
Accessories
For the waist, I cut a piece of the gossamer fabric to fit her waist and stitched along the long edge to make a sleeve. I stuffed it and sewed the ends closed. I hot-glued sequins and a jewel heart on it. I just pinned this closed rather than sewing on snaps.
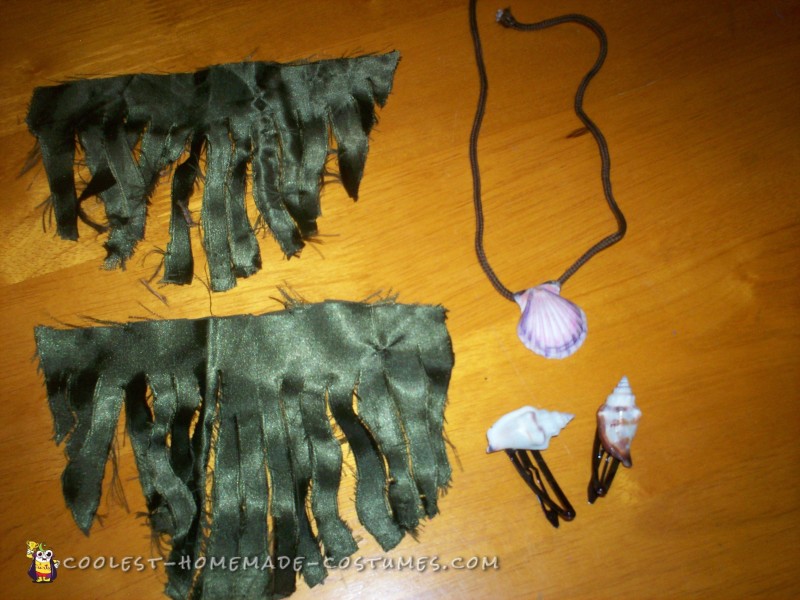
I used an old brown shoelace (looked like rope) and hot-glued a shell to it to make a necklace. The shell looked a little too close to the color of the shirt, so I used pink and purple marker on it to help it stand out more.
I hot-glued shells to clip barrettes. After our first party, I had to re-glue these, as they were pretty delicate.
I used some green fabric and cut fringe into it and pinned this to both sides of the ankle of the leggings to cover her shoes with seaweed (not shown in full length picture).
I braided her hair when wet, tightly in several braids, let it out when dry, and she had mermaid wavy hair (realized this will also work for an 80s look – Cyndi Lauper next year, perhaps?). We used purple shimmery eyeshadow. I’m not really good at makeup, but you can be as creative as you want here.
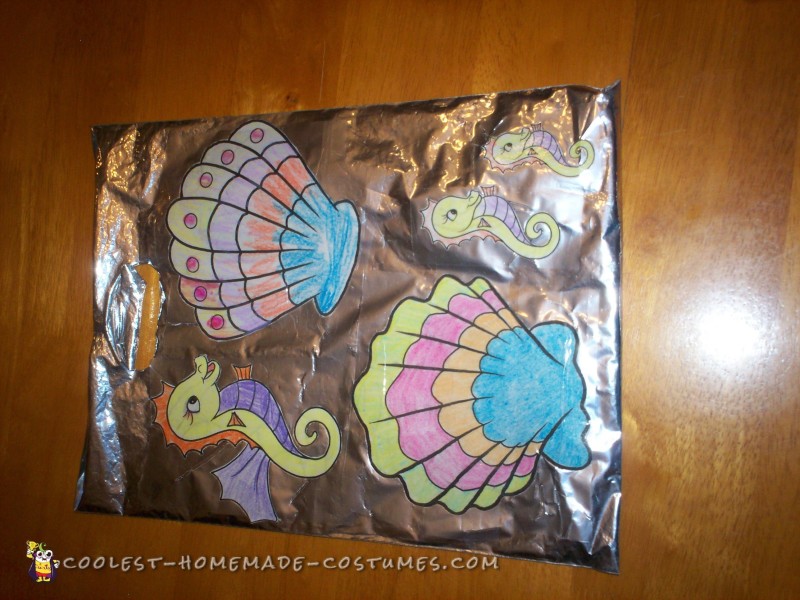
For her trick-or-treat bag, we colored some images of seashells and sea horses from her mermaid coloring book and glued/taped them on her bag.
