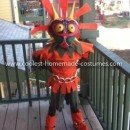
I have done some crazy Halloween costumes for my kids in the past. Many were video game dirived and a few were very challenging. This Skull Kid costume from The Legend of Zelda, Majora’s Mask, may be the most challenging costume I have ever made. My youngest son, Xander, told me around the beginning of September that he wanted to be Skull Kid for Halloween this year, and my first thought was ‘No Way! How on earth am I going to do that?” He loves Zelda games and had his heart set on Skull Kid this year. He was Link a few years earlier, but this time he wanted to be Skull Kid, with Majora’s mask. I hemmed and hawed about it for a while, tried to talk him out of it, and studied a lot of Skull Kid drawings and figures. Finally I decided that if his Dad would take on the challenge of making Majora’s mask that I would try to do the rest…and so our adventure began.
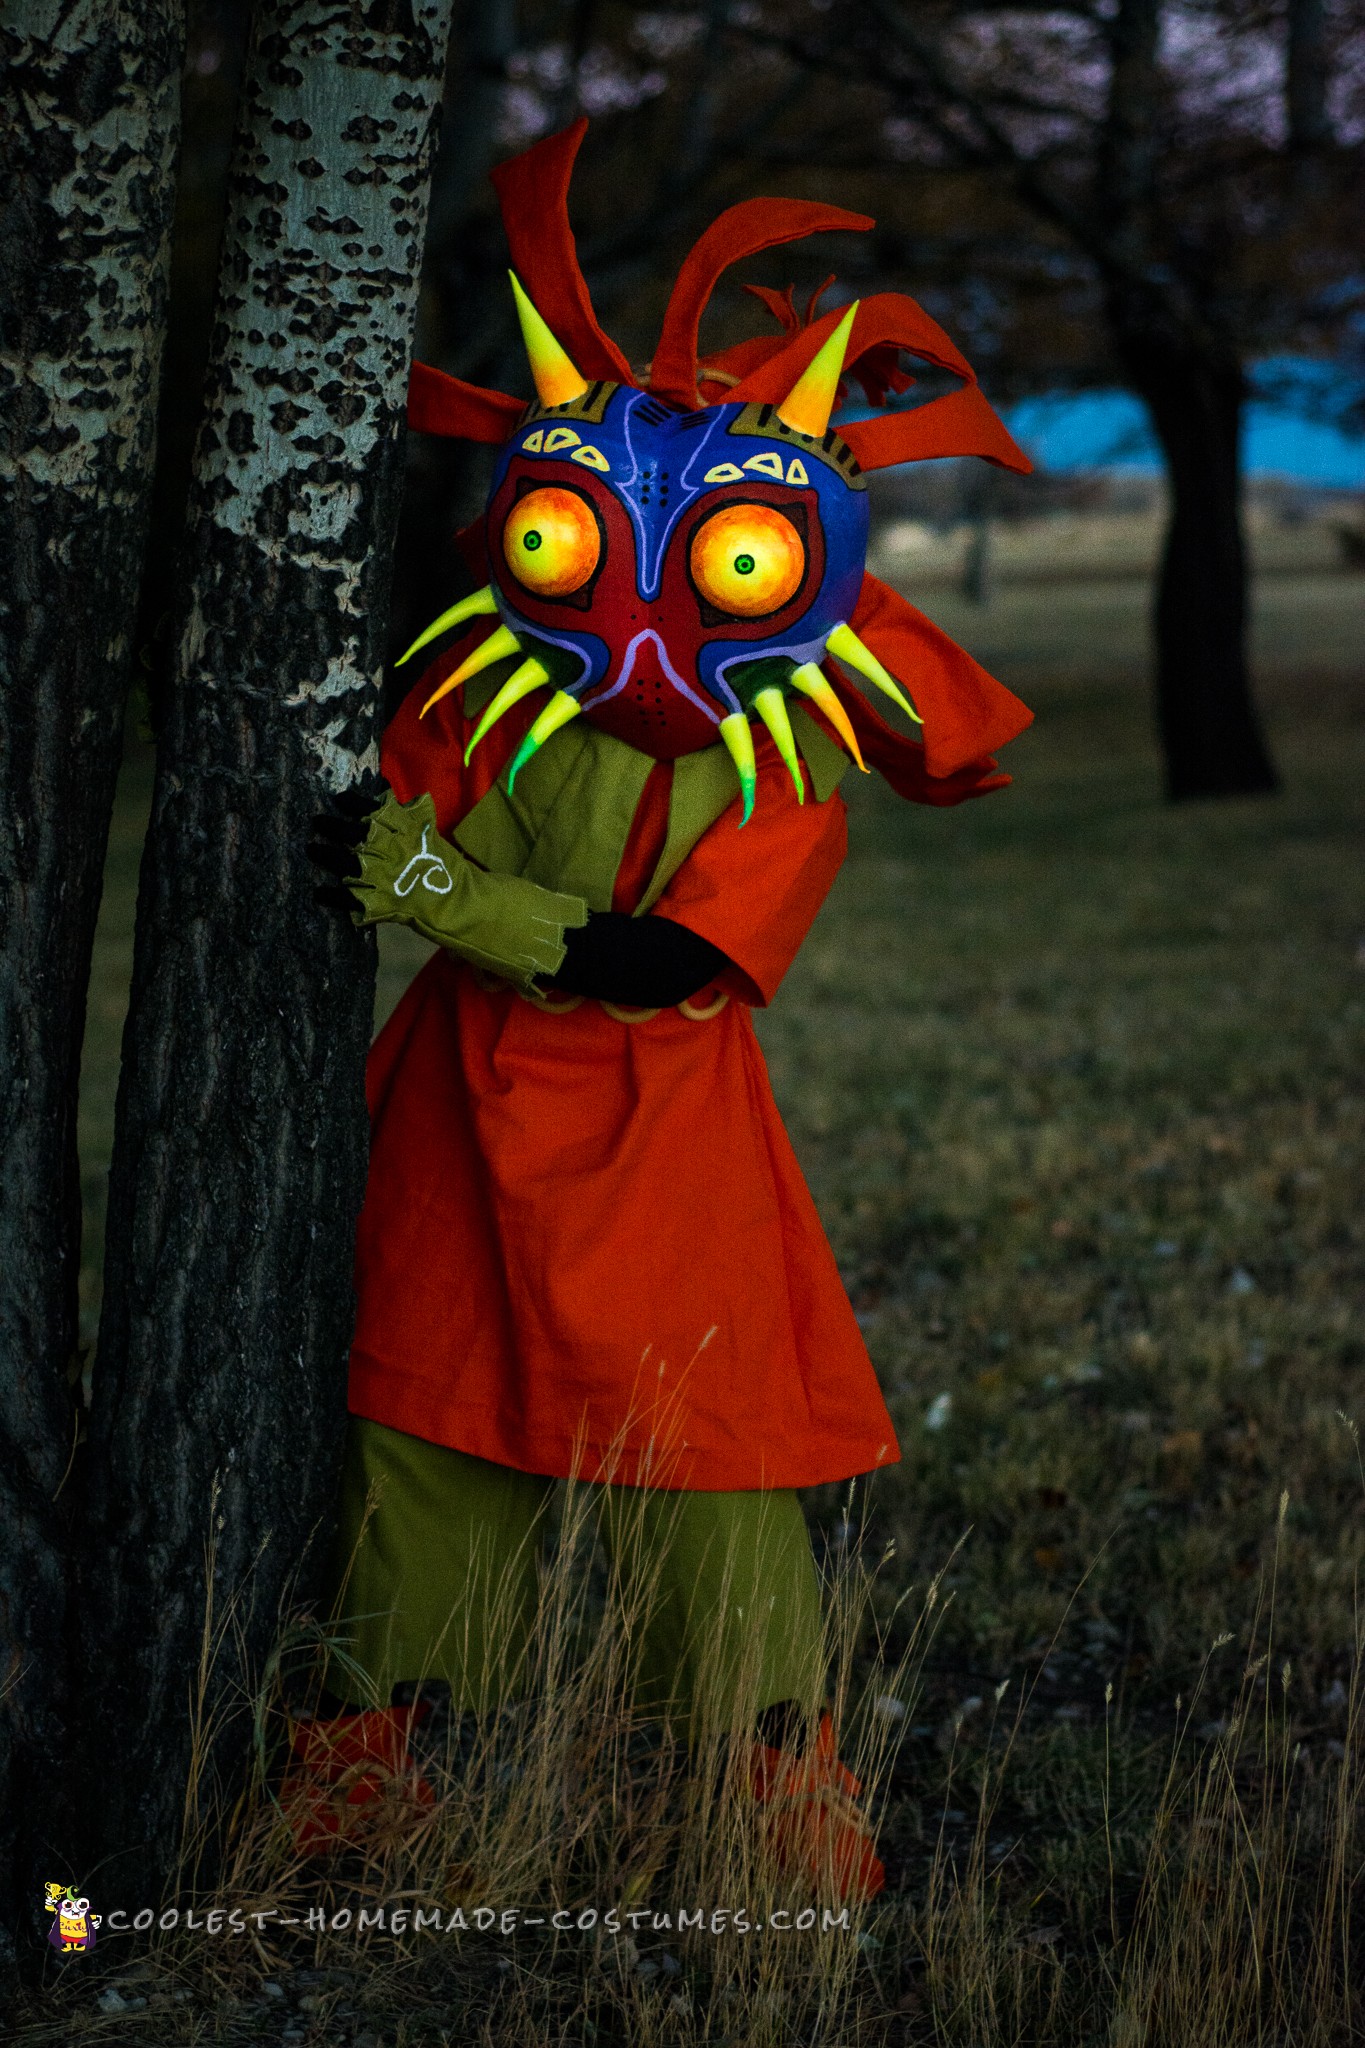
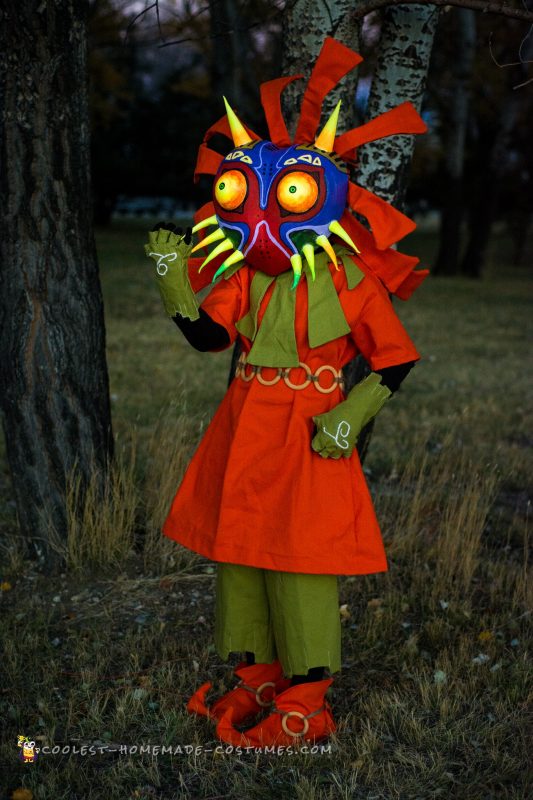
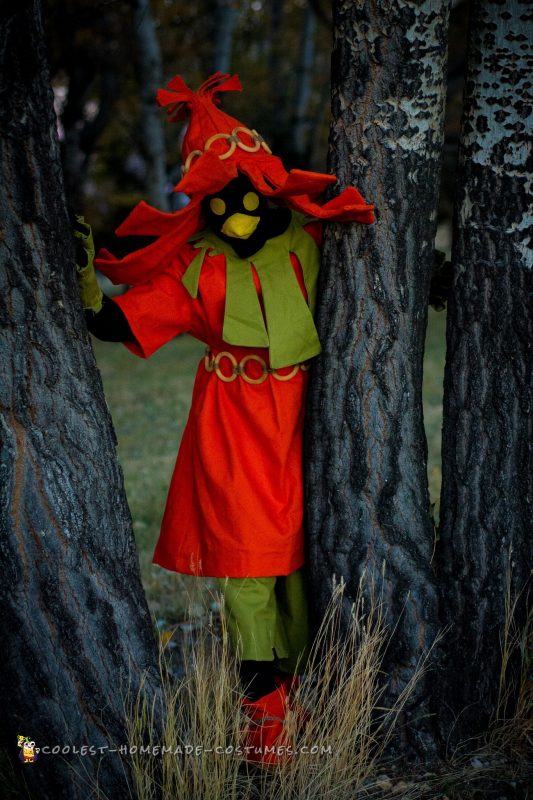
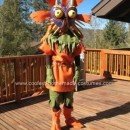
The tunic and pants are fairly simple, just a slightly modified ‘elf’ type costume. I made them from Duck Canvas. I also sewed elf like shoe covers in the same material and made a pair of fingerless gloves to complete the clothing. The belt is constructed from wooden craft rings, dyed with tea, and lashed together with twine. There are also wooden rings on the shoes and hat. Underneath the tunic and pants Xander wore all black, a long sleeve shirt, leggings and gloves. The underneath mask is a black costume ‘invisible man’ type hood, to which I attached eyes and a beak to look like Skull Kid when he is not wearing Majora’s mask.
My biggest challenge came in the form of Skull Kids’s hat! I looked at the drawing again and again, and tried to reverse engineer the hat. In the end I took some measurements and made a prototype pattern piece. I cut out pieces of a scrap material I had lying around and began constructing a hat to see if it would work, or if I had to modify the pattern and try again. It worked surprising well the first time, so I cut the pieces from the Duck Canvas and sewed them togther, but that was just the beginning for this unconventional hat. After two hat layers were assembled I began hand stitching floral wire to the flaps of one, to make them stiff so they would stand up and be flexible so we could manipulate them. Then I sewed the two hat layers together and turned them right side out. After that I used a fabric stiffining solution to make the front flaps of the hat stand almost striaght up. I was very pleased with the end result!
As I mentioned before, when I agreed to attempt a Skull Kid costume, my husband was assigned the task of making Majora’s mask. It was quite a process as well, and I think it is the item that really puts this costume over the top! It is consturcted from EV foam shop mats. My husband started with a paper craft of Majora’s mask, which he cut out and then pinned each piece of to the shop mats. He then cut out those pieces and began putting them together with contact cement and hot glue, shaping the foam with a heat gun as he went. When the mask was together he added eyes, in the form of a floral foam ball, cut in half. The horns on the top and bottom were cut from thin sheets of craft foam which were rolled and glued with hot glue and attached. Then he sanded the whole thing, and painted it, doing all the details freehand using pictures of the mask for reference. We attached elastic to the back so the mask could be worn and put a hook and eye on the top strap where the hat attaches so it will stay on.
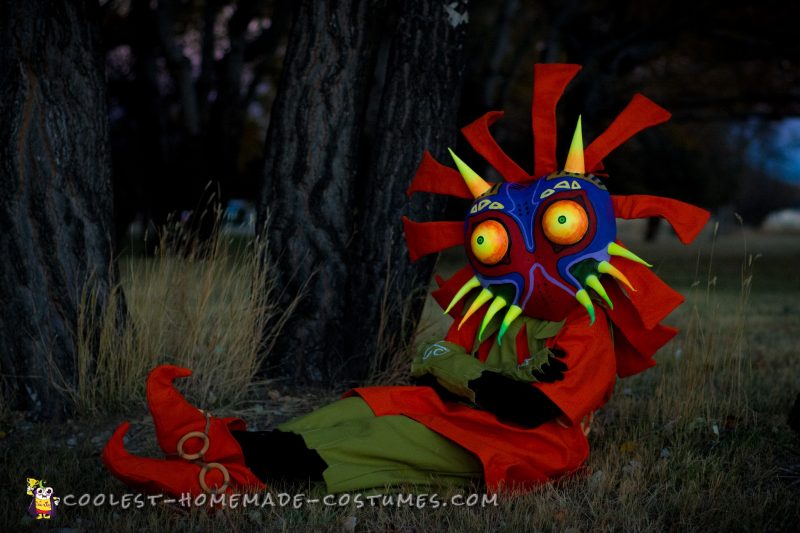
The end result is an amazing, original, handcrafted Skull Kid Halloween costume! When it was finished we had some fun taking portraits (my husband does amature photography), some of which mimic popular drawings of Skull Kid. We hope to attend a Comic Con while it still fits, and I know if we do Xander/Skull Kid will be a huge hit!
Your comment has been sent successfully.