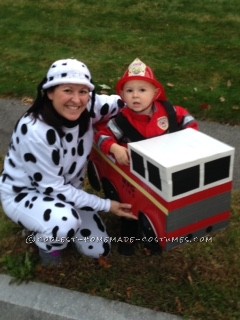
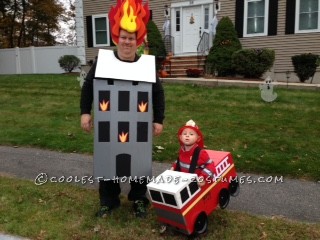
Morgan is a 2.9 year old typical boy who is over the top excited anytime he sees or passes or plays with his firetrucks! Complete Joy! His costume choice was easy, and I knew I wanted it to be a family affair. I love to live vicariously through him. The minute I decided, I hit the road running.
Early on in late September, I started collecting cardboard from my job from various oversized items. I do not have a lot of free time in my line of work, but thoroughly enjoy arts and crafts. So I planned to work on it a little bit each night over the course of several weeks. Being fairly close to two craft stores, I made a few trips in early September when I was in the area running errands to purchase supplies using only 50% off coupons found on their websites.
Fire Truck Assembly:
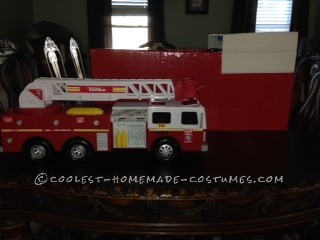
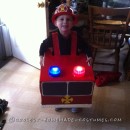
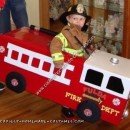
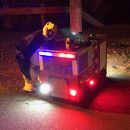
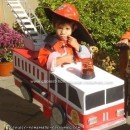
I started with the firetruck and used Morgan’s tonka firetruck the whole time to ensure shape and proportions were balanced (as shown in picture). I didn’t want to jump in and just start cutting and ruin the cardboard, so I started to visualize and sketch, and once I felt good I started the cutting/shaping (as shown in pictures). Before taping the inside with some packing tape I already had, I stuck Morgan in the box to make sure (1) he could fit comfortably, but not too big since the bigger it was, the heavier it would be and (2) that he could walk in it and that this was going to work.
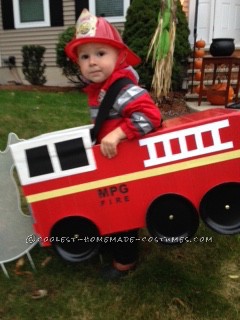
Once the rectangle box was formed for the majority of the body of the truck, I used packing tape to on the inside to not leave seams (at this point I thought I would be spray painting the box based on other costumes I had read about). Feedback was that if it rained, it would ruin the paint job. I also read that the cardboard could be flimsy, so I came up with a way to reinforce the cardboard and get the same effect – DUCT TAPE! Was the perfect solve to keep cardboard from bending and paint from getting ruined in inclement weather.
Then I was ready to start with the base of the truck (red tape) was used in strips one after the other. After that, I moved onto the front of the firetruck “the cab”. From there it was super easy; simple detailing: black card-stock for windows, yellow trim down side, ladders drawn on white card-stock, black dessert plates for wheels, computer generated letters to paste on back or truck (KEEP BACK 500″). All were glued on with stick glue.
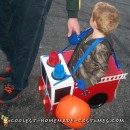
Took me some time to figure out how to add straps and how, it took some thinking. I wanted to make sure it was comfortable and that he could walk/keep it on. After walking down the aisles of the craft store for ideas, I decided upon and purchased (with coupon of course) 2′ x 2 yards (pre packaged) soft elastic band like you would use to put in the hem of a sweatpant) and Velcro (4- 4″ pieces with both sticky and Velco part). This would become his suspenders.
Here’s where it got tricky. I was unsure of how to secure it to the cardboard to make sure it stayed. I cut 2″ slits in the cardboard where the suspenders shoud be attached. I made sure to not cut the slit too close to the edge of the cardboard in case it ripped. The elastic was pushed through the slots both in the front and the back of the truck and came out 4″ under the truck on the inside. Then I turned the truck over, applied a 4″ piece of sticky Velcro to the box itself, then attached the other 4″ Velcro attachment to 4″ of the elastic that I had pulled through the slit. Once that was adhered, I secured the elastic with the Velcro to the Velcro that was attached to the cardboard. After reading about ideas from other costumes, the feedback was the “suspenders would slip down, not hold the box, etc.” so I crisscrossed the suspenders in the back before securing.
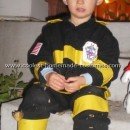
Once completed, I had my son walk around the house to make sure it would hold. Held up perfectly. To complete his outfit, I took a pair of his black sweatpants and used leftover gray and yellow duct tape to create fireman pants. He had a spring fireman jacket already and his uncle gave him his firehat from the fire-station station. All I had to do was add a piece of ribbon to the hat for a chin strap held by two staples each since it was a little floppy. I added his duck boots to represent fireman boots.
Burning House:
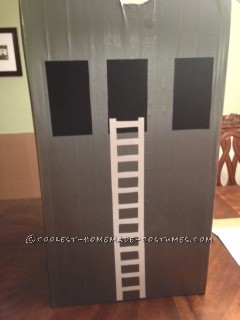
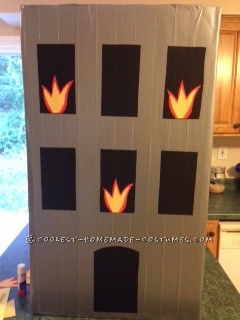
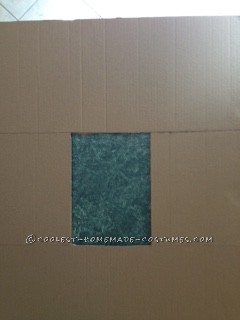
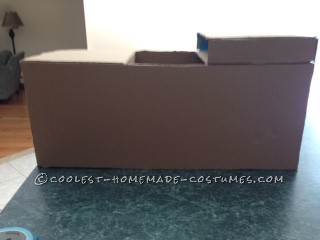
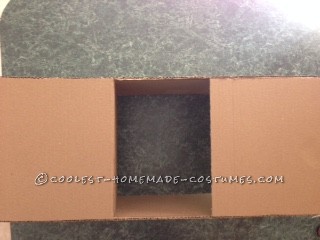
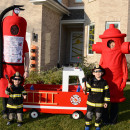
Same idea as the firetruck, four sturdy cardboard pieces were made into a rectangle according to my husband’s height and leg span of walking. Secured inside of box with packing tape, cut out arm holes for comfort, then used duct tape to reinforce and create color for the house. I hand drew flames and cut them out of the card-stock and glued to windows. Used same template for ladders that I made for the firetuck. Glued on black card-stock for windows and ladders down both sides under his arms. I wanted to create a “roof” effect and was over-thinking it. I had cut out some cardboard, folded it in half and cut out a hole for his neck. I was trying to figure out how to secure it to the house and it wasn’t working. As I am doing this while he’s wearing the costume, he simply says, “just out it over my head to give the illusion of a roof but it will ‘float’ instead”. Problem solved. Easy to remove for bathrooms breaks, etc. too! Husband wore black pants/gray top to blend in with house.
Dalmatian: easiest of all
Spent some nights in front of the TV cutting out all different shapes of circles, ovals, etc to be able to cover front and back of a white sweatsuit. Used fabric glue to adhere and let dry 24 hours. Nana made me my dalmatian hat with completed the look. TIP: To ensure my white sweatpants were not see-through, I wore black thin leggings underneath.
I have to tell you, people were waiting to see the final results after sharing what we were going as. The minute we walked out the front door to our neighbors’ house for a pre-trick or treating pizza party for the kids. There were ooohss and aaahss. Friends and family said to find a contest and enter! People were coming out the front door watching us walk over. Once I had Morgan in full costume, he was so excited he was “driving” the firetuck all over the front yard. When we got to the pre party, I took off the box so he could play with the kids until we hit the streets trick or treating. Surprising, for a 2.9 year old, he made it around our entire neighborhood. Some of the houses that had had really steep stairs or way too many stairs, I either picked him up under his armpits so everything stayed in tack or we continued on to another house. The neighbors already think he is a cutie, they couldn’t believe how amazing we looked as a group and all the details on the costumes.
Supplies needed for Fire Truck & Burning House:
- Duct Tape: 2 rolls gray, 1 roll red, 2 rolls white, (2.50 each)
- Painters tape: roll of yellow ($2.00)
- Cardboard (free)
- Fireman hat (free from fire station)
- Stick glue ($1.50 with coupon)
- 4 sheets black cardstock, 2 sheets each red, yellow, orange (already had)
- Black dessert plates (dollar store)
- 2″ x 2 yards black elastic ($3.00 with coupon)
- 4 – 4″ pieces of velcro ($3.00 with coupon)
- Flame hat ($19 target)
Supplies Needed for Dalmation:
- Fabric glue $3.00 (with 50% coupon)
- 10 sheets black felt (.33 $ each)
- White Hanes crew sweatshirt (Walmart $6.00)
- White Hanes sweatpant (Walmart $6.00)
- Knit hat: Nana made

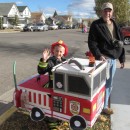
great family costume!
great family costume!